Arduino Microcontroller Projects and Concepts
Dive into the world of Arduino microcontrollers with these tutorials on counting in 4 bits, LED intensity control using a potentiometer, delay functions, and more. Explore hardware interactions, programming loops, and essential functions like millis(). Understand the difference between delay() and millis() for precise timing in your projects.

Download Presentation

Please find below an Image/Link to download the presentation.
The content on the website is provided AS IS for your information and personal use only. It may not be sold, licensed, or shared on other websites without obtaining consent from the author. If you encounter any issues during the download, it is possible that the publisher has removed the file from their server.
You are allowed to download the files provided on this website for personal or commercial use, subject to the condition that they are used lawfully. All files are the property of their respective owners.
The content on the website is provided AS IS for your information and personal use only. It may not be sold, licensed, or shared on other websites without obtaining consent from the author.
E N D
Presentation Transcript
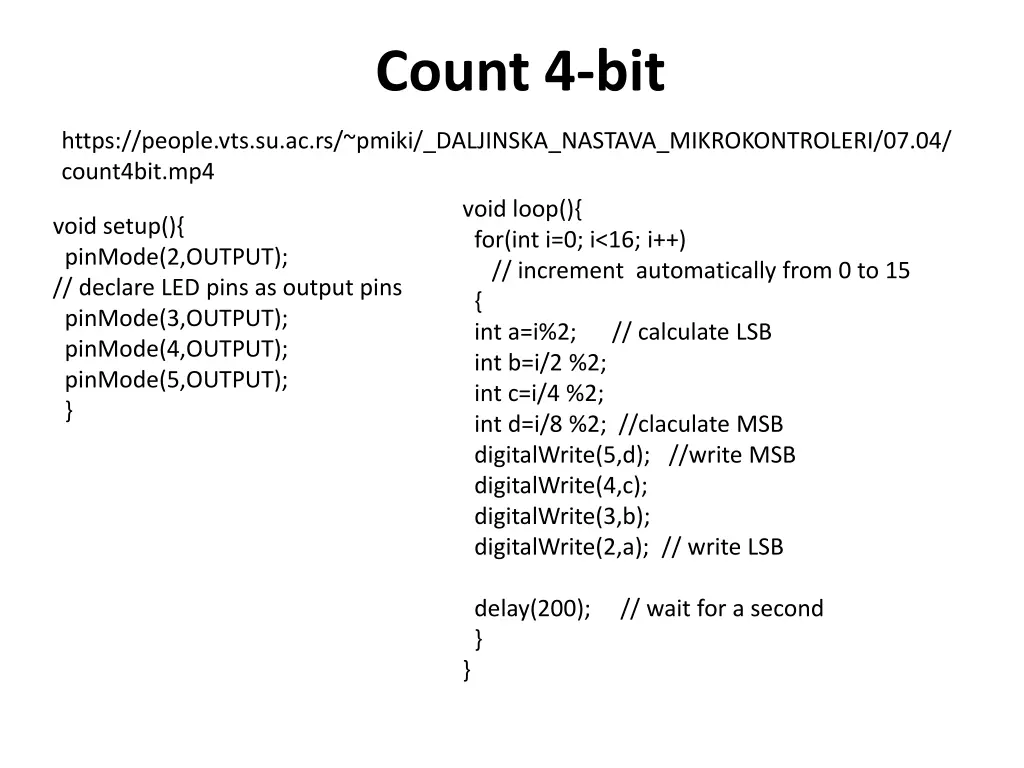
Count 4-bit https://people.vts.su.ac.rs/~pmiki/_DALJINSKA_NASTAVA_MIKROKONTROLERI/07.04/ count4bit.mp4 void loop(){ for(int i=0; i<16; i++) // increment automatically from 0 to 15 { int a=i%2; // calculate LSB int b=i/2 %2; int c=i/4 %2; int d=i/8 %2; //claculate MSB digitalWrite(5,d); //write MSB digitalWrite(4,c); digitalWrite(3,b); digitalWrite(2,a); // write LSB delay(200); // wait for a second } } void setup(){ pinMode(2,OUTPUT); // declare LED pins as output pins pinMode(3,OUTPUT); pinMode(4,OUTPUT); pinMode(5,OUTPUT); }
Count 4-bit void loop(){ for(int i=0; i<16; i++) // increment automatically from 0 to 15 { int a=i%2; // calculate LSB int b=i/2 %2; int c=i/4 %2; int d=i/8 %2; //claculate MSB digitalWrite(5,d); //write MSB digitalWrite(4,c); digitalWrite(3,b); digitalWrite(2,a); // write LSB delay(200); // wait for a second } }
LED intensity with pot-meter https://people.vts.su.ac.rs/~pmiki/_DALJINSKA_NASTAVA_MIKROKONTROLERI/07.04/ potPWM.mp4 int potPin = A0; int potValue = 0; int LED = 9; void setup() { Serial.begin(9600); pinMode(LED, OUTPUT); } void loop() { potValue = analogRead(potPin); Serial.println(potValue); analogWrite(LED, potValue / 4); delay(10); }
Villog delay fggvny haszn lata n lk l
Hardver Csak a 13. l bacsk ra bek t tt LED-et haszn ljuk, tov bbi sszek t s nem sz ks ges. digitalWrite(13, HIGH); delay (2000); // wait 2s from now digitalWrite(13, LOW); delay (5000); // wait 5s from now // no common referent time!!!
millis() Az egyik legfontosabb Arduino f ggv ny. Ez a f ggv ny az eltelt milliszekundumok sz m t tartalmazza bekapcsol s, vagy az utols reszet ta. Amikor a kar r t n zz k, azt mutatja mennyi id telt el jf l ta. ppen ez a millis() f ggv ny tlete.
delay() vs. millis() delay(): V rakozik egy bizonyos ideig millis(): arra a k rd sre kapunk v laszt hogy mennyi id telt el?
1. plda void setup() { pinMode(13, OUTPUT); } void loop() { digitalWrite(13, HIGH); // set the LED on delay(1000); // wait for a second digitalWrite(13, LOW); // set the LED off delay(1000); // wait for a second } // A k d minden alkalommal le van blokkolva 1000ms-ot.
2. plda // Haszn ljuk a Delay-t, de csak 1ms-ot a for cikluson // bel l. void setup() { pinMode(13, OUTPUT); } void loop() { digitalWrite(13, HIGH); // set the LED on for (int x=0; x < 1000; x++) { delay(1); } digitalWrite(13, LOW); // set the LED on for (int x=0; x < 1000; x++) { delay(1); } } A for cikluson bel l lehet m s f ggv nyeket h vni, de az kihat ssal lesz a k sleltet si id re. // Wait for 1 second // Wait for 1 second
3.plda: Villog millis() fggvnnyel unsigned long interval=1000; // the time we need to wait unsigned long previousMillis=0; // millis() returns an unsigned long. bool ledState = false; // state variable for the LED void setup() { pinMode(13, OUTPUT); digitalWrite(13, ledState); } void loop() { unsigned long currentMillis = millis(); // grab current time // check if "interval" time has passed (1000 milliseconds) if ((unsigned long)(currentMillis - previousMillis) >= interval) { ledState = !ledState; // "toggles" the state digitalWrite(13, ledState); // sets the LED based on ledState // save the "current" time previousMillis = millis(); } }
4. plda: Kt LED millis() fggvnnyel A LED-ek a 12. s a 13. l bacsk kra vannak kapcsolva. A villog si intervallumok k l nb znek. void loop() { // get current time stamp // only need one for both if-statements unsigned long currentMillis = millis(); // each "event" (LED) gets their own tracking // variable unsigned long previousMillisLED12=0; unsigned long previousMillisLED13=0; // time to toggle LED on Pin 12? if ((unsigned long)(currentMillis - previousMillisLED12) >= intervalLED12) { LED12state = !LED12state; digitalWrite(12, LED12state); // save current time to pin 12's previousMillis previousMillisLED12 = currentMillis; } // different intervals for each LED int intervalLED12 = 500; int intervalLED13 = 1000; // each LED gets a state varaible boolean LED13state = false; // the LED will turn ON inthe first iteration of loop() boolean LED12state = false; // need to seed the light to be OFF // time to toggle LED on Pin 13? if ((unsigned long)(currentMillis - previousMillisLED13) >= intervalLED13) { LED13state = !LED13state; digitalWrite(13, LED13state); // save current time to pin 12's previousMillis previousMillisLED13 = currentMillis; } } void setup() { pinMode(13, OUTPUT); pinMode(12, OUTPUT); }
Button press LED on pin 13, resistor 220 . 2 ground: 10k , 2 VCC: pushbutton const int buttonPin = 2; const int ledPin = 13; int buttonState = 0; void setup() { pinMode (ledPin, OUTPUT); pinMode (buttonPin, INPUT); } void loop() { buttonState = digitalRead(buttonPin); if (buttonState == HIGH) { digitalWrite(ledPin, HIGH); } else { digitalWrite(ledPin, LOW); } } tirni a programot gy, hogy a lenyom sok sz ma kiir djon a Serial Monitor-on.


")
 vs. millis()")


 függvénnyel")
 függvénnyel")
