Basic First Aid Procedures
Immediate temporary care given to an ill or injured person until professional medical help is available. Learn about recognizing emergencies, Good Samaritan laws, universal precautions, CPR, handling bleeding, burns, and animal bites. Practice scenarios to develop first aid skills effectively.
Download Presentation

Please find below an Image/Link to download the presentation.
The content on the website is provided AS IS for your information and personal use only. It may not be sold, licensed, or shared on other websites without obtaining consent from the author.If you encounter any issues during the download, it is possible that the publisher has removed the file from their server.
You are allowed to download the files provided on this website for personal or commercial use, subject to the condition that they are used lawfully. All files are the property of their respective owners.
The content on the website is provided AS IS for your information and personal use only. It may not be sold, licensed, or shared on other websites without obtaining consent from the author.
E N D
Presentation Transcript
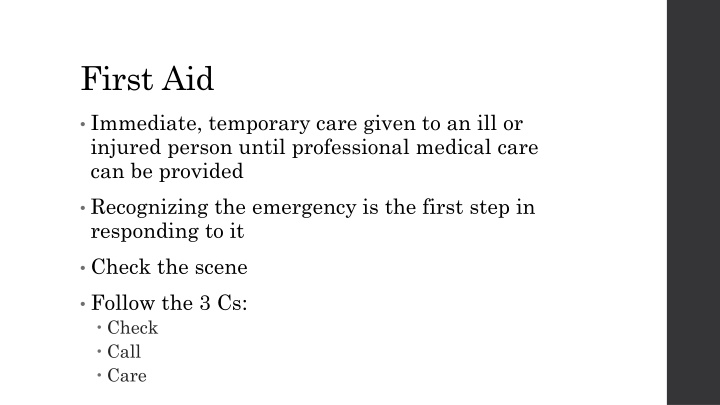
First Aid Immediate, temporary care given to an ill or injured person until professional medical care can be provided Recognizing the emergency is the first step in responding to it Check the scene Follow the 3 Cs: Check Call Care
Good Samaritan Laws Statutes that protect rescuers from being sued for giving emergency care
Universal Precautions Steps taken to prevent the spread of disease through blood and other body fluids Wear sterile gloves whenever you could come into contact with someone s blood or body fluids Washing hands immediate after providing first aid Use a mouthpiece, if available, when providing rescue breathing
CPR 1. Check to see if the person is conscious 2. If no response, call 911 3. Look, Listen, Feel 4. Begin Rescue Breathing IF you have a mask to place over mouth 5. Begin chest compressions (Staying Alive)
Groups Get into 6 groups Each group will have a situation to deal with, we will see if you can save a life! Come up with a skit to show what happened and how you administer help to the injured person Need to have materials present to show proper First Aid Goals: 1. Correctly identify what has happened to the victim 2. Follow the correct first aid procedures discussed 3. Grab appropriate bag of materials on the counter and perform first aid 4. Be prepared to explain to the group what you did and why
Bleeding 1. Raise the wounded area to a position above level with the heart. 2. Put on sterile gloves. 3. Apply sterile gauze to the wounded area. 4. Apply pressure for 5 minutes or until help arrives. 5. Once the bleeding stops, apply a bandage to the area. 6. Call 911 if bleeding does not stop.
Burns 1. Cool burned area by holding under cold, running water for at least 5 minutes (do not use ice, could cause frostbite) 2. Cover burn loosely with sterile gauze. 3. May take over-the-counter pain reliever, if the person is not allergic.
Animal Bites 1. Wash hands thoroughly before beginning any procedure 2. Put on sterile gloves 3. Wash bite area thoroughly with mild soap and water 4. Apply pressure to stop bleeding 5. Apply anti-itch ointment with a bandage to the area At some points, you will have an animal with venom who bites the person, if that is the case, follow these procedures: 1. Call 911 for medical help and follow the dispatcher s instructions. 2. Try to keep the victim from moving. Keep the affected body part below chest level to reduce the flow of venom to the heart. 3. Remove rings and other constricting items, since the affected area may swell up. 4. Try using a snakebite suction kit, if one is available in your first aid kit. 5. DO NOT apply a tourniquet, use cold compresses, cut into the bitten area with a blade, suck the venom out by mouth or give the victim any medications without being advised to do so by a doctor or 911 dispatcher.
Fractures 1. Call 911 2. Keep the victim calm keep them breathing and possibly spread legs apart so they do not go into shock. 3. Rinse carefully if the skin is broken and cover the wound. 4. Create or use a splint to keep the bone/arm in place a. Self-splint b. Pre-prepared splint c. Utilize materials around (wood, books, etc.) to create a strong, sturdy splint
Sprains/Strains 1. Look for the symptoms Swelling of the knee or ankle region If they have hit their head or neck region and there is pain there Lack of mobility in the knee or ankle region Ask if they heard any loud pops or felt anything in that region 2. Use PRICE method P- PROTECT WITH A BANDAGE OR SPLINT R- REST I-ICE C- COMPRESSION E- ELEVATION
Choking 1. Receive the universal sign for choking from the person OR see them turning blue or unable to respond to your questions. 2. Make a fist with your left hand and cover it with your right as you hug the person from behind. 3. Perform abdominal thrusts by pushing in and up. 4. If the person is unconscious, gently lower them to the floor and try to unclog the airway.
