Basic Health Care Training Online
Enhance your knowledge with this online Phase I training covering basic health care procedures, confidentiality, and handling of body fluids. Ensure compliance by obtaining a certificate at the end of the course. Contact the nursing staff for face-to-face training if necessary. Stay informed about the importance of confidentiality in the school setting and proper procedures for handling body fluids. Take the necessary steps to protect students' rights and safety. Gain valuable insights into maintaining hygiene and safety standards.
Download Presentation

Please find below an Image/Link to download the presentation.
The content on the website is provided AS IS for your information and personal use only. It may not be sold, licensed, or shared on other websites without obtaining consent from the author. If you encounter any issues during the download, it is possible that the publisher has removed the file from their server.
You are allowed to download the files provided on this website for personal or commercial use, subject to the condition that they are used lawfully. All files are the property of their respective owners.
The content on the website is provided AS IS for your information and personal use only. It may not be sold, licensed, or shared on other websites without obtaining consent from the author.
E N D
Presentation Transcript
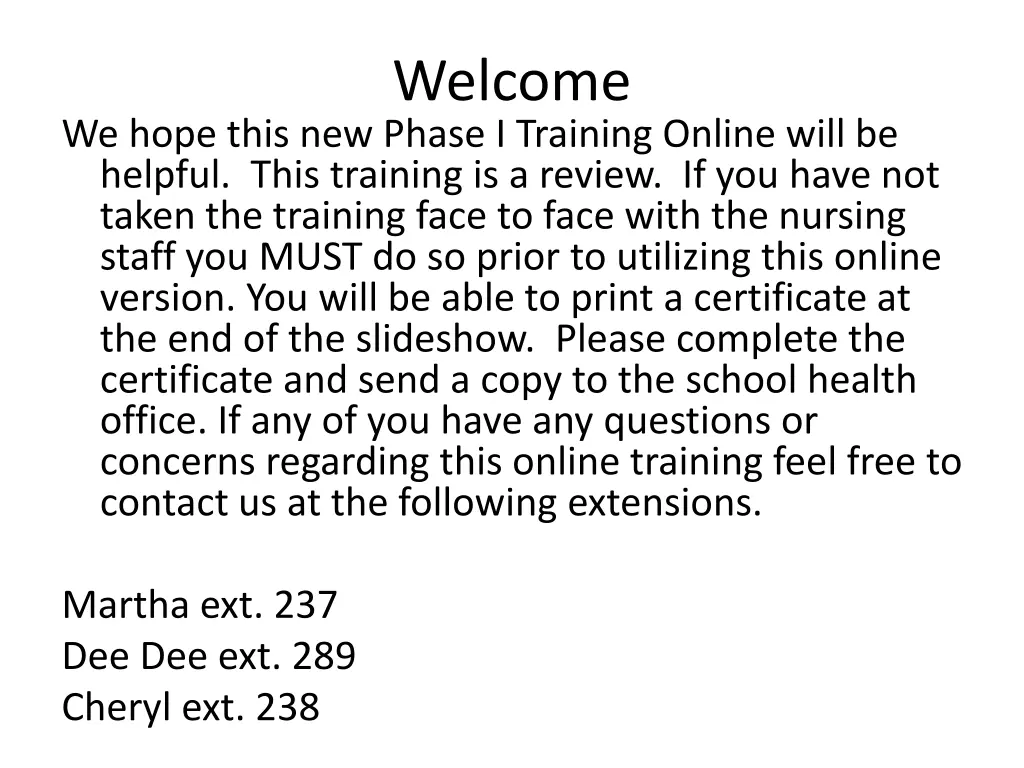
Welcome We hope this new Phase I Training Online will be helpful. This training is a review. If you have not taken the training face to face with the nursing staff you MUST do so prior to utilizing this online version. You will be able to print a certificate at the end of the slideshow. Please complete the certificate and send a copy to the school health office. If any of you have any questions or concerns regarding this online training feel free to contact us at the following extensions. Martha ext. 237 Dee Dee ext. 289 Cheryl ext. 238
Confidentiality: All personnel delivering health care to a student should be aware of the concept of confidentiality and the serious legal consequences of violations of a person s right to confidentiality. Confidentiality in the school setting is defined as the practice of not sharing information about a student or his/her family with anyone who does not have an identified need to know for the purpose of providing for the health and safety and/or educational attainment of that particular student. Information about a student which has been gathered by examination, observation, conversation or treatment is confidential information. School personnel are both legally and morally obligated to keep confidential any information regarding a student s medical condition, illness or treatment which is obtained in the normal course of duties. If information about a student is disclosed without the expressed consent of the parent/guardian and/or the student, the individual and facility having made the disclosure may be held liable. Therefore counties should develop procedures, such as confidentiality contracts, to ensure that students rights to confidentiality are protected.
What is a body fluid? Body Fluids Include: Blood Semen Wound Drainage Urine Emesis Stool Vaginal Secretions Nasal Discharge Mucus
Wash Hands Put on gloves when handling or touching body fluids, mucous membranes or non-intact skin of others in the school setting. Individuals with open skin lesions should cover lesion with a waterproof bandage prior to applying gloves.
Blood or body fluids can be flushed down the toilet or carefully poured down a drain connected to a sanitary sewer. Other items in need of disposal that cannot be flushed down the toilet should be wrapped securely in a plastic bag that is impervious and sturdy.
Body fluid spills should be cleaned up promptly, removing all visible debris first. This prevents multiplying of microorganisms. Use disposable items to handle and absorb body fluid cleanup whenever possible. All items that are contaminated with free flowing body fluids and cannot be flushed down a toilet should be placed in a sturdy plastic bag that is not easily penetrated , then placed in a second bag for disposal. Cleanse hard, washable surfaces using one bucket to wash and a second to rinse. Soap helps to remove debris and microorganisms, but if left on the surface may hide microorganisms.
Disinfect: Use an approved germicide in a proper dilution. Use manufacturer s instruction for use. Allow to air dry. Soak mop, if used, in disinfectant after use. For soft, non-washable surfaces such as rugs and upholstery, apply sanitary absorbing agent, let dry and vacuum. Use broom and dustpan to remove solid materials, if necessary. Rinse dustpan and broom in disinfectant solution. Apply rug or upholstery shampoo as directed by the manufacturer. Re-vacuum. When using a sanitizing carpet cleaner method (water extraction), follow directions on label.
Handle soiled, washable materials, i.e. clothing and towels, as little as possible, double-bagging as mentioned before. Send soiled clothing home with student. Rinse school-owned towels under cold running water then wash separate from other items. Add cup bleach or non- chlorine bleach to wash cycle. Remove and discard gloves, turn inside-out from cuffs, into covered, plastic-lined waste container. Refer to Gloves Use and removal procedure Wash Hands. Refer to Hand Washing procedure.
Gloves Use and Removal Gloving prevents blood and body fluids, that may contain disease producing microorganisms, from coming in contact with the caregiver s skin and prevents the spread of microorganisms to others.
Step One Step Two Step Three After all cleanup is complete: pull the first glove off cuff end carefully. When removing second glove, continue to grasp first glove and pull second glove from cuff to envelope the first glove. First glove should be inside second glove and only the interior of the second glove will be exposed. Dispose of the gloves and wash hands.
Hand washing is the single most effective course of action to prevent the spread of illness or disease.
Wet hands using warm water. Warm water combined with soap makes better suds than cold water. Running water is necessary to carry away dirt and debris that contain microorganisms.
Apply liquid soap and later well. Bacteria can grow on bar soap and in soap dishes.
Rub hands together in a circular motion. Friction from rubbing hands together along with the effect of the soap loosening of the germs from the skin work together with the running water for good hand hygiene. Front and back of hands, between fingers and knuckles, under nails, and the entire wrist area are washed.
Rinse hands well under running water Let water drain from wrists to fingertips.
Apply alcohol based hand sanitizer to the palm of one hand then rub hands together. Continue to rub hands together covering all surfaces of hands and fingers until dry.
CANE A stick used as an aid in walking, usually for a person with one-sided weakness. A cane is used to lessen the force on weight- bearing joints; to give lateral balance while walking; to produce forward momentum or forward restraint during ambulation.
Crutches A support used as an aid in walking, most often used in pairs. To promote mobility and independence; to prevent injury to an affected limb. There are many ways to walk with crutches and it depends on the injury as to which gait is needed.
Stairs and Crutches UPSTAIRS Advance the good leg then crutches then injured leg.
Stairs and Crutches DOWN STAIRS Place the crutches on the next lower step; then lower the injured let and finally step down with the good leg.
WALKER A framework used to support a convalescent or disabled individual while walking. To provide more stability than either a can or crutch.
WHEELCHAIR A chair mounted on a frame with 2 large wheels in back and 2 in front for use by an ill or disabled individual. To provide mobility and independence for non-ambulatory individual and to transport a person who cannot or should not walk.
Transfer from Wheelchair 1. Let the student know that it is time to transfer. 2. Always minimize the distance between transfer points. If the student is able, ask him to move his wheelchair to the proper position for the transfer. If not, inform the student of your intention, and move the chair into position yourself. 3. Once in position, have the student lock the brakes on the wheelchair. If necessary, lock the brakes yourself. 4. Remove equipment and supports that may get in the way. For example, Remove the lap tray and any switches or other devices. Loosen the foot straps and move the footrests to the side.
Continued 5. Ask the student to lean forward. 6. Unfasten the seat belt. 7. While still leaning forward from the trunk and hips, ask thestudent to slide forward in the chair and put his feet on the floor. 8. Ask the student to stand up this may require your assistance. Most students, regardless of the severity of the disability, can bear some weight, particularly if the student has been expected to bear weight since a young age. The ability to support at least partial weight during standing is extremely important, and students need to practice whenever they transfer. Except in emergencies (which are rare), never lift a student who can support any of his own weight. For your own health and safety while assisting the student, be sure to maintain good body alignment (i.e., straight back, bending from the knees). 9. Assist the student to move to the other surface as you have been shown by a knowledgeable person (e.g., therapist, parent). Make sure the student is comfortably and safely positioned before moving away. 10. Release the brakes on the wheelchair, and move it to an appropriate location until it is needed again.
Dress the weak or most involved extremity first. Undress the weak or most involved extremity last. Allow enough time for student to complete task. Determine student s developmental readiness to assist in dressing.
Body Mechanics refers to special ways of standing and moving one s body. Alignment is the proper relationship of the body segments to one another.
3 Principles of Gravity that Affect Balance: 1. Line of Balance an imaginary line that passes behind the ear downward just behind the center of the hip joints and slightly in front of the knee and ankle joints.
2. Base of Support provides a stable stance to prevent the body from toppling over.
Center of Gravity 3. An area located in the pelvis about the level of the second sacral vertebrae. Low back pain is caused by improper body alignment, loss of balance or poor body movements.
Rules for Safe Lifting 1. Do not lift with a full bladder. 2. Size up the load; if it is too heavy or too large get help. Look for someone your height. With an uneven distribution in height, the shorter person lifts the bulk of the load. 4. Take a wide base of support spread feet apart at lease 12 inches or the width of the shoulders. 5. Bend hips and knees but keep the back straight. 6. Shift the feet to turn (small steps) do not twist the body. 7. Keep the load close to the body. 8. Do not lift over the head. Get a stool or ladder. 3.
If the student has a special dietary need talk with the parents to determine the need. A special dietary needs form must be obtained with specific diet instructions and alterations. Wash hands prior to feeding and apply gloves if appropriate.
Place student in appropriate position for feeding. Wash student s hands and face if needed. Place something over the student s clothing for protection. Explain to the student what foods you are offering. Feed student slowly and offer liquids throughout the meal if appropriate.
Skin Care (preventing pressure sores) Change student s position every 2 hours. Assist student to shift weight if in wheelchair every 15 minutes. Make sure students are out of their wheelchairs at least 1-2 times per day. Keep clothing wrinkle free as this can cause pressure on the skin.
Maintain Good Skin Hygiene by: Changing under garments every 2 hours. Wash skin after toileting or when otherwise soiled, using a mild soap and water, rinsing well, then blot dry with a soft towel. Disposable wipes may also be used. Keep protective pads and clothing, including underwear, clean and dry. Check the student frequently for signs of skin breakdown such as: reddened areas or open areas in the skin. Report these to school nurse.
Toileting Some students may require assistance with bowel and bladder elimination during the school day. Using: Urinals, Bedpans or Disposable Briefs.
Toileting: Urinal/Bedpan If using a urinal or bedpan: Provide privacy. Encourage student to assist as much as possible. Specific training will be given for students using bedpans or urinals.
Toileting: Disposable Briefs Place student on a clean changing table or mat with protective covering. Maintain privacy. Put on gloves. Remove soiled brief and place in plastic bag or covered trash can. Cleanse perineum and buttocks thoroughly with wipes and apply clean brief. Clean changing table with antiseptic wipes. Report any abnormal findings to nurse and parent or guardian. Such as: blood in stool, frequent watery stools, skin rashes or bruises or breaks in skin. Remove gloves and wash hands.
Toileting: Feminine Hygiene Put on gloves. Assist student with undressing as needed. Remove sanitary pad and place in plastic bag or covered trash can. Cleanse perineum with disposable wipes. Wiping vulva front to back. Apply clean sanitary napkin. Remove gloves and wash hands.


