Learn the beginner's method for solving a Rubik's Cube efficiently. Discover interesting facts about the cube, the layers, colored faces, and key principles. No rotations needed in the initial stages. Get ready to master this classic puzzle!
Please find below an Image/Link to download the presentation.
The content on the website is provided AS IS for your information and personal use only. It may not be sold, licensed, or shared on other websites without obtaining consent from the author. If you encounter any issues during the download, it is possible that the publisher has removed the file from their server.
You are allowed to download the files provided on this website for personal or commercial use, subject to the condition that they are used lawfully. All files are the property of their respective owners.
The content on the website is provided AS IS for your information and personal use only. It may not be sold, licensed, or shared on other websites without obtaining consent from the author.
E N D
Presentation Transcript
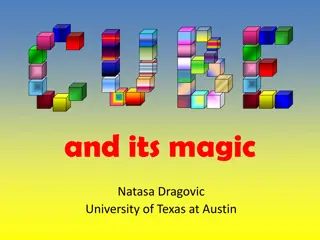
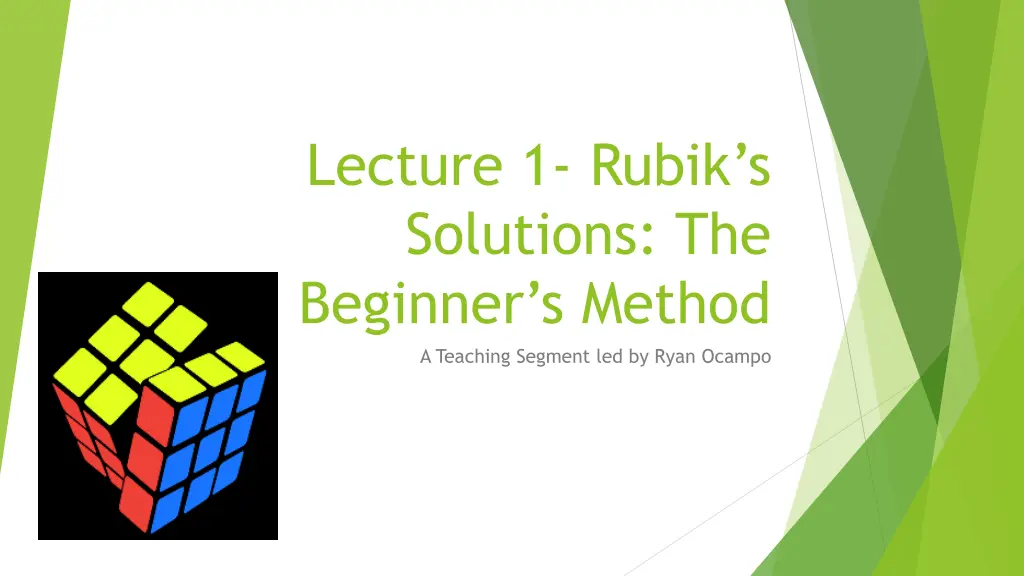
Lecture 1- Rubiks Solutions: The Beginner s Method A Teaching Segment led by Ryan Ocampo
Premise I was curious to learn how to solve the rubiks cube, early on when I received it as a gift during high school. Thinking back, I may have spent more time than I should on grasping the concepts that I learned. I am confident to say that I am capable to teach others these techniques in less amount of time, maybe faster than when I initially picked it up! However, don t you worry about the time it takes. The things that matter are the things you learn and what you can do with it. I would just like to wish you the best of luck before we begin!!
Lets begin Interesting facts about the Rubik s Cube: There are so many different ways to scramble the rubik s cube. Approximately 43 Quintillion in fact! Erno Rubik invented the toy in 1974, in order to teach geometric principles One of the best-selling puzzle toys to date
The Beginners Method The Beginner s Method is one puzzle solution to the Rubik s cube, such that you view the cube as three layers, and you systematically solve the bottom layer, the middle layer, and the top layer. Kinda like a layer cake Top Layer Middle Layer Bottom Layer
Things to Remember: Colored Faces The standard rubik s cube has six colors: Green, Blue, Yellow, Red, Orange, and White. Each color has their own face on the cube, because of their colored center piece Center Piece
Colored Faces One important fact to remember about the colored faces is that their center pieces are ALWAYS going to be opposite to each other. On the standard cube: The Green face is always opposite the Blue face The Red face is always opposite the Orange Face The White face is always opposite the Yellow Face With the cube on your desk, observe the Top face and the bottom face of the cube, and These facts will show as true any way you orient the cube(and I don t mean rotating the faces!)
Colored Faces (*NOTE) For this introductory section, we are NOT doing anything having to do with rotating the faces of the cube, as shown Below. We are focusing on LOOKING at and around the cube first so that we can plan what we can do, when we know.
Things to Remember: Pieces of a Puzzle In essence, the Rubik s Cube is a puzzle. Think of the cube as a Cube Made up of Smaller Cubes , just as how it looks. These smaller cubes are known as Cubies , which are the puzzle pieces, and have two types. One type of cubie is an edge, which are pieces of the cube that contain two colors The other type is a corner, which are pieces that contain three colors
Pieces of a Puzzle Take the blue face of the cube, for example. Essentially, the blue face has four edges and four corners for one to solve. These 8 pieces, plus the center piece, make up a proper face of the cube. Looking at the cube this way, here are examples of edges and corners on a cube, if we were to identify them with tape, and count how many colors each of them - Corners have. - Edges
Things to Remember: Solving the Bottom Layer The first step to the Beginner s Method is to pick one of the six colors, and put that color s face on the bottom. You know that it is on the bottom if the color face is the one touching the surface you placed the cube on--put it on a table, for example, and the face touching the table is the one you picked--. We will use this color to solve the bottom layer. For this lecture, I will personally use my preferred starting color, green, and orient the green face on the bottom layer. In upcoming slides, I will discuss the process with this color preference. Just know that the bottom layer color can be ANY color you pick. This color MUST ALWAYS be on the bottom while solving the bottom layer.
Q: But what if I want to see what the bottom looks like to make sure? No worries. You are still able to look all around the cube while still keeping your desired color on the bottom layer. It has to do with how one holds the cube. I call this hold, The pinchers . Your pinchers are claws, like a crab. Your claws are made up by your thumb and the other remaining fingers that you would like to be the other pincer. On each hand, I hold the cube with my thumb and my index and middle fingers, like a pincher. This variation allows me to move the cube around so that I can see more of the pieces. It is through this way that you can look at where pieces are, and where they need to go WITHOUT moving other pieces out of their spot.
Solving the Bottom Layer(*NOTE) When people tend to look for a certain color to place on the bottom layer each time they solve the cube, they are known to be Color biased . Every time I solve the rubik s cube, I always put the green face on the bottom layer before the other colors. This means that I am color biased However, if people are as comfortable picking to solve any color as their bottom layer, they are known as Color neutral . Being biased or neutral has their pros and cons. The importance is that you would end up knowing which one you strive to be based on what you do with the bottom layer: picking any color, or picking the same color each practice.
Solving the Bottom Layer: Second Step Now we need to solve the four edges for the green face on the bottom layer. The edges of the bottom layer comprise of 2 colors: green, and another color that is NOT opposite the green face(not blue, but the four other remaining colors). You can tell what colors the green edges pair with by looking at the center pieces of the colors that are not green s opposite. Putting these edges in their correct places creates a monochrome cross on our bottom layer. It is also through these edges of the cross that essentially connects the green face to the red face, the green to the orange, and so on. The only color that the green face is not connected to would be its opposite.
Closing Practice Get familiar with holding the cube, knowing its working parts, and looking around it with ease 1. Take on the practice activities in the file named Lecture 1- Practice and Feedback attached in email with this lecture 2. Scramble the cube a few times, and practice finding all four edges to the bottom layer, but don t move them. Keep a mental or physical timer of how fast you think is your best and comfortable. Proceed to Lecture 2, as soon as you feel quick and flexible to targeting the edges right away. 3.
Next lecture, the focus will be to Go in-depth on how we read notations that represent movements and algorithms of the rubik s cube Continue the second step of the bottom layer, and discuss algorithms for handling how to set up edges and place them in the correct place Explain algorithms for handling how to handle corners and place them in the correct place Give hints of insight into how to solve the middle layer next


")


")