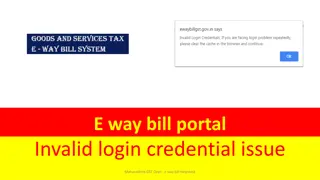
Changing Root SSL Certificate Properties in e-Payment User Clients Using Windows MMC
Learn how to change root SSL certificate properties in e-Payment user clients on Windows PCs using the Microsoft Management Console (MMC). Follow step-by-step instructions, including adding certificates, enabling purposes, and navigating through trusted root certification authorities. Improve security settings for a smoother online payment experience.

Download Presentation

Please find below an Image/Link to download the presentation.
The content on the website is provided AS IS for your information and personal use only. It may not be sold, licensed, or shared on other websites without obtaining consent from the author. If you encounter any issues during the download, it is possible that the publisher has removed the file from their server.
You are allowed to download the files provided on this website for personal or commercial use, subject to the condition that they are used lawfully. All files are the property of their respective owners.
The content on the website is provided AS IS for your information and personal use only. It may not be sold, licensed, or shared on other websites without obtaining consent from the author.
E N D
Presentation Transcript
Usage of Windows MMC To Change Root SSL Certificate Properties in e-Payment User Clients(PC)
Open Windows-> Run and type mmc Click OK mmc and
Select Certificates under Available Snap ins: and Click Add
Open Certificates Certificates folder
Navigate to CCA India 2011 certificate and Double click
Choose/mark Enable all purposes for this certificate and Click OK OK
Close/Exit MMC (File-> Exit) and Click NO under Save Console settings to Console1? NO
Now Re-open the Browser and goto https://vat.kar.nic.in/epay


 and Click NO")