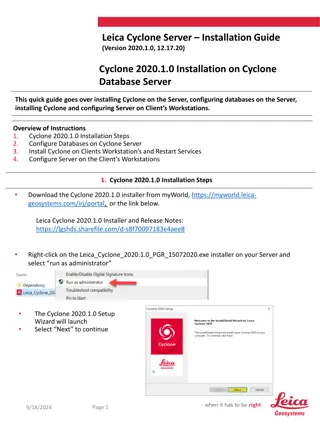
Configuring Server to Communicate with CET Meters via Ethernet
Learn how to configure your server to communicate with CET meters using Ethernet connection. Follow steps to connect to the meter, view server network information, configure meter communication settings, and verify communication through ping tests. Ensure smooth communication setup for efficient data management.
Download Presentation

Please find below an Image/Link to download the presentation.
The content on the website is provided AS IS for your information and personal use only. It may not be sold, licensed, or shared on other websites without obtaining consent from the author. If you encounter any issues during the download, it is possible that the publisher has removed the file from their server.
You are allowed to download the files provided on this website for personal or commercial use, subject to the condition that they are used lawfully. All files are the property of their respective owners.
The content on the website is provided AS IS for your information and personal use only. It may not be sold, licensed, or shared on other websites without obtaining consent from the author.
E N D
Presentation Transcript
CONFIGURING SERVER CONFIGURING SERVER TO COMMUNICATE WITH TO COMMUNICATE WITH CET METERS (ETHERNET) CET METERS (ETHERNET) CET Inc. www.cet-global.com
CONTENTS Configuring the Configuring theMeter 1. Connect to meter 2. View server network information 3. Configure meter communication settings Meter S Settings ettings Verifying the Communication Verifying the Communication 1. Ping meter IP 2. Troubleshooting
CONFIGURING CONFIGURING THE THE METER SETTINGS METER SETTINGS
1. CONNECT TO METER Select a port to connect Make sure the Ethernet cable plug in the right port corresponding to meter settings. Picture.1 Some meters have 2 port available
2. VIEW SERVER NETWORK INFORMATION 1) Open network and sharing center WinKey + R on your keyboard. Or you could open the start menu and type Run. 1 Enter control in the Run Command box followed by the Return key. 2 Now Control Panel come out, click to enter Network and Sharing Center. 3 3 1 2
2. VIEW SERVER NETWORK INFORMATION 2) Check the network information Click Ethernet of the View your active networks list. 1 1 Click Details under General tab. 2 Check the IPV4 Default Gateway on Network Connection Details to assign an IP for meter. 3 2 For example, Here the IPV4 Default Gateway is 192.168.1.1 You can assign an IP 192.168.1.145 for the meter 3
3. CONFIGURE METER COMMUNICATION SETTINGS 1) Open communication settings in front panel HMI 3 Enter Setup on Home page of HMI 1 Press Tab button on meter front panel and turn to COMM setting page 2 Press Enter button and fill in the IP Address (P1/P2) assigned to the meter and IPV4 Default Gateway 3 1 Press Enter button again to confirm the modification. 4 2
1. PING METER IP Open communication settings in front panel HMI 3 1 WinKey + R on your keyboard. Or you could open the start menu and type Run. Enter ping IP -t (Like ping 192.168.1.145 t) in the Run Command box followed by the Return key. 2 You can see the reply message on a command window if communicating with meter successfully. 3 1 2
2. TROUBLESHOOTING No reply when ping meter IP 1 Check is there any problem with the Ethernet cable. Check whether the meter gateway is the same with the server s 2
THANK YOU Nathan 20180322


