Construct Your Own World War 2 Air Raid Shelter Model
"Learn how to create a detailed cardboard model of a World War 2 air raid shelter with step-by-step instructions. From cutting out parts to assembly, follow along and build this historical structure. Perfect for educational projects or history enthusiasts." (395 characters)

Download Presentation

Please find below an Image/Link to download the presentation.
The content on the website is provided AS IS for your information and personal use only. It may not be sold, licensed, or shared on other websites without obtaining consent from the author. If you encounter any issues during the download, it is possible that the publisher has removed the file from their server.
You are allowed to download the files provided on this website for personal or commercial use, subject to the condition that they are used lawfully. All files are the property of their respective owners.
The content on the website is provided AS IS for your information and personal use only. It may not be sold, licensed, or shared on other websites without obtaining consent from the author.
E N D
Presentation Transcript
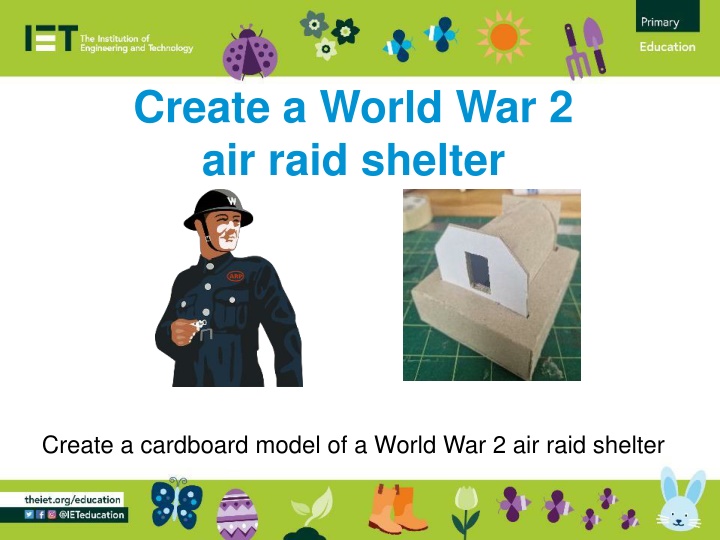
Create a World War 2 air raid shelter Create a cardboard model of a World War 2 air raid shelter
Air raid shelter During World War II, households needed protection against enemy air-raids If you had a garden the most practical solution was to build your own shelter The shelter was designed to be shipped in kit form - a bit like flat-pack furniture is today The kit consisted of sheets of corrugated steel, a base, nuts & bolts, fixtures, instructions, and a spanner
Preparation for the shelter Before you constructed the shelter you had to dig a hole The sheets of corrugated iron would be bolted together and fastened to the base The soil from the hole would be piled on top so that only the front side would be visible Hopefully, after all that hard work it would be bombproof
The Challenge You are going to make a model of an Anderson-style shelter used in World War 2 Your shelter will be made of three parts: the shelter building a base a model of the earth cover.
Resources required You will need: Air Raid Shelter templates Scissors Card or cereal box Glue stick Coloured pens/pencils Masking tape
Shelter building Step 1 Cut out the parts Carefully cut along all the solid outlines Glue onto card or cardboard When glue is dry, cut out the cardboard
Step 2 Scoring Score along the dotted line, and fold
Step 3 Gluing Place some glue on the longest tab and hold against the opposite face Put glue on the tabs for the side nearest the door and stick against the front panel
Step 4 Assembly Repeat with the remaining side and press until the glue dries You could use masking tape to hold it until dry, then remove the tape
Step 5 Back and front pieces Glue the two back pieces together back-to-back Glue the two front pieces together back-to-back so that the entrance lines up
Step 6 Front assembly Place glue on the front end of the shelter Carefully glue the front piece to the shelter, making sure the entrances lines up
Step 7 Back assembly Put glue on the back of the shelter Fix the back panel to the shelter - make sure the panel is central, with the bottom edge lined up with the bottom edge of the shelter
Step 8 Decorate Leave the shelter part of the model to dry Decorate the front and back of your shelter to make it look real
Construct the base Step 1 Cutting out Cut out the base and hole for the shelter
Step 2 Scoring Score the fold in the card and fold
Step 3 - Glue Glue the four corner tabs together to form a box shape
Step 4 - Assemble Allow the glue to dry, then apply glue to the remaining tabs and stick them down Leave the base section to dry
Construct the earth cover Step 1 Colour in the grass on the top with a felt tip pen Cut out the shape including any tabs Score along the dotted lines and fold
Step 2 - Assembly Place glue on tabs and stick to the opposite faces Let the glue dry
Finished model Fit your shelter into the slot in the base Place the grass-covered earth section of the model over your model - this provided more protection
Extension Design a suitable layout for the interior what would be needed? How would you arrange everything? Remember a whole family would be inside!