Constructing a 2V Geodesic Dome - Step-by-Step Guide
Learn how to construct a 2V geodesic dome efficiently with detailed instructions on measuring, calculating lengths, laying out shapes, drawing triangles, making templates, and cutting materials. Follow the method outlined to create your own unique geodesic dome structure for various purposes.

Download Presentation

Please find below an Image/Link to download the presentation.
The content on the website is provided AS IS for your information and personal use only. It may not be sold, licensed, or shared on other websites without obtaining consent from the author. If you encounter any issues during the download, it is possible that the publisher has removed the file from their server.
You are allowed to download the files provided on this website for personal or commercial use, subject to the condition that they are used lawfully. All files are the property of their respective owners.
The content on the website is provided AS IS for your information and personal use only. It may not be sold, licensed, or shared on other websites without obtaining consent from the author.
E N D
Presentation Transcript
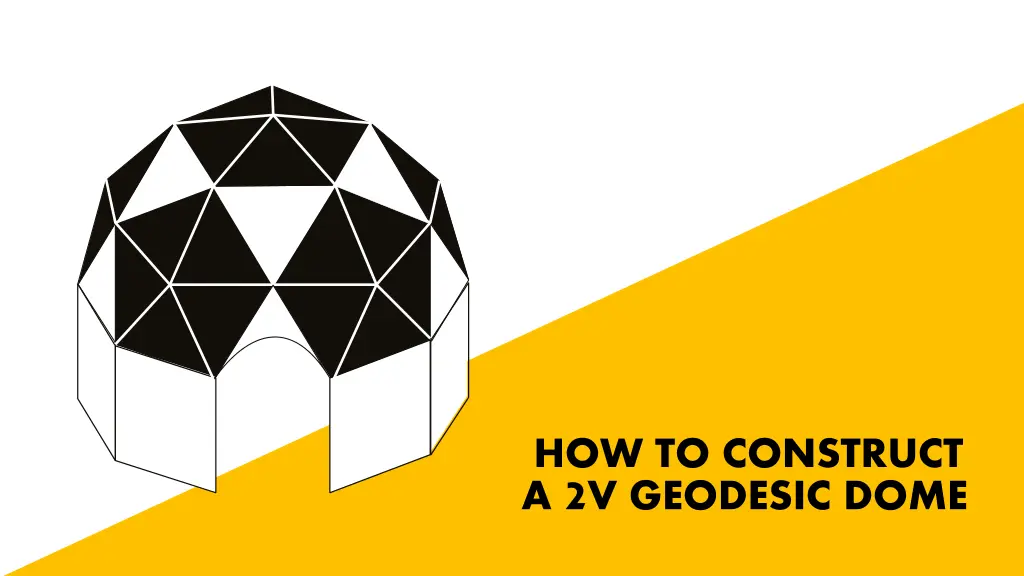
HOW TO CONSTRUCT A 2V GEODESIC DOME
THREE SHAPES, TWO LENGTHS Square Isosceles Triangle Equilateral Triangle A A A A A B B A A A There are two lengths: A & B The isosceles is ABB, the equilateral is AAA and the square is AAAA
CALCULATIONS Measure the space you have available and work out how big the base of the dome can be. The diameter is the width of the base. 1. Measure the diameter of the dome base. 2. Divide the diameter in two to find the RADIUS 3. To work out length A multiply the RADIUS by 0.61803 4. To work out length B multiply the RADIUS by 0.54653 5. The lengths can be rounded to 2 significant digits. 6. Create the three shapes using the values calculated. Diameter
CALCULATION EXAMPLE Let s work through the calculations with real numbers. In our example the width of the dome base (the diameter) is 180cm. 1. Measure the diameter = 260cm 2. Divide the diameter in two to find the RADIUS = 130cm 3. To work out length A multiply 130 4. To work out length B multiply 130 5. The lengths can be rounded to 2 significant digits (as above) 6. You then need to create the three shapes using these values. 260cm 130cm. 80.34cm 71.04cm 130 by 0.61803 = 80.34cm 130 by 0.54653 = 71.04cm Diameter
LAYING OUT THE SHAPES B = 71.04cm B = 71.04cm A A A A A B B A A A A = 80.34cm A = 80.34cm A = 80.34cm A = 80.34cm A = 80.34cm A = 80.34cm You need to know the height of the isosceles and the equilateral to draw them. To do this use an online calculator. Remove any angles and input the lengths of the sides: Triangle Calculator Triangle Calculator
DRAW TRIANGLES 1. For both the isosceles and the equilateral 2. Draw the base line 3. Using a set square draw the height line perpendicular from the centre of the base line. 4. Connect the top point of the height line to both ends of the base line. H = 69.58cm H = 69.58cm A A A A = 80.34cm A = 80.34cm
MAKE A TEMPLATE From either the cardboard or a stronger material (thin ply or hardboard) cut out one isosceles and one equilateral. You can then draw around the template on your blank cardboard to size your shapes accurately. It can also help if you remove the material in the middle of the triangle (cut another triangle) as it reduces weight when drafting the triangles.
EFFICIENT CUTTING We bought cardboard 800mm x 1200mm. This allowed us to use the templates to draw/cut the lines below and achieve the maximum size we needed for 2.6 metre domes. The triangles needed 3 cuts to produce 2 triangles, and the squares required one cut.
THREE SHAPES Square Isosceles Triangle Equilateral Triangle A A A A A B B A A A You need to cut 30 x isosceles (ABB) 30 x isosceles (ABB) 10 x equilateral (AAA) 10 x equilateral (AAA) 9 x squares (AAAA) or 10 with a door 9 x squares (AAAA) or 10 with a door