Create Drawing Application with Paper.js - Step-by-Step Guide
Learn how to build a drawing application using Paper.js with this detailed tutorial. Set up your environment, link necessary libraries, and create shapes on an HTML canvas. Get hands-on experience in JavaScript development for interactive graphics.

Download Presentation

Please find below an Image/Link to download the presentation.
The content on the website is provided AS IS for your information and personal use only. It may not be sold, licensed, or shared on other websites without obtaining consent from the author. If you encounter any issues during the download, it is possible that the publisher has removed the file from their server.
You are allowed to download the files provided on this website for personal or commercial use, subject to the condition that they are used lawfully. All files are the property of their respective owners.
The content on the website is provided AS IS for your information and personal use only. It may not be sold, licensed, or shared on other websites without obtaining consent from the author.
E N D
Presentation Transcript
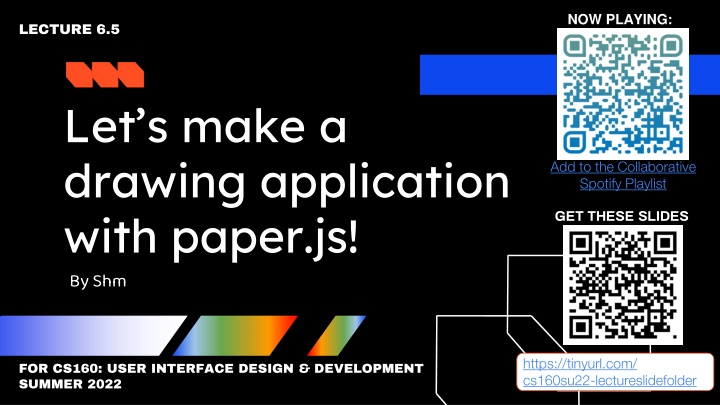
NOW PLAYING: LECTURE 6.5 Let s make a drawing application with paper.js! By Shm Add to the Collaborative Spotify Playlist GET THESE SLIDES https://tinyurl.com/ cs160su22-lectureslidefolder FOR CS160: USER INTERFACE DESIGN & DEVELOPMENT SUMMER 2022
1)Node server set-up from Project 1 (very similar App.js, but even simpler) <!DOCTYPE html> <html> <head> </head> <body> Hello world! </body> </html> (some super simple HTML boilerplate)
2) Lets get paper-full.js downloaded from here: http://paperjs.org/download/ and put it in a safe place in our directory. (In this case, public/js/ )
3) Link to paper-full.js in the <head> of our HTML document to load in the Paper.js library. <!-- Load the Paper.js library --> <script type="text/javascript" src="js/paper- full.js"></script>
4) Lets make a separate JavaScript file to build our app inside Here s some code (a simple circle) for us to put in it for now. a. var shape = new Shape.Circle(new Point(80, 50), 30); b. shape.strokeColor = 'black';
5) Lets link to that JavaScript - or really, PaperScript - code in our HTML file <script type="text/paperscript" src="js/my-drawing-app.js"> </script>
6) We need to put an HTML Canvas object into our document as a container for our Paper code to actually appear inside. <script type="text/paperscript" src="js/my-drawing-app.js" canvas="my-canvas"> </script> <body> <canvas id="my-canvas" height="600" width="800"></canvas> </body>
Set-up done! Lets test our set-up by running the server (node App.js) and navigating our web browser to localhost:8000/
Mouse Events
1)Create an onMouseDown event handler that activates some code when the user clicks their mouse. tool.onMouseDown = function(event) { var shape = new Shape.Circle(new Point(80, 50), 30); shape.strokeColor = 'black'; } http://paperjs.org/reference/tool/#onmousedown
2) Create an onMouseDrag event handler that activates some code when the user drags their mouse. tool.onMouseDrag = function(event) { var shape = new Shape.Circle(new Point(50, 80), 30); shape.strokeColor = 'black'; } http://paperjs.org/reference/tool/#onmousedown
3) Get mouse coordinate data from event.point tool.onMouseDrag = function(event) { var center = event.point; var shape = new Shape.Circle(new Point(center), 30); shape.strokeColor = 'black'; } http://paperjs.org/reference/tool/#onmousedown
Side note: Getting debug data via printed to the console console.log("Mouse clicked!"); console.log(event.point); https://www.w3schools.com/jsref/met_console_log.asp
Drawing Application Flair
1)Change our brush var path; // Create a new path every time the mouse is clicked path = new Path(); path.add(event.point); path.strokeColor = 'black'; path.add(event.point); http://paperjs.org/reference/tool/#onmousedrag
2) Change line quality path.strokeColor = 'black'; path.strokeWidth = 15; http://paperjs.org/tutorials/paths/using-color-and-style/
3a) Brush Options - Adding buttons <button type="button">Default</button> <button type="button">Activate Thick Greenness</button>
3b) Optional: Make buttons nice In head: <!-- add Bootstrap --> <link rel="stylesheet" href="https://maxcdn.bootstrapcdn.com/bootstrap/3.4.1/css/bootstra p.min.css"> In body: <button type="button" class="btn">Default</button> <button type="button" class="btn btn-success">Activate Thick Greenness</button> https://www.w3schools.com/bootstrap/bootstrap_buttons.asp
3c) Make the buttons Actually Do Something: with jQuery In HTML <head>: <!-- add jQuery --> <script src="https://ajax.googleapis.com/ajax/libs/jquery/3.6.0/jquery.min.js "></script> In HTML <body>: <button type="button" class="btn" id = "mybutton" >Default</button> In JavaScript: $('#mybutton').on('click', function (e) { console.log("test successful!") }) https://api.jquery.com/click/
3c) Make the buttons Actually Do Something: with variables At the top: var currentColor = 'black' var currentWidth = 5 In onMouseDown event: path.strokeColor = currentColor; path.strokeWidth = currentWidth; Add button functionality: $('#default').on('click', function (e) { currentColor = 'black' currentWidth = 5 }) https://api.jquery.com/click/
3c) Make the buttons Actually Do Something (cont.) At the top: var currentColor = 'black' var currentWidth = 5 In onMouseDown event: path.strokeColor = currentColor; path.strokeWidth = currentWidth; Add button functionality: $('#default').on('click', function (e) { currentColor = 'black' currentWidth = 5 }) https://api.jquery.com/click/
4) Accidentally make an increase stroke size button $('#default').on('click', function (e) { currentColor = 'black' currentWidth += 5 }) https://api.jquery.com/click/
5) Add an eraser In HTML: <button type="button" class="btn" id = "eraser" >Eraser</button> In JS: $('#eraser').on('click', function (e) { currentColor = 'white' currentWidth = 20 })
6) Add some pizzazz with icons! Glyphicons (only works with Bootstrap 3, not Bootstrap 4): https://getbootstrap.com/docs/3.3/components/ FontAwesome: https://fontawesome.com/ Google Material Design Icons: https://developers.google.com/fonts/docs/material_icons <link rel="stylesheet" href="https://fonts.googleapis.com/css2?family=Material+Symbols+Outlined:opsz,wght,FILL ,GRAD@20..48,100..700,0..1,-50..200" /> Add a pencil icon: https://fonts.google.com/icons?icon.query=pencil
Make it your own!


Node server set-up from")
 Let’s get paper-full.js")
 Link to paper-full.js in the")
 Let’s make a separate")
 Let’s link to that JavaScript - or")
 We need to put an HTML Canvas")


Create an onMouseDown event")
 Create an onMouseDrag event")
 Get mouse coordinate data")


Change our “brush”")
 Change line quality")
 Brush Options - Adding")
 Optional: Make buttons nice")
 Make the buttons Actually")
 Make the buttons Actually")
 Make the buttons Actually")
 Accidentally make an")
 Add an eraser")