Create Layered Boat Animation with Xploris Software
Learn how to use layers to animate a boat on the river with Xploris software. Discover the tools and steps involved in creating a moving image, from drawing the background to adding elements like clouds and the boat. Unleash your creativity and dive into the world of digital artistry!

Download Presentation

Please find below an Image/Link to download the presentation.
The content on the website is provided AS IS for your information and personal use only. It may not be sold, licensed, or shared on other websites without obtaining consent from the author. If you encounter any issues during the download, it is possible that the publisher has removed the file from their server.
You are allowed to download the files provided on this website for personal or commercial use, subject to the condition that they are used lawfully. All files are the property of their respective owners.
The content on the website is provided AS IS for your information and personal use only. It may not be sold, licensed, or shared on other websites without obtaining consent from the author.
E N D
Presentation Transcript
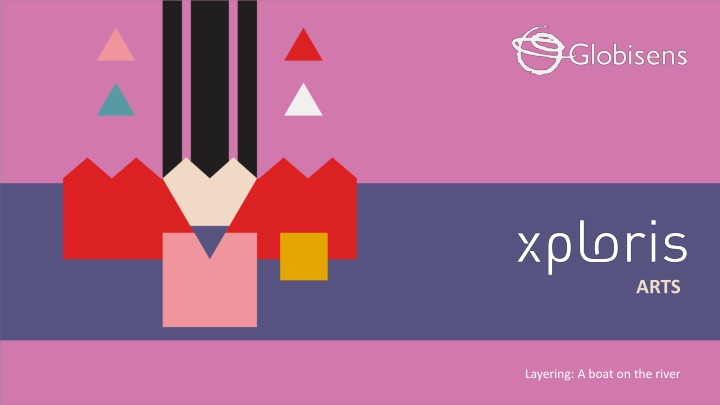
ARTS Layering: A boat on the river
A BOAT ON THE RIVER Introduction 1 Introduction Design 2 Design Questions ARTS 3 Questions Activity summary 4 Activity summary
Introduction 1 Did you know that many movies are shot in closed studios and the backgrounds are applied afterwards? In other words, we often see landscapes that are not real. This happens thanks to green screens, a technique that allows us to create layers of the things we see. The main layer is for the actors and the background layer is the green screen, which is then replaced with an image or special effects. In this lesson you will create your own layered animation using the Xploris software. The question you will answer will be: Can we use layers to animate a boat on the river?
Design 2 Turn on your Xploris and connect it to your computer or tablet. Open the XploriLab software on your computer or tablet. Once inside XploriLab, select the icon to connect the device via cable or bluetooth as applicable. Enter the art section (ART) and then to ANIMATOR.
Design 2 Inside the main window you will find several sections with the necessary tools to make a digital artwork. Color palette Tools Configuration Drawing area Layers Frames
Design 2 Use the different Xploris tools to create a moving image of a boat. Tools Eyedropper: Copies the color of a pixel. Pencil: Adds color to a pixel. Bucket: Fills the inside of a closed shape with color. Move: Move the selected pixels. Rectangle: Creates a rectangle on the screen. More: Change the selected color in your palette. Eraser: Erases a single pixel. Undo: Deletes your last action. Selection: Select a section of the frame to copy, paste and move. Redo: Redo an action you have deleted. Line: Creates a straight line. Upload: Upload your drawing or animation to the Xploris device.
Design 2 1 2 Under the drawing area are the layers. The first, in black, corresponds to the background, and the other two correspond to the elements that are above it. In the first layer you will draw the background, in the second the clouds and in the thirdthe boat.
Design 2 3 4 On the second layer, draw 2 white clouds with the pencil. On the first layer, use the rectangle tool to draw the sky and the sea.
Design 2 5 6 a) Right click on the first frame. b) Duplicate the frame. c) Select the second frame and work on it. On the third layer, use the pencil to draw a boat. Follow the one in the image.
Design 2 7 8 3 px From the second frame we will simulate that the clouds are moving in the sky. Select the second layer (clouds), and with the help of the move tool move them 3 pixels to the right. Duplicate the frame we were working on and shift the clouds 3 pixels to the right again.
Design 2 3 px 3 px 3 px 3 px 3 px 9 Repeat the action of copying and shifting 3 pixels to the right until the clouds return to their original position. 1 px 1 px 1 px To simulate that the boat is floating let's move it up and down. To do this in frames 2, 4 and 6, select the third layer (boat) and with the help of the move tool move the boat 1 pixel down.
Design 2 10 Press the Play button to start your animation and see it in motion. The Fps are the frames per second. Modify the frame bar to give more or less speed to the animation. We recommend leaving it at 3 Fps for a smooth look.
Design 2 Once you have finished your drawing, save and upload it to your Xploris screen. Press the three-bar icon at the top of the screen. First, save your drawing by pressing Save and give it a name. Once saved, press the Upload icon at the top of the screen, wait for it to load and watch your drawing appear in Xploris.
Questions 3 Arts 1 When you make a drawing on paper, do you draw the background first and then the objects? Do you think that drawing by hand is similar to working with layers? Technology 2 Have you ever worked with layers in another digital drawing program? 3 Let's keep experimenting! Do you think you can make another layered animation in your Xploris? Try to create a different means of transportation and a differentlandscape.
Activity summary 4 We used the Xploris software to create a boat with movement. We understood the concept of layers and applied it in our animation. We uploaded an animation to the Xploris device.
ARTS Layering: A boat on the river