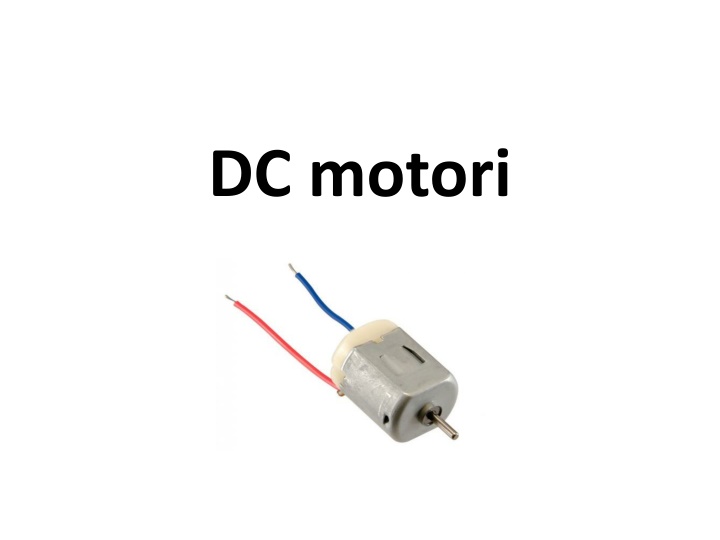
DC Motor Control with H-Bridge: Setup, Wiring, and Programming Guide
"Learn how to control DC motors using an H-Bridge circuit with step-by-step setup instructions, wiring diagrams, and sample programming code. Enhance your understanding of motor control techniques for robotics and automation projects."

Download Presentation

Please find below an Image/Link to download the presentation.
The content on the website is provided AS IS for your information and personal use only. It may not be sold, licensed, or shared on other websites without obtaining consent from the author. If you encounter any issues during the download, it is possible that the publisher has removed the file from their server.
You are allowed to download the files provided on this website for personal or commercial use, subject to the condition that they are used lawfully. All files are the property of their respective owners.
The content on the website is provided AS IS for your information and personal use only. It may not be sold, licensed, or shared on other websites without obtaining consent from the author.
E N D
Presentation Transcript
H-bridge, L293D Motor drajver je mali poja ava struje ija je funkcija da malu upravlja ku struju pretvori u ve u struju koja mo e da upravlja motorom. L293D je tipi ni drajver koji mo e da upravlja paralelno sa 2 DC motora.
Primer 2. Upravljanje DC motorom pomo u H-bridge-a
Primer 2. Upravljanje DC motorom pomo u H-bridge-a H-bridge 1 (Enable): 5V = motor ON I/O 2, I/O 3 -> direction 3-LOW, 2-HIGH: one direction 2-LOW, 3-HIGH: oppos. direction 0V = motor OFF PWM control speed
Primer 2. Prograsmki kod const int controlPin1 = 2; const int controlPin2 = 3; const int enablePin = 9; const int directionSwitchPin = 4; // connected to the switch for direction const int onOffSwitchStateSwitchPin = 5; // connected to the switch for turning the motor on and off const int potPin = A0; // connected to the potentiometer's output // connected to pin 7 on the H-bridge // connected to pin 2 on the H-bridge // connected to pin 1 on the H-bridge int onOffSwitchState = 0; int previousOnOffSwitchState = 0; int directionSwitchState = 0; int previousDirectionSwitchState = 0; // current state of the on/off switch // previous position of the on/off switch // current state of the direction switch // previous state of the direction switch int motorEnabled = 0; int motorSpeed = 0; int motorDirection = 1; // Turns the motor on/off // speed of the motor // current direction of the motor
Primer 2. Prograsmki kod void setup() { // initialize the inputs and outputs pinMode(directionSwitchPin, INPUT); pinMode(onOffSwitchStateSwitchPin, INPUT); pinMode(controlPin1, OUTPUT); pinMode(controlPin2, OUTPUT); pinMode(enablePin, OUTPUT); // pull the enable pin LOW to start digitalWrite(enablePin, LOW); }
Primer 2. Prograsmki kod void loop() { // read the value of the on/off switch onOffSwitchState = digitalRead(onOffSwitchStateSwitchPin); delay(1); // read the value of the direction switch directionSwitchState = digitalRead(directionSwitchPin); // read the value of the pot and divide by 4 to get a value that can be // used for PWM motorSpeed = analogRead(potPin) / 4; // if the on/off button changed state since the last loop() if (onOffSwitchState != previousOnOffSwitchState) { // change the value of motorEnabled if pressed if (onOffSwitchState == HIGH) { motorEnabled = !motorEnabled; } }
Primer 2. Prograsmki kod // if the direction button changed state since the last loop() if (directionSwitchState != previousDirectionSwitchState) { // change the value of motorDirection if pressed if (directionSwitchState == HIGH) { motorDirection = !motorDirection; } } // change the direction the motor spins by talking to the control pins // on the H-Bridge if (motorDirection == 1) { digitalWrite(controlPin1, HIGH); digitalWrite(controlPin2, LOW); } else { digitalWrite(controlPin1, LOW); digitalWrite(controlPin2, HIGH); }
Primer 2. Prograsmki kod // if the motor is supposed to be on if (motorEnabled == 1) { // PWM the enable pin to vary the speed analogWrite(enablePin, motorSpeed); } else { // if the motor is not supposed to be on //turn the motor off analogWrite(enablePin, 0); } // save the current on/off switch state as the previous previousDirectionSwitchState = directionSwitchState; // save the current switch state as the previous previousOnOffSwitchState = onOffSwitchState; }
Primer 3. Kontrola DC motora h-bridge-om i d ojstik-om Precrtati prekida e i potmetar, dodati d ojstik na A0
Primer 3. Kontrola DC motora h-bridge-om i d ojstik-om const int controlPin1 = 2; // connected to pin 7 on the H-bridge const int controlPin2 = 3; // connected to pin 2 on the H-bridge const int enablePin = 9; // connected to pin 1 on the H-bridge const int joystick_press = 5; void setup() { pinMode(controlPin1, OUTPUT); pinMode(controlPin2, OUTPUT); pinMode(enablePin, OUTPUT); pinMode(joystick_press, INPUT); digitalWrite(joystick_press, HIGH); } void loop() { if (digitalRead(joystick_press)==LOW){ digitalWrite(enablePin, HIGH); digitalWrite(controlPin1, HIGH); digitalWrite(controlPin2, LOW); analogWrite(enablePin, 100); } if (digitalRead(joystick_press)==HIGH){ digitalWrite(enablePin, LOW); } }
Primer 4. Kontrola smera obrtanja DC motora d ojstik-om const int controlPin1 = 2; // connected to pin 7 on the H-bridge const int controlPin2 = 3; // connected to pin 2 on the H-bridge const int enablePin = 9; // connected to pin 1 on the H-bridge const int joystick_X = A0; // connected to the potentiometer's output const int joystick_press = 5; int motorEnabled = 0; // Turns the motor on/off int motorSpeed = 0; // speed of the motor void setup() { pinMode(controlPin1, OUTPUT); pinMode(controlPin2, OUTPUT); pinMode(enablePin, OUTPUT); pinMode(joystick_press, INPUT); digitalWrite(joystick_press, HIGH); digitalWrite(enablePin, HIGH); // pull the enable pin LOW to start }
Primer 4. Kontrola smera obrtanja DC motora d ojstik-om void loop() { //if (digitalRead(joystick_press)==LOW){ //digitalWrite(enablePin, HIGH); if (analogRead(joystick_X)<400){ digitalWrite(controlPin1, HIGH); digitalWrite(controlPin2, LOW); analogWrite(enablePin, analogRead(joystick_X)/4); } if (analogRead(joystick_X)>600){ digitalWrite(controlPin1, LOW); digitalWrite(controlPin2, HIGH); analogWrite(enablePin, analogRead(joystick_X)/4); } }


