Effective Classroom Recording and Digital Learning Strategies
Explore the benefits of recording classroom teaching sessions, utilizing digital learning tools, suitable equipment setups, recommended recording software options like Panopto, and essential settings for optimal functionality. Enhance teaching practices through accessible and collaborative technologies.

Download Presentation

Please find below an Image/Link to download the presentation.
The content on the website is provided AS IS for your information and personal use only. It may not be sold, licensed, or shared on other websites without obtaining consent from the author. If you encounter any issues during the download, it is possible that the publisher has removed the file from their server.
You are allowed to download the files provided on this website for personal or commercial use, subject to the condition that they are used lawfully. All files are the property of their respective owners.
The content on the website is provided AS IS for your information and personal use only. It may not be sold, licensed, or shared on other websites without obtaining consent from the author.
E N D
Presentation Transcript
Recording Classroom Teaching DIGITAL LEARNING TEAM
Headlines Teaching of new material should be recorded (Recording of Taught Sessions Code of Practice) Webcams and microphones installed in all standard classrooms and most other rooms Some labs and specialist spaces may not have been set up Most visualisers can be recorded too
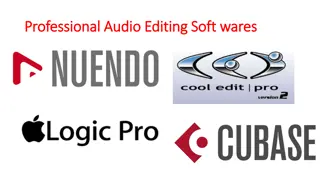
Recording Software Pure recording options Panopto ScreenPal* Interactive options * not recommended as need to manually upload use of interactive aspects not required but can be used if desired. Collaborate Teams recordings expire after 60 days so need to be moved
Equipment in rooms All Classrooms (not labs) Boundary/conference microphone on lectern ~10+ foot range in all directions Webcam on monitor Pointed forward but can remove and reposition Most Classrooms Visualiser Can be recorded as additional webcam Some Meeting rooms Video conferencing Acts as a webcam and microphone
Settings for all software Microphone USB audio CODEC or Samson UB1 Webcam Default webcam or Logitech Webcam C930e
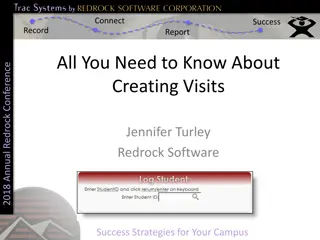
Panopto Access on Desktop or Blackboard Set up as you normally would: Select camera, microphone and screen/application Start recording and put Panopto window in background Stop recording when done and wait a few seconds for upload Access on any computer through web later for editing and publishing
Collaborate Access through Blackboard module as normal Set up as usual: Select camera, microphone and screen/application Start recording and put window in background Stop recording when done Access on any computer through web later for editing and publishing to share or upload to Panopto for editing/publishing
Teams Open a meeting as you normally would Set up as usual: Select camera and microphone on entry then share screen when in meeting Start recording and put window in background Stop recording when done Download later from teams for editing and publishing through Panopto
Recording visualisers Write and draw on paper under Visualiser rather than use a whiteboard and it can be recorded. Most visualisers have been set up as Webcams so can be recorded or shared with any of the above tools Will appear as another webcam when switched on Can then display in room with Lectern panel Some visualisers have rotatable cameras, others are fixed
Support Introduction to Classroom AV Systems Issues in room report via x.3333 (0114 225 3333), option 1. AV Help in Classrooms Recording software support/training Digital Learning Team (digitallearning@shu.ac.uk) Digital Skills Team (digitalskills@shu.ac.uk) [Teams only]