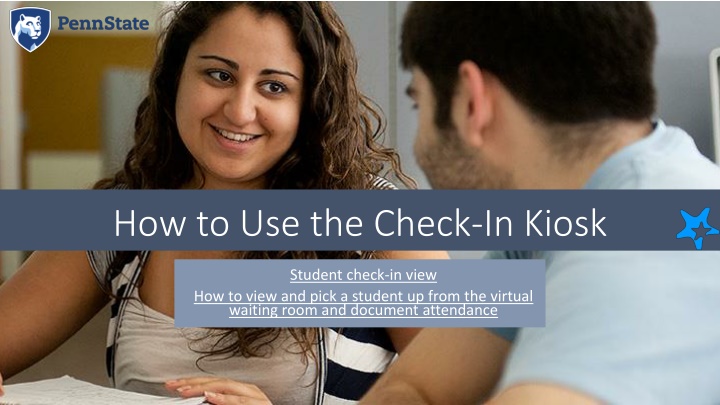
Learn how to effectively utilize the check-in kiosk for student attendance tracking. Understand the process from student check-in to confirming appointments and selecting services, ensuring a smooth workflow for office needs.
Please find below an Image/Link to download the presentation.
The content on the website is provided AS IS for your information and personal use only. It may not be sold, licensed, or shared on other websites without obtaining consent from the author. If you encounter any issues during the download, it is possible that the publisher has removed the file from their server.
You are allowed to download the files provided on this website for personal or commercial use, subject to the condition that they are used lawfully. All files are the property of their respective owners.
The content on the website is provided AS IS for your information and personal use only. It may not be sold, licensed, or shared on other websites without obtaining consent from the author.
E N D
Presentation Transcript
How to Use the Check-In Kiosk Student check-in view How to view and pick a student up from the virtual waiting room and document attendance
If you would like to use a check-in kiosk, work with the Starfish Admins to build the workflow that best meets your office needs The kiosk can be used from any device that is connected to the internet and allows the student to input answers to the prompts Student types or swipes to enter their 9-digit PSU student ID number A card-swipe reader can be used to enter the 9-digit PSU ID Student hits the Enter button of clicks SIGN IN
If the student has a scheduled appointment, the kiosk prompts confirmation Student clicks to check in
If the student does not have a scheduled appointment, the kiosk asks several questions, depending on your office s workflow Student selects a service If there are multiple services available to students through your kiosk, they will be asked to select one If there is only a single service, students are sent straight to the next step
Reasons come from the appointment type associated with your service Student selects a reason Then clicks continue
If the course is relevant for your workflow, students are asked to indicate if the visit is related to one of their courses This list displays the student s currently scheduled courses Student selects a reason Then clicks continue
In most workflows, you will go receive the student and meet Click the Outcomes tab During your meeting, you can view the student Starfish folder by clicking their name Select a location When done, close the folder to return to this dialog box, which remains open in the background
Click in the Actual End Time box to automatically enter the current time Type comments Note that you can see which other Starfish roles have permission to view your meeting and its associated comments These comments are part of the student s FERPA record Click Submit