Efficient Rsync File Transfer Using MobaXterm for Windows Users
Learn how to utilize Rsync for efficient file transfers on Windows using MobaXterm. Download, install, and execute Rsync commands easily with this step-by-step guide. Enhance your data transfer process seamlessly.

Download Presentation

Please find below an Image/Link to download the presentation.
The content on the website is provided AS IS for your information and personal use only. It may not be sold, licensed, or shared on other websites without obtaining consent from the author. If you encounter any issues during the download, it is possible that the publisher has removed the file from their server.
You are allowed to download the files provided on this website for personal or commercial use, subject to the condition that they are used lawfully. All files are the property of their respective owners.
The content on the website is provided AS IS for your information and personal use only. It may not be sold, licensed, or shared on other websites without obtaining consent from the author.
E N D
Presentation Transcript
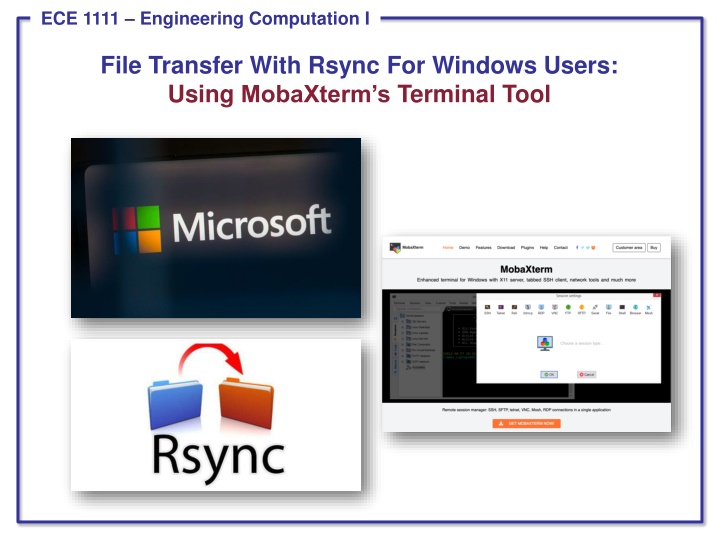
ECE 1111 Engineering Computation I File Transfer With Rsync For Windows Users: Using MobaXterm s Terminal Tool Graphical user interface, text Description automatically generated
Step 1: Download and Install MobaXterm This tutorial is only for Windows users. There are many ways to transfer files to/from a Windows machine. However, our favorite approach for moving large amounts of data is rsync. One of the easiest ways to use rsync under Windows is to install MobaXterm. To download and install MobaXterm, use this link: https://mobaxterm.mobatek.net/download-home-edition.html Graphical user interface, text, application Select the portable edition. Description automatically generated Download the zip file and unpack it on your Desktop. ECE 1111: Rsync Using MobaXterm Slide 1 Spring 2021
Step 2: Run MobaXterm Click on the executable in this folder. Once the application is open, click on Start Local Terminal. For those familiar with a terminal window or the Linux command line, this will start a pseudo-bash session. It does not have all the functionalities of a bash session, but it does include the basics that we need, such as rsync. ECE 1111: Rsync Using MobaXterm Slide 2 Spring 2021
Step 3: Using Rsync Many excellent tutorials are available on rsync. A simple Google search for how do I use rsync will return links to many excellent tutorials. We will focus on the task of copying data from the NEDC data repository, as described here. The general form of the command is: rsync [options] user@hostname:/source_path /destination_path A specific example is: rsync -auxvL nedc@www.isip.piconepress.com:data/nedc_pyprint_edf . You will be prompted for a username and password, which you can acquire from here. The options -auxvL are the options we find most useful for transferring data. Consult the rsync man page or users guides for additional information. The next argument, user@hostname , is the username you use to log into the remote host. The final argument, . , is the location where the files are to be deposited. In this case, they will be deposited in the current working directory. The beauty of rsync is that if your file transfer fails for some reason, you can simply rerun the command, and it will pick up where it left off. ECE 1111: Rsync Using MobaXterm Slide 3 Spring 2021


