Flash Microcontroller Tools Installation Guide
Learn how to install essential tools like STLink, OpenOCD, cross-debugger, cross-compiler, get demo code, compile Rust code, use GDB for debugging, and format code automatically to work with microcontrollers effectively.
Download Presentation

Please find below an Image/Link to download the presentation.
The content on the website is provided AS IS for your information and personal use only. It may not be sold, licensed, or shared on other websites without obtaining consent from the author. If you encounter any issues during the download, it is possible that the publisher has removed the file from their server.
You are allowed to download the files provided on this website for personal or commercial use, subject to the condition that they are used lawfully. All files are the property of their respective owners.
The content on the website is provided AS IS for your information and personal use only. It may not be sold, licensed, or shared on other websites without obtaining consent from the author.
E N D
Presentation Transcript
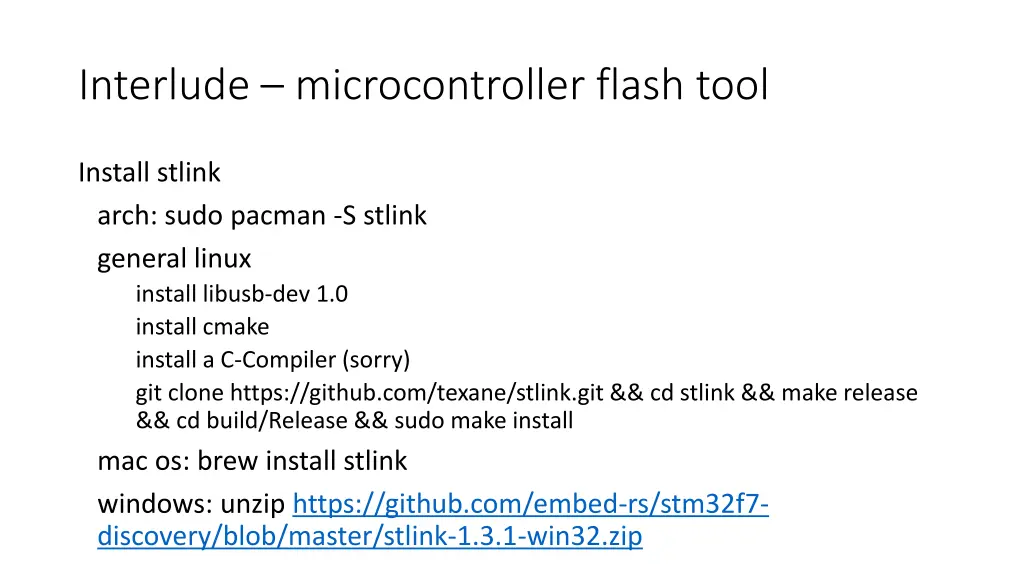
Interlude microcontroller flash tool Install stlink arch: sudo pacman -S stlink general linux install libusb-dev 1.0 install cmake install a C-Compiler (sorry) git clone https://github.com/texane/stlink.git && cd stlink && make release && cd build/Release && sudo make install mac os: brew install stlink windows: unzip https://github.com/embed-rs/stm32f7- discovery/blob/master/stlink-1.3.1-win32.zip
Openocd debian: sudo apt install openocd Manual install: https://sourceforge.net/projects/openocd
Cross-Debugger gdb-multiarch Debian: apt install gdb-multiarch
Interlude cross compiler arch: sudo pacman -S arm-none-eabi-gcc arm-none-eabi-gdb debian/ubuntu: sudo apt-get install gcc-arm-none-eabi gdb-arm- none-eabi macOS: brew tap osx-cross/arm && brew install arm-gcc-bin windows: download GNU ARM Embedded Toolchain from https://developer.arm.com/open-source/gnu-toolchain/gnu-rm/downloads execute to install ensure installation path is added to 'PATH' variable (might require a reboot)
Interlude Get the Demo code git clone https://github.com/embed-rs/stm32f7-discovery.git
Interlude - Compiling 1. rustup target add thumbv7em-none-eabihf 2. open another terminal and run openocd sudo openocd -f board/stm32f7discovery.cfg 1. go back to your first terminal 2. cargo run 3. The code has now been flashed and is ready to run. Type c (for continue) and observe your controller.
println! on microcontrollers http://embed.rs/articles/2016/semi-hosting-rust/ Skip over the details for now, the gist is important
Debugging with gdb reset Reset controller continue Run code from current position step Run a single instruction bt Print backtrace
Automatic code formatting Keep with the official style If you disagree with the style, configure it! rustfmt.toml Rightclick in the text window Select Format File
Aufbau eines Projekts fr den Mikrocontroller Ansteuerung einer Leuchtdiode
Blinking pins.led.set(true); let mut last_led_toggle = system_clock::ticks(); loop { let ticks = system_clock::ticks(); if ticks last_led_toogle >= 10 { pins.led.toggle(); last_led_toggle = ticks; } }
10. Exkurs: Dokumentation Konsole: cargo doc --open \blinking_led\target\stm32f7\doc\stm32f7_discovery \index.html
10. Exkurs: Dokumentation (linkes Men ) Crates: stm32f7_discovery Crate stm32f7_discovery: (oben) pub extern crate embedded_stm32f7 as board; Crate embedded_stm32f7: (unten) Functions: hw -> Hardware Felder, z.B.: pub gpio_a: &'static mut Gpio, pub gpio_b: &'static mut Gpio,
13. Led - pin vorbereiten fn main( ) // configure led pin as output pin let led_pin = (gpio::Port::PortI, gpio::Pin::Pin1); let mut led = gpio.to_output(led_pin, gpio::OutputType::PushPull, gpio::OutputSpeed::Low, gpio::Resistor::NoPull) .expect("led pin already in use"); // turn led on led.set(true);
13. Excurs: Pinkonfigurationen PushPull VDD VDD VDD + - Ausgang Ausgang Ausgang -VDD -VDD -VDD OpenDrain PullUp PullDown VDD VDD VDD VDD Ausgang Ausgang Ausgang Ausgang -VDD
14. Programm fn main( ) let mut last_led_toggle = system_clock::ticks(); loop { let ticks = system_clock::ticks(); // every 0.5 seconds if ticks - last_led_toggle >= 500 { // toggle the led let led_current = led.get(); led.set(!led_current); last_led_toggle = ticks; } }
16. Dokumentation Datasheet_STM32F746 STM32F7_Block_Diagram user-manual reference-manual programming-manual

