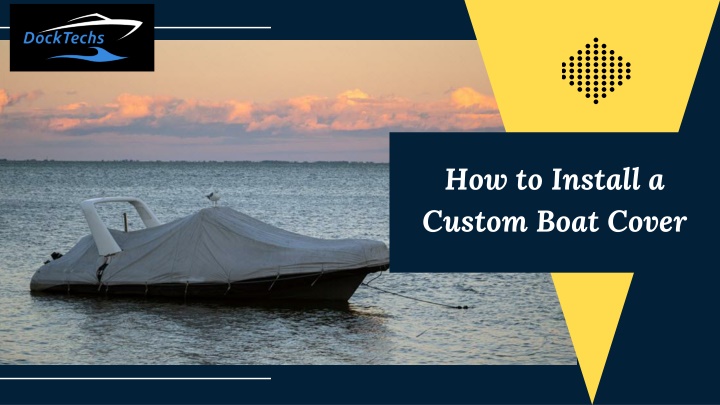
How to Install a Custom Boat Cover
To install a custom boat cover, first, ensure the boat is clean and dry. Unfold the cover and position it over the boat, aligning it properly. Secure straps and fasten buckles tightly to prevent shifting. Use support poles to prevent water pooling. F
Download Presentation

Please find below an Image/Link to download the presentation.
The content on the website is provided AS IS for your information and personal use only. It may not be sold, licensed, or shared on other websites without obtaining consent from the author.If you encounter any issues during the download, it is possible that the publisher has removed the file from their server.
You are allowed to download the files provided on this website for personal or commercial use, subject to the condition that they are used lawfully. All files are the property of their respective owners.
The content on the website is provided AS IS for your information and personal use only. It may not be sold, licensed, or shared on other websites without obtaining consent from the author.
E N D
Presentation Transcript
How to Install a Custom Boat Cover
Installing a custom boat cover is crucial for protecting your vessel from harsh weather, UV rays, and debris.
A well-fitted cover not only prolongs the life of your boat but also reduces the need for frequent cleaning and maintenance.
Proper installation ensures maximum protection and prevents damage caused by wind, rain, and sun.
Lets walk through the essential steps to correctly install your custom boat cover.
1 . PREPARATION AND INSPECTION
Begin by ensuring your boat is clean and dry to prevent mold or mildew from developing under the cover.
Inspect the cover for any signs of damage, such as loose stitching or small tears, to avoid further wear during installation.
2 . IDENTIFYING KEY FEATURES OF THE COVER
Locate the bow (front) and stern (rear) markings on the cover for accurate alignment. Familiarize yourself with special features like cleat cutouts, pole pockets, and vent patches to position the cover correctly.
3. POSITIONING THE COVER CORRECTLY
Start at the bow, carefully pulling the cover over the windshield and gradually towards the stern. Adjust the sides evenly, ensuring the cover smoothly fits over any railings or consoles.
4. SECURING THE STRAPS AND FASTENERS
Attach all straps or cords to the designated anchor points on your boat, ensuring they are snug but not over-tightened.
If provided, use bungee cords or ratchet straps to minimize wind flapping and secure the cover firmly.
5 . ADJUSTING SUPPORT POLES AND VENTS
Install support poles underneath the cover to create peaks, preventing water from pooling on flat surfaces. Align vent openings properly to maintain airflow, reducing the risk of condensation inside the boat.
6. FINAL FIT AND WIND PROTECTION
Walk around the boat and check for any loose spots or sagging areas that could allow wind to slip under.
Use additional tie-downs or suction cups for added reinforcement, especially if your boat is stored outdoors.
7 . SAFETY CHECKS AND STORAGE TIPS
Double-check all fasteners and straps before leaving the boat unattended, ensuring the cover is securely in place. Store any extra parts, support poles, or carrying bags in a dedicated location for easy access next time.
Properly installing a custom boat cover is essential for maintaining your boat's condition and extending its lifespan. By following these detailed steps, you can ensure your vessel is well-protected from the elements.
Consistent checks and secure fittings will keep your cover effective and your boat ready for your next adventure on the water. Safeguard your investment by mastering the art of custom boat cover installation.
https://www.docktechs.com/ 843.260.3439


