Revolutionize patient monitoring with a streamlined cabling solution for MRI scans, aiming for increased comfort and mobility. The SQVID Project focuses on transmitting CO2 and NiBP signals wirelessly, designing a central connection box for electronic components. Adhering to Philips standards, the project emphasizes customization and future development. Software and hardware requirements ensure reliable data exchange and safe, lightweight box construction. Explore the potential of wireless vital sign transmission for enhanced patient care.
Please find below an Image/Link to download the presentation.
The content on the website is provided AS IS for your information and personal use only. It may not be sold, licensed, or shared on other websites without obtaining consent from the author. If you encounter any issues during the download, it is possible that the publisher has removed the file from their server.
You are allowed to download the files provided on this website for personal or commercial use, subject to the condition that they are used lawfully. All files are the property of their respective owners.
The content on the website is provided AS IS for your information and personal use only. It may not be sold, licensed, or shared on other websites without obtaining consent from the author.
E N D
Presentation Transcript
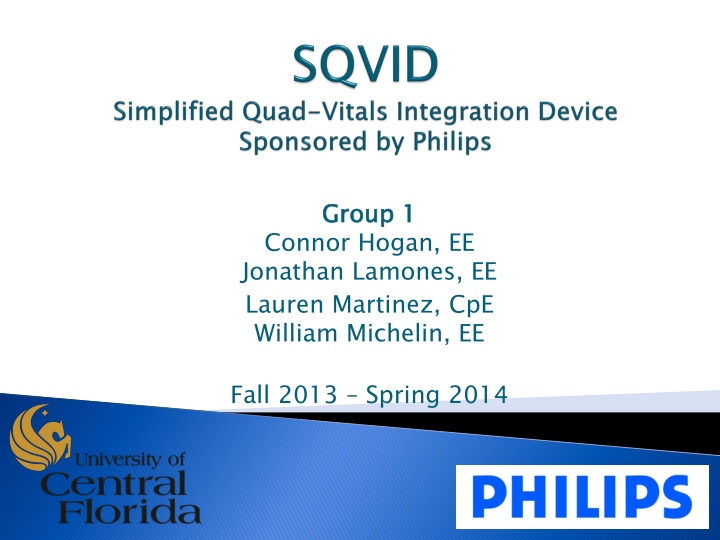
Group 1 Group 1 Connor Hogan, EE Jonathan Lamones, EE Lauren Martinez, CpE William Michelin, EE Fall 2013 Spring 2014
Hospital patients facing an MRI scan are monitored for various vital signs during their scan and hospital stay. Cables are unnecessarily large and not only complicate transportation of the patient, but contribute to patient discomfort. Philips seeks a more streamlined cabling solution for their healthcare customers to increase patient comfort.
Four vital signs are typically monitored in a patient: ECG, SpO2, CO2, and NiBP. ECG and SpO2 already transmit wirelessly to Philips software for analysis, but each go to a battery powered handheld. The SQVID Project aims to prove that wireless transmission of the remaining signals is possible and to design a central connection box to house all components. The SQVID Project aims to prove that wireless transmission of the remaining signals is possible and to design a central connection box to house all components.
Transmit the CO2 and NiBP signals wirelessly. Design and construct a central connection box to house electronic components. Ensure the connection box is light weight with a small footprint for mobility and patient comfort. Design SQVID with customization in mind for future development purposes. All hardware development must adhere to Philips proprietary standards and approval as the sponsor and customer.
Software Requirement Software Requirement Description Description Hardware Requirement Hardware Requirement Description Description SRS-001 The software system (GUI) will be standalone. The software system will attain the wireless data sent from the central connection box. Data exchange between the embedded controller and the software system will be reliable and consistent. The receiving software system will display the data in an easy to read fashion. Embedded software will convert and transmit wireless signals. HRS-001 Connection box manufacturing materials will be MRI safe. The central connection box will not exceed 10 lbs. The central connection box will not exceed 1 x1 x1 in size. Each connector will not exceed a 2 x3 footprint. Total cable length will be <8 ft. long. SRS-002 HRS-002 HRS-003 SRS-003 HRS-004 SRS-004 HRS-005 HRS-006 The central connection box will allow up to four connections, and operate with at little as one. SRS-005
MRI Patient Monitoring System Cable Sensor Wireless Design Consolidation Instrumentation 802.11 Wi-Fi Processor Implementation Signal Base Station GUI Enclosure Design Amplification and Filtering Sensor Integration A/D Conversion
Four Layer board design Special attention to RF trace; Impedance Matched 50
Software consists of both the embedded programming for the MCU and the GUI control. The CC3000 and MSP430 were programmed using TI s Code Composer Studio. The GUI control was written in C# using Visual Studio 2012. Data transmission between the wireless module and the control utilizes UDP Communication.
Configuration of the host controller follows the process below: Host driver initializes GPIO pins and clock source/frequency. SPI communication is established with CC3000 wireless processor. UART communication is enabled to aid in debugging the processor. The CC3000 Basic WiFi Example was used as a base for communication with the wireless module.
SREF_1 was chosen for using Vref+, the built in reference voltage and Vss, ground REFOUT was left to 0 because no external reference source was used. REFBURST was set for optimization purposes, by only referencing the voltage when sampling and converting. REF2_5V was set to 1 for 2.5V for a higher voltage resolution ADC10ON is set to 1 in order for everything to work, it turns the ADC10 on. ENC and ADC10SC will oscillate between set because they are the starting and stopping of the converting process.
INCH0 was set to 0 thats where the signal is coming through. ADC10DF was set to 0 because no negative values were taken in. CONSEQ0 was set to 00 for single channel single conversion ADC10BUSY is toggled for whenever the ADC10 is busy converting. All signal input is taken directly into ADC10MEM.
Configuration Process for the CC3000 Smart Config to connect to designated AP IP automatically assigned; can be user-assigned if needed. be programmed. Create and bind the socket; Ready for data transfer. Opening and Binding the UDP Socket Port Number must be assigned. IP Address of host computer being sent data must ulSocket = socket(AF_INET, SOCK_DGRAM, IPPROTO_UDP); bind(ulSocket, &tSocketAddr, sizeof(sockaddr));
UDP Protocol: No handshaking necessary Quick and Easy data transmission Listening for configurable! UDP Protocol: No handshaking necessary Quick and Easy data transmission Listening for any configurable! any IP Address IP Address


")