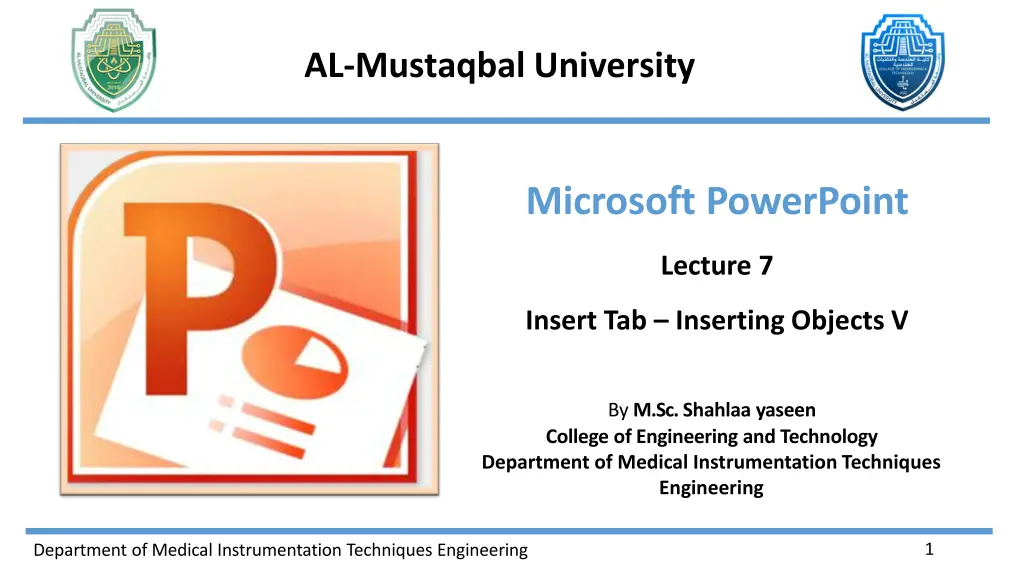
Inserting Hyperlinks in PowerPoint Presentations
Learn how to enhance your PowerPoint slides by inserting hyperlinks to navigate to different slides, websites, email addresses, or files. Explore the steps to insert hyperlinks, choose link types, test hyperlinks, and make your text visually appealing with text boxes and WordArt.
Download Presentation

Please find below an Image/Link to download the presentation.
The content on the website is provided AS IS for your information and personal use only. It may not be sold, licensed, or shared on other websites without obtaining consent from the author. If you encounter any issues during the download, it is possible that the publisher has removed the file from their server.
You are allowed to download the files provided on this website for personal or commercial use, subject to the condition that they are used lawfully. All files are the property of their respective owners.
The content on the website is provided AS IS for your information and personal use only. It may not be sold, licensed, or shared on other websites without obtaining consent from the author.
E N D
Presentation Transcript
AL-Mustaqbal University Microsoft PowerPoint Lecture 7 Insert Tab Inserting Objects V By M.Sc. Shahlaa yaseen College of Engineering and Technology Department of Medical Instrumentation Techniques Engineering 1 Department of Medical Instrumentation Techniques Engineering
Insert Tab Inserting Objects V IV. Links: the "Links" group is typically associated with adding hyperlinks to your slides. You can insert hyperlinks to navigate to different slides, websites, email addresses, or files. To Insert Hyperlink: Go to the "Insert" tab in the Ribbon at the top of PowerPoint. In the Links group, click on the "Hyperlink" button. Hyperlink dialog box This will open the Insert Hyperlink dialog box. Insert Address here Department of Medical Instrumentation Techniques Engineering 2
Insert Tab Inserting Objects V Choose the Link Type: In the Inserted Hyperlink dialog box, you can select the type of hyperlink you want to create from the options on the left: Existing File or Web Page: Link to a file on your computer or a web page by providing the file path or URL. Place in This Document: Link to another slide within the same presentation by selecting a slide from the list. Create New Document: Link to a new, blank document. Email Address: Link to an email address, and you can specify the subject and body of the email. Department of Medical Instrumentation Techniques Engineering 3
Insert Tab Inserting Objects V After choosing the link type and providing the necessary details, click "OK" or "Insert" to confirm and insert the hyperlink. Test the Hyperlink: Enter Slide Show mode by pressing F5 or clicking the Slide Show button at the bottom of the screen. Click on the hyperlinked text to test whether it takes you to the specified location. Google Text with Hyperlink Department of Medical Instrumentation Techniques Engineering 4
Insert Tab Inserting Objects V V. Text Group: Text Box: This command allows you to insert a text box onto your slide. Text boxes are useful when you want to add text in a specific location on your slide rather than within a placeholder. WordArt: WordArt enables you to create stylized text with various formatting options, such as different fonts, colors, and styles. It's a way to make your text visually appealing. Department of Medical Instrumentation Techniques Engineering 5
Insert Tab Inserting Objects V Header & Footer: Header & Footer lets you add a header or footer to your slides. You can include date and time, slide numbers, and custom text. Set Header and Footer Options: In the "Header and Footer" dialog box, you can choose from various options: 1. Slide Tab: Date and time: Let you include the current date and time. Add the slide number to each slide. Footer: Adds text to the bottom of each slide. Don't show on title slide: This allows you to exclude the header and footer on the title slide. Department of Medical Instrumentation Techniques Engineering 6
Insert Tab Inserting Objects V 2. Notes and Handouts Tab: Date and time: Let you include the current date and time. Header: Adds text to the top of each slide. Add the slide number to each slide. Footer: Adds text to the bottom of each slide. Apply to All or Apply: Choose whether to apply the changes to all slides or only to the selected slide. Department of Medical Instrumentation Techniques Engineering 7
Insert Tab Inserting Objects V Date & Time Option: This command allows you to insert the current date and time onto your slide. You can choose from various date and time formats. Slide Number Option: Slide Number lets you add slide numbers to your slides. You can customize the format and positioning of slide numbers. Date & Time Slide Number Department of Medical Instrumentation Techniques Engineering 8
Insert Tab Inserting Objects V VI. Symbols Group: The utilization of symbols and equations in PowerPoint presentations offers numerous benefits, enhancing both visual appeal and communicative precision. Symbols, with their universal recognition and ability to convey concepts concisely, add clarity and professionalism to slides, making them particularly advantageous for international or technical content. Equations, on the other hand, provide a means to accurately represent mathematical and scientific relationships, contributing to the precision and professionalism of the presentation. Together, these visual elements not only improve engagement and accessibility but also cater to diverse learning styles. Department of Medical Instrumentation Techniques Engineering 9
Insert Tab Inserting Objects V VII.Media Group: Inserting videos Adding a video to your presentation can help emphasize certain points and provide an example. Once you add a video, you can edit it and format its appearance. To insert a video from a file on your computer: From the Insert tab, click the Video drop-down arrow and select Video from File. Department of Medical Instrumentation Techniques Engineering 10
Insert Tab Inserting Objects V Locate and select the desired video file, then click Insert. The video will be added to the slide. Department of Medical Instrumentation Techniques Engineering 11
Insert Tab Inserting Objects V Video options There are other options you can set to control how your video plays. These are found in the Video Options group on the Playback tab. Volume: This changes the audio volume in the video. Start: This controls whether the video file starts automatically or when the mouse is clicked. Play Full Screen: This lets the video fill the entire screen while it's playing. Department of Medical Instrumentation Techniques Engineering 12
Insert Tab Inserting Objects V Hide While Not Playing: This hides the video when it's not playing. Loop Until Stopped: This causes the video to repeat until it is stopped. Rewind After Playing: This causes the video to return to the beginning when it's finished playing. Department of Medical Instrumentation Techniques Engineering 13
Insert Tab Inserting Objects V Inserting Audio PowerPoint allows you to add sound to your presentation, which opens up many possibilities. Perhaps you want to add background music to one slide, a sound effect to another, and some narration or commentary to a few slides. You can either add an audio file from your computer or browse PowerPoint's collection of clip art audio. You can then edit the sounds within PowerPoint so they are tailored to your presentation. Department of Medical Instrumentation Techniques Engineering 14
Insert Tab Inserting Objects V PowerPoint allows you to insert audio files from your computer, or you can search the Clip Art Studio to find the audio you need. Once you've inserted audio, you can then edit it. To insert audio from a file on your computer: From the Insert tab, click the Audio drop-down arrow and select Audio from File. Department of Medical Instrumentation Techniques Engineering 15
Insert Tab Inserting Objects V Locate and select the desired audio file, then click Insert. To insert audio from a file on your computer: Department of Medical Instrumentation Techniques Engineering 16
Insert Tab Inserting Objects V The audio file will be added to the slide. To record audio: From the Insert tab, click the Audio drop-down arrow and select Record Audio. Department of Medical Instrumentation Techniques Engineering 17
Insert Tab Inserting Objects V Type a name for the audio recording if you want. Click the red Record button to start recording. Department of Medical Instrumentation Techniques Engineering 18
Insert Tab Inserting Objects V When you're finished recording, click the Stop button. To preview your recording, click the Play button. Department of Medical Instrumentation Techniques Engineering 19
Insert Tab Inserting Objects V When you're done, click OK. The audio file will be inserted into the slide. Audio options There are other options you can set to control how your audio file plays. These are found in the Audio Options group on the Playback tab. Department of Medical Instrumentation Techniques Engineering 20
Insert Tab Inserting Objects V Volume: This changes the audio volume. Start: This controls whether the audio file starts automatically or when the mouse is clicked. Hide During Show: This hides the audio icon while the slide show is playing. Loop Until Stopped: This causes the audio file to repeat until it is stopped. Rewind After Playing: This causes the audio file to return to the beginning when it's finished playing. Department of Medical Instrumentation Techniques Engineering 21
Thank You Department of Medical Instrumentation Techniques Engineering 22


