Introduction to Scratch Programming
Discover the main features and functionality of Scratch programming environment through detailed visual explanations, including the main screen, viewing options, sprite manipulation, programming tabs, and more. Learn how to work with sprites, create scripts, and utilize various controls to enhance your projects.

Download Presentation

Please find below an Image/Link to download the presentation.
The content on the website is provided AS IS for your information and personal use only. It may not be sold, licensed, or shared on other websites without obtaining consent from the author.If you encounter any issues during the download, it is possible that the publisher has removed the file from their server.
You are allowed to download the files provided on this website for personal or commercial use, subject to the condition that they are used lawfully. All files are the property of their respective owners.
The content on the website is provided AS IS for your information and personal use only. It may not be sold, licensed, or shared on other websites without obtaining consent from the author.
E N D
Presentation Transcript
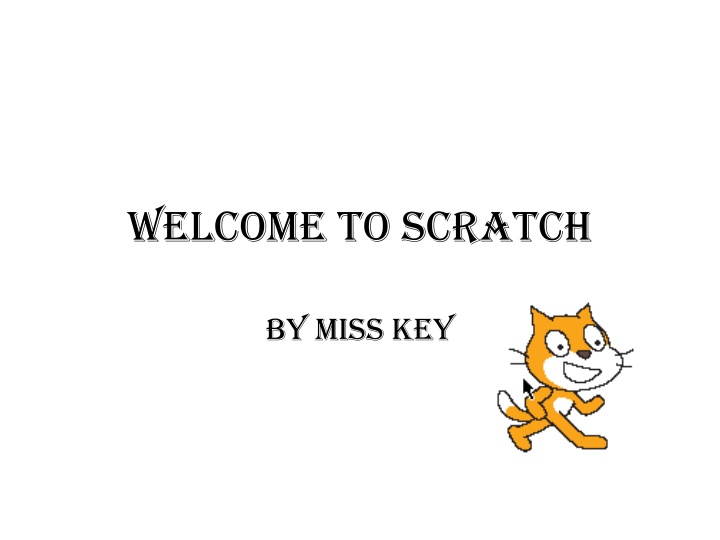
Welcome to Scratch By Miss Key
The Main Screen Viewing screen with choice of views
Full Screen View Use the return arrow to go back to normal sized viewing screen
Sprite Screen Use this button to insert a sprite from a file Use this button to get a surprise sprite Use this button to paint your own sprite
Sprite Working Space is shown This is where the script/programming is written This is where you can copy/edit your sprites This is where sound can be added This is the name of your sprite and also where you can re-name your sprite
Sprite Working Space Continued This shows us the co-ordinates of where the sprite is on the stage and the direction it s facing. These buttons control the direction that the sprites can go in, the top one means that it can move 360 , the 2nd button allows it only to go side to side, handy when you don t want your sprite to go upside down!
Other Controls Stamp Button Clicking on this button decreases the size of your sprite Cut Button Clicking on this button increases the size of your sprite Changing the sized of your sprite once you have designed it means that you can add more detail when drawing them free-hand then shrink them to the size you want whilst maintaining the detail you have added.
Stage Working Space is shown This works in exactly the same way as the Sprite working space, scripts is where you write the code, backgrounds is where you copy/edit background and sounds is where you add sounds.
How to start/stop the programme The green flag starts the programme running The red button stops it running
Green Flag on Control The green flag on the control icon, will run the code for just the script page that you are on so that you can check if it is working as you go along.
Special Control Buttons These controls have a space in them where other codes can be added. If you hover them over the code they will stretch to the size of the code automatically Some of them also have a small space which will take one of the operator instructions