Mastering PowerPoint Presentations: Tips and Exercises
Learn how to properly utilize PowerPoint for digital presentations, research projects, lectures, and more. Discover the essential features of PowerPoint, create captivating slideshows, insert and manipulate images, and add custom animations. Follow step-by-step exercises to enhance your presentation skills effectively.

Download Presentation

Please find below an Image/Link to download the presentation.
The content on the website is provided AS IS for your information and personal use only. It may not be sold, licensed, or shared on other websites without obtaining consent from the author. If you encounter any issues during the download, it is possible that the publisher has removed the file from their server.
You are allowed to download the files provided on this website for personal or commercial use, subject to the condition that they are used lawfully. All files are the property of their respective owners.
The content on the website is provided AS IS for your information and personal use only. It may not be sold, licensed, or shared on other websites without obtaining consent from the author.
E N D
Presentation Transcript
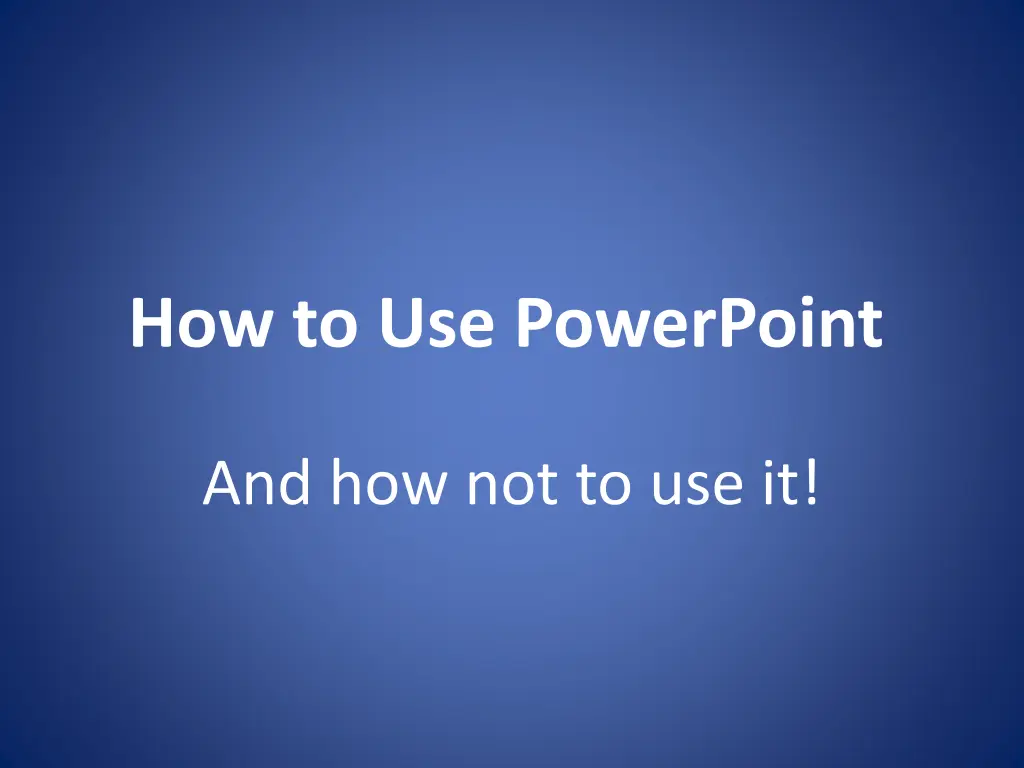
How to Use PowerPoint And how not to use it!
What is Powerpoint for? Digital presentations Research presentations Lectures Sales pitches Picture slide shows
What can Powerpoint do? It can display: Pictures Audio Video You can manipulate: Fonts Backgrounds Slide transitions Custom slide animations
A good Powerpoint Presentation: Portrays ideas in a logical order Has as few words as necessary Has interesting and appropriate graphics for every slide Is not too crazy!
Exercise 1: Basic Formatting Click on your first slide Type your name in the first box In the second box, type your school name, your teacher s name, and the data Highlight the text in the boxes, then go to Format then Font and change the font Go to Format then Slide Background and change the color of your slide
Exercise 2: Slideshows Click Insert and then New slide. Have your partner do Exercise 1 on the new slide. Now you should have 2 slides. Click on the first slide. In the lower left hand corner, click the little icon that looks like an easel and then scroll through your slides with the rightward- pointing arrow key on your keyboard.
Exercise 3: Inserting Pictures Minimize your Powerpoint window. Go to Google Images. Search for a picture of something you like: animal, sport, car, whatever. Right click and copy. Maximize your Powerpoint window. Rick click on the slide where you want the picture and paste. Switch partners and repeat.
Exercise 4: Manipulating Pictures Shrink or expand it to the size you want by dragging the boxes in the corner of the picture. Double click on your picture. If you need to crop it go to View then Toolbars then Picture Toolbar. Add a border to your picture by changing the settings for lines. Switch partners and repeat.
Exercise 5: Custom Animation Use animation to bring text and pictures in and out of one slide without changing the slide This is very useful for gradually adding text to a slide so it doesn t look cluttered. For example, this slide is getting really cluttered. OMG there is too much going on. It s really hard to read! No more bullet points Stop! I can t take it anymore!
Exercise 5: Custom Animation You can animate the slides however you want But I don t recommend that you animate them like this because it is really annoying And your presentation will look cheesy
Exercise 5: Custom Animation Go to Slide Show and Custom Animation Highlight Your name In the Custom animation box, click Add effect and select an Entrance effect Now highlight each line of the second box (with the school, teacher, and date) separately and Add effect to each one For each effect, you can manipulate when it Starts and how fast it happens. Play with those settings. To see your finished product, click the little easel icon and then the arrow key.