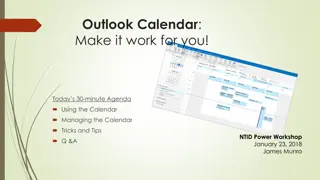
Microsoft Outlook Calendar Scheduling Guide

Easily schedule and manage meetings in Microsoft Outlook with this step-by-step guide. Learn how to log in, access your calendar, create new meetings, add attendees, set date and time, add location, set reminders, and include meeting details. Improve your productivity and organization by utilizing Outlook's powerful calendar features.

Download Presentation

Please find below an Image/Link to download the presentation.
The content on the website is provided AS IS for your information and personal use only. It may not be sold, licensed, or shared on other websites without obtaining consent from the author.If you encounter any issues during the download, it is possible that the publisher has removed the file from their server.
You are allowed to download the files provided on this website for personal or commercial use, subject to the condition that they are used lawfully. All files are the property of their respective owners.
The content on the website is provided AS IS for your information and personal use only. It may not be sold, licensed, or shared on other websites without obtaining consent from the author.
E N D
Presentation Transcript
Microsoft365 Outlook EVENT CALENDAR SCHEDULING
Log in to Outlook: Open your web browser and navigate to the Pierpont Portal on the web (Pierpont C&TC(wvnet.edu)).
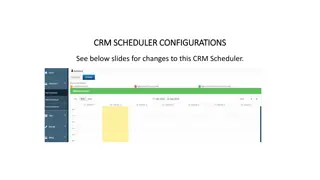
Go to Calendar: Click on the "Calendar" icon located at the bottom left corner of the Outlook window to access your calendar.
Create a New Meeting: Click on the "New event" button located at the top left corner of the calendar view. This will open a new event window.
Add Attendees: In the new event window, enter the email addresses of the attendees in the "Invite someone" field. You can also select attendees from your contacts list by clicking on the "People" icon.
Set Date and Time: Choose the date and time for the meeting by clicking on the "Start time" and "End time" fields and selecting the desired date and time from the calendar and dropdown menus.
Add Location: In the event window, you should see a field labeled "Location." Click on this field to enter the location of the meeting. You can type in the address or name of the location. TYPE THE ROOM NAME IN THE BOX THE BROWSE WITH ROOM FINDER IS NOT FUNCTION PROPERLY
Set Reminder (Optional): If you want to set a reminder for the meeting, you can do so by clicking on the "Add a reminder" dropdown menu and selecting an appropriate option.
Add Meeting Details (Optional): You can add additional details about the meeting in the "Add a message to attendees" field. This could include the agenda, meeting objectives, or any other relevant information.
Send the Meeting Invitation: Once you have filled in all the necessary details, click on the "Send" button located at the top of the event window to send the meeting invitation to the attendees. They will receive an email with the meeting details and can accept or decline the invitation.


: You can add additional")