PowerPoint Slide Show, Review, and View Tabs Explained
Explore the functionalities of PowerPoint's Slide Show, Review, and View tabs for effective presentation creation. Learn how to start slide shows, hide slides, add comments, collaborate, and work with slides efficiently. Enhance your PowerPoint skills with comprehensive guidance on utilizing these essential features.
Download Presentation

Please find below an Image/Link to download the presentation.
The content on the website is provided AS IS for your information and personal use only. It may not be sold, licensed, or shared on other websites without obtaining consent from the author. If you encounter any issues during the download, it is possible that the publisher has removed the file from their server.
You are allowed to download the files provided on this website for personal or commercial use, subject to the condition that they are used lawfully. All files are the property of their respective owners.
The content on the website is provided AS IS for your information and personal use only. It may not be sold, licensed, or shared on other websites without obtaining consent from the author.
E N D
Presentation Transcript
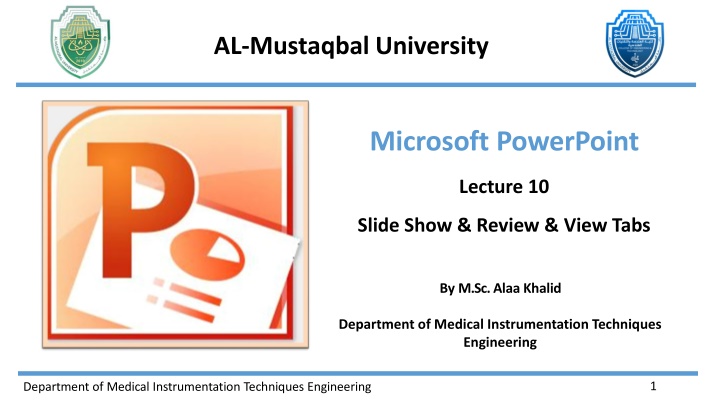
AL-Mustaqbal University Microsoft PowerPoint Lecture 10 Slide Show & Review & View Tabs ByM.Sc. Alaa Khalid Department of Medical Instrumentation Techniques Engineering 1 Department of Medical Instrumentation Techniques Engineering
Slide Show & Review & View Tabs 7. Slide Show Tab: In PowerPoint, the Slide Show tab provides options and features for presenting your slideshows. Start Slide Show Group: From Beginning: Start the slideshow from the first slide. From Current Slide: Start the slideshow from the currently selected slide. Set Up Group: Hide Slide: If you don t want a slide to be included in the final slide show, you can hide it from your audience. It won't show up when you play the slide show, but you will still see it in the normal view so you can bring it back in the future. Department of Medical Instrumentation Techniques Engineering 2
Slide Show & Review & View Tabs Select the slide you want to hide. Click the Slide Show tab. Click Hide Slide. From Beginning From Current Slide Hide Slide Department of Medical Instrumentation Techniques Engineering 3
Slide Show & Review & View Tabs 8. Review Tab: In PowerPoint, The "Review" tab provides tools and features for reviewing and collaborating on presentations. Comments Group: the "Review" tab, provides tools for adding and managing comments in a presentation. New Comment: Clicking on "New Comment" allows you to add a comment to a specific slide or a particular element within a slide. This is useful for leaving feedback or notes for collaborators. Delete: The "Delete" option allows you to remove selected comments. If you have comments in your presentation and you want to get rid of some of them, you can select the comment and then click "Delete." Department of Medical Instrumentation Techniques Engineering 4
Slide Show & Review & View Tabs Review Tab New Comment Delete Comments Group Department of Medical Instrumentation Techniques Engineering 5
Slide Show & Review & View Tabs Working with Slides 1. Add New Slide: Click on the "Home" tab in the ribbon. In the Slides group, click on the "New Slide" dropdown, or press the shortcut (Ctrl + M). 2. Deleting Slides: In the Slides pane on the left, right-click on the slide you want to delete and Select "Delete Slide. Press Delete on the keyboard. Department of Medical Instrumentation Techniques Engineering 6
Slide Show & Review & View Tabs Working with Slides 3. Slide Layout: Microsoft PowerPoint refers to the arrangement of placeholders on a slide. Each layout is designed for a specific purpose, allowing you to easily organize and format the content of your slides. To apply a new slide layout in PowerPoint, click on the desired slide, go to the "Home" tab, and access layout options in the "Layout" dropdown within the Slides group. Choose a layout that suits your content needs, allowing for easy customization of slide organization and placeholders. Changing Layout After Adding a Slide: If you've already added a slide and want to change its layout, right-click on the slide in the Slides pane on the left. Choose "Layout" from the context menu and select a new layout. Department of Medical Instrumentation Techniques Engineering 7
Slide Show & Review & View Tabs Right-Click on slide Slide Layouts Layout Department of Medical Instrumentation Techniques Engineering 8
Slide Show & Review & View Tabs 9. View Tab: This tab is used to set how you want your presentation to be viewed while you are working on it. Presentation Views Group: Normal: The default view for editing individual slides. Slide Sorter: Shows all slides in thumbnail form, allowing you to rearrange or delete slides easily. Notes Page: This allows you to view and edit speaker notes associated with each slide. Reading View: Shows your presentation in a full-screen mode, similar to how it would appear during a presentation. Department of Medical Instrumentation Techniques Engineering 9
Slide Show & Review & View Tabs Slide Master Normal View Presentation Views Group Master Views Group Department of Medical Instrumentation Techniques Engineering 10
Slide Show & Review & View Tabs Master Views Group: Slide Master: The slide master is a simple way of applying changes to the entire slide. Every presentation has at least one slide master, but you can have more than one. Using features like copy/ paste and format painting you can make changes to different sections within the presentation to make them look similar, however, if you want to use a theme and background throughout the slide, using the slide master is a simpler and more graceful way of approaching it. Department of Medical Instrumentation Techniques Engineering 11
Slide Show & Review & View Tabs Accessing Slide Master: To enter Slide Master view, click on the "View" tab in the Ribbon. In the "Master Views" group, click on "Slide Master." Understanding Master Slide: The Master Slide is the topmost thumbnail in the left pane and represents the overall design of your presentation. Changes made to the Master Slide will affect all slides in the presentation. Department of Medical Instrumentation Techniques Engineering 12
Slide Show & Review & View Tabs Title Slide Layouts Slide number Date Footer Department of Medical Instrumentation Techniques Engineering 13
Slide Show & Review & View Tabs Layouts and Placeholder Customization: Each layout (Title Slide, Title, Content, etc.) is represented by a thumbnail on the right side. Click on a layout to customize it individually. Adjust the size and position of placeholders for titles, content, images, etc. Text Formatting: Customize the formatting of text globally by changing font styles, sizes, and colors on the Master Slide. Changes will be applied to all slides using that Master Slide. Department of Medical Instrumentation Techniques Engineering 14
Slide Show & Review & View Tabs Slide Numbering and Date: Control the appearance and positioning of slide numbers, date, and footer text. Use the "Insert Slide Number" and "Insert Date & Time" options on the "Insert" tab. Exiting Slide Master View: Click the "Close Master View" button or simply click on the "Normal" button in the status bar to return to the normal editing mode. Saving Changes: Changes made in the Slide Master view are automatically applied to your presentation. Save your presentation to preserve these changes. Department of Medical Instrumentation Techniques Engineering 15
Thank You Department of Medical Instrumentation Techniques Engineering 16


