Project Plan Presentation Guidelines
This project plan presentation outlines the key requirements and expectations for presenting your project effectively. It includes details on content, submission guidelines, dress code, and timing. Ensure compliance with the outlined instructions for a successful presentation.

Download Presentation

Please find below an Image/Link to download the presentation.
The content on the website is provided AS IS for your information and personal use only. It may not be sold, licensed, or shared on other websites without obtaining consent from the author. If you encounter any issues during the download, it is possible that the publisher has removed the file from their server.
You are allowed to download the files provided on this website for personal or commercial use, subject to the condition that they are used lawfully. All files are the property of their respective owners.
The content on the website is provided AS IS for your information and personal use only. It may not be sold, licensed, or shared on other websites without obtaining consent from the author.
E N D
Presentation Transcript
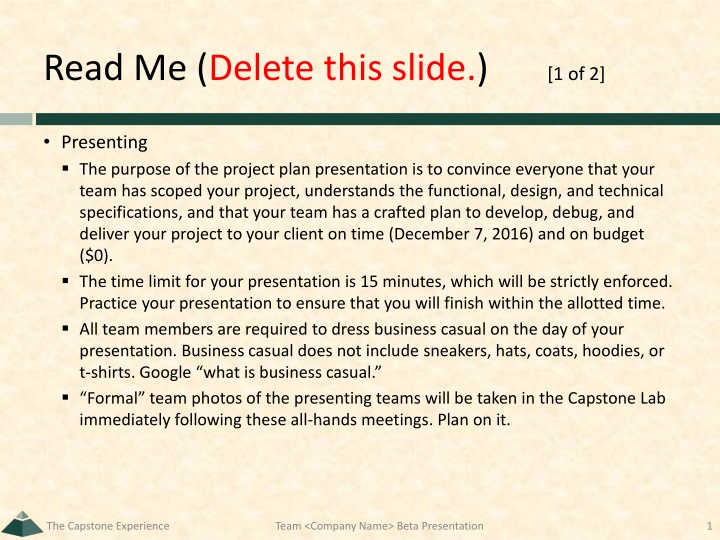
Read Me (Delete this slide.) [1 of 2] Presenting The purpose of the project plan presentation is to convince everyone that your team has scoped your project, understands the functional, design, and technical specifications, and that your team has a crafted plan to develop, debug, and deliver your project to your client on time (December 7, 2016) and on budget ($0). The time limit for your presentation is 15 minutes, which will be strictly enforced. Practice your presentation to ensure that you will finish within the allotted time. All team members are required to dress business casual on the day of your presentation. Business casual does not include sneakers, hats, coats, hoodies, or t-shirts. Google what is business casual. Formal team photos of the presenting teams will be taken in the Capstone Lab immediately following these all-hands meetings. Plan on it. The Capstone Experience Team <Company Name> Beta Presentation 1
Read Me (Delete this slide.) [2 of 2] Content Do not include any company confidential information in your presentation since all presentations will be posted on the web site. Submit your presentation to your client for approval at least two working days in advance. Throughout the PowerPoint template, replace placeholders < > with the appropriate information. Edit the center footer by clicking the Header & Footer button on the Insert ribbon. Change <Company Name> in the footer to your company name as in Team GM Project Plan . Delete the example Screen Mockups and System Architecture slides and this Read Me slide from your presentation. o The screen mockups should not contain any bordering transparent or whitespace. Use paint.net to crop them appropriately. o If a slide contains more than one screen shot or additional artwork (like an arrow), group all of the items into a single grouping so that it can be copied-and-pasted and resized as a single unit Required Template Do not edit the Slide Masters. Do not change the organization of slides. Submission Although the presentations are scheduled over the course of four meetings, all teams must be prepared to present on the first day scheduled, Monday, January 31. The order of the presentations will be posted on our All-Hands Meetings page in the evening of the day before the first day scheduled for presentations. Email your presentation to Dr. D. by 4:00 a.m. on Monday, January 31. (Think Sunday night.) For subject, use Team <Company Name>: Beta Presentation as in Team Amazon: Project Plan Presentation . Attach the PowerPoint source file named team-<company-name>-beta-presentation.ppt as in team-urban- science-project-plan-presentation.ppt . The Capstone Experience Team <Company Name> Beta Presentation 2
Project Plan <Project Title 36pt> The Capstone Experience Team <Company Name 24pt> <Team Member 1 16pt> <Team Member 2 16pt> <Team Member 3 16pt> <Team Member 4 16pt> <Team Member 5 16pt> D:\Users\wrd\Documents\CSE498\archive\logo\capstone-logo-green.png Department of Computer Science and Engineering Michigan State University Spring 2017 From Students to Professionals
Functional Specifications Point 1 Point 2 Point 3 Etc This is your project overview. Describe what problem your project solves. Answer the question What does your project do? This is your elevator pitch . DELETE THIS TEXT BOX. The Capstone Experience Team <Company Name> Project Plan 4
Design Specifications Point 1 Point 2 Point 3 Etc Articulate a summary of your project s major features as well as its overall design. DELETE THIS TEXT BOX. The Capstone Experience Team <Company Name> Project Plan 5
Screen Mockup: <Title> You may include as many screen mockups as you have like, but you must include at least two examples. To include more than two, you can duplicate this slide as many times as necessary. Give each mockup slide a title. See below for examples and instructions. DELETE THIS TEXT BOX. The Capstone Experience Team <Company Name> Project Plan 6
Screen Mockup: <Title> You may include as many screen mockups as you have like, but you must include at least two examples. To include more than two, you can duplicate this slide as many times as necessary. Give each mockup slide a title. See below for examples and instructions. DELETE THIS TEXT BOX. The Capstone Experience Team <Company Name> Project Plan 7
Notes on Making Your Mockups Delete this slide. Screen Mockup Ensure that your mockups are readable (size-wise), have the correct aspect ratio, scalable, and centered vertically (between the green bar in the title and the footer) and horizontally (Use Home > Arrange > Align). The screen mockups should not contain any bordering transparent or whitespace. Use paint.net to crop them appropriately and change any bordering whitespace to transparent. In PowerPoint use Home > Arrange > Group to group the objects in your mockup into a single object that can be copied-and-pasted (and scaled). DELETE ME. The Capstone Experience Team <Company Name> Project Plan 8
Example Screen Mockups Delete this slide. Screen Mockups: Phone Interface DELETE ME. The Capstone Experience Team <Company Name> Project Plan 9
Example Screen Mockups Delete this slide. Screen Mockup: iOS Application DELETE ME. The Capstone Experience Team <Company Name> Project Plan 10
Technical Specifications Point 1 Point 2 Point 3 Etc List the technical components of your project. DELETE THIS TEXT BOX. The Capstone Experience Team <Company Name> Project Plan 11
System Architecture Show a diagram that illustrates the overall architecture of your project including how all of the parts and pieces are connected and interact. See below for examples and instructions. DELETE THIS TEXT BOX. The Capstone Experience Team <Company Name> Project Plan 12
Notes on Making Your Diagram Delete this slide. System Architecture Ensure that your diagram is readable (size-wise), has the correct aspect ratio, scalable, and centered vertically (between the green bar in the title and the footer) and horizontally (Use Home > Arrange > Align). In PowerPoint use Home > Arrange > Group to group the objects in your diagram into a single that can be copied-and-pasted. Use Paint.NET to make the background of your diagram transparent. Download and install it from www.getpaint.net. Copy your diagram into Paint.NET. Select Tool > Magic Wand. Click on a background area. Push the Delete button (on your keyboard). The background area should be a checkerboard pattern. (N.B.: Paint.NET was a capstone project at the University of Washington.) DELETE ME. The Capstone Experience Team <Company Name> Project Plan 13
Example System Architecture Delete this slide. System Architecture DELETE ME. The Capstone Experience Team <Company Name> Project Plan 14
Example System Architecture Delete this slide. System Architecture DELETE ME. The Capstone Experience Team <Company Name> Project Plan 15
System Components Hardware Platforms Point 1 Point 2 Point 3 Etc Software Platforms / Technologies Point 1 Point 2 Point 3 Etc List your hardware and software platforms including all of the technologies that your project will use. DELETE THIS TEXT BOX. The Capstone Experience Team <Company Name> Project Plan 16
Testing Point 1 Point 2 Point 3 Etc Articulate your plans for testing your software system. List any tools that you plan to use. DELETE THIS TEXT BOX. The Capstone Experience Team <Company Name> Project Plan 17
Risks Risk 1 Description Mitigation Risk 2 Description Mitigation Risk 3 Description Mitigation Risk 4 Description Mitigation Articulate your major risks. For each risk, describe what the risk is and how you plan on mitigating it. DELETE THIS TEXT BOX. The Capstone Experience Team <Company Name> Project Plan 18
Questions? ? ? ? ? ? ? ? ? ? The Capstone Experience Team <Company Name> Project Plan 19
")
")


![Year-End Business Report for [Company Name]](/thumb/131798/year-end-business-report-for-company-name.jpg)


![Project Initiation Document for [Insert.Project.name] [Insert.Project.number]](/thumb/226757/project-initiation-document-for-insert-project-name-insert-project-number.jpg)