Proper End Zone Positioning in Sports Officiating
Enhance your sports officiating skills with proper end zone positioning techniques, ensuring better views of the play, goal lines, and player movements. Learn about the Piston maneuvers, preferred positions, and key areas for referees to maximize efficiency and safety during games.
Download Presentation

Please find below an Image/Link to download the presentation.
The content on the website is provided AS IS for your information and personal use only. It may not be sold, licensed, or shared on other websites without obtaining consent from the author. If you encounter any issues during the download, it is possible that the publisher has removed the file from their server.
You are allowed to download the files provided on this website for personal or commercial use, subject to the condition that they are used lawfully. All files are the property of their respective owners.
The content on the website is provided AS IS for your information and personal use only. It may not be sold, licensed, or shared on other websites without obtaining consent from the author.
E N D
Presentation Transcript
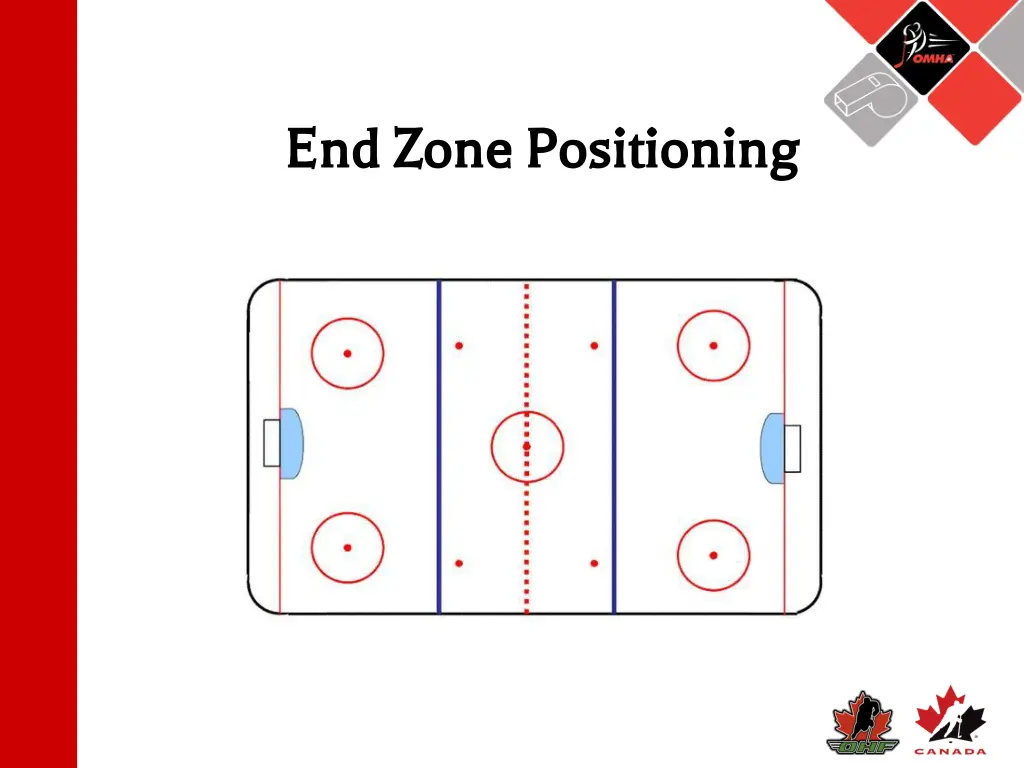
End Zone Positioning End Zone Positioning
End Zone Positioning End Zone Positioning Proper end zone positioning: Gives a better overall view of the play Gives an improved view of the goal and goal line Lessens the chance of a referee being caught behind the play on a fast break Keeps the official safe from deflections on a shot on goal Keeps the referee in a predictable spot for players, There are 3 positions and 2 maneuvers for the Referee in the end zone and together are referred to as the Piston
End Zone Positioning End Zone Positioning The preferred end zone positioning for the Referee or end-zone Official in the 2 Official system is anywhere in the cone (shaded area) in the illustration below. Although the cone area is below the goal line at certain points, the Referee is encouraged to stay at or above the goal line as much as possible. The Referee isallowed to move away from the shaded area when absolutely necessary but should always try to return.
End Zone Positioning End Zone Positioning Home Base 15-20 cm (6-8in) off the boards 1/2 way between the hash marks and the goal line Used when the play is on the same side of the ice as the official Home Base
End Zone Positioning End Zone Positioning Half Piston Between Home Base and nearest goal post, usually in line with face-off dots Used when play is on the far side of the ice from the Referee Half Piston
End Zone Positioning End Zone Positioning At The Net The position anywhere around the net that gives the referee the best view to see if the puck has crossed the line Ideally, at the corner of the net, 0.6-1m (2-3ft) from the goal line At The Net
End Zone Positioning End Zone Positioning As the puck moves during the game, you will be required to move back and forth from position to position (within the cone), thus creating a piston action Home Base Half Piston At The Net
The 2 Maneuvers The 2 Maneuvers Bump boards in the direction of the Referee standing at Home Base The Referee bumps up or down from his/her position, until they reach the the hash marks or goal line. Used when play comes around the
The Bump The Bump Bump
The 2 Maneuvers The 2 Maneuvers Pivot line or hash marks and the play continues toward you, you must perform the pivot Take a stride out from the boards Then cross under, and skate backwards to Home Base When you have bumped to the goal
The Pivot The Pivot The Pivot
Faults and Tips Faults and Tips Try to stay above the goal line as much as possible Do not cross behind the net Anticipation is key Relax, anticipate the play, and move only when you need to.


