Explore the five essential steps in histology slide preparation, from tissue fixation to sectioning. Learn how to handle tissue specimens, transfer them to cassettes, process them for microscopic sections, and finally, cut and prepare tissue ribbons for slides effectively.
Please find below an Image/Link to download the presentation.
The content on the website is provided AS IS for your information and personal use only. It may not be sold, licensed, or shared on other websites without obtaining consent from the author. If you encounter any issues during the download, it is possible that the publisher has removed the file from their server.
You are allowed to download the files provided on this website for personal or commercial use, subject to the condition that they are used lawfully. All files are the property of their respective owners.
The content on the website is provided AS IS for your information and personal use only. It may not be sold, licensed, or shared on other websites without obtaining consent from the author.
The Five Steps of Histology Slide Preparation 1. Tissue fixation Slide preparation begins with the fixation of your tissue specimen. This is a crucial step in tissue preparation, and its purpose is to prevent tissue autolysis and putrefaction. For best results, your biological tissue samples should be transferred into fixative immediately after collection. Although there are many types of fixative, most specimens are fixed in 10% neutral buffered formalin. The optimum formalin-to-specimen volume ratio should be at least 10:1 (e.g., 10ml of formalin per 1 cm3of tissue). This will allow most tissues to become adequately fixed within 24-48 hours. Formalin containers should be capped and leak-proof, and labeled correctly.
2. Specimen Transfer to Cassettes After fixation, specimens are trimmed using a scalpel to enable them to fit into an appropriately labeled tissue cassette. Specimens should not be so big that they fill the cassette they are trimmed so as not to touch the edges. Additionally, they must not be too thick (ideally they should be less than 4 mm), otherwise, they risk being waffled when the cassette lid is closed. The filled tissue cassettes are then stored in formalin until processing begins.
3. Tissue Processing Processing tissues into thin microscopic sections is usually done using a paraffin block, as follows: Dehydration, which involves immersing your specimen in increasing concentrations of alcohol to remove the water and formalin from the tissue. Clearing, in which an organic solvent such as xylene is used to remove the alcohol and allow infiltration with paraffin wax. Embedding, where specimens are infiltrated with the embedding agent usually paraffin wax. The tissue becomes surrounded by a large block of molten paraffin wax, creating what is now referred to as the block . Once the block solidifies, it provides a support matrix that allows very thin sectioning.
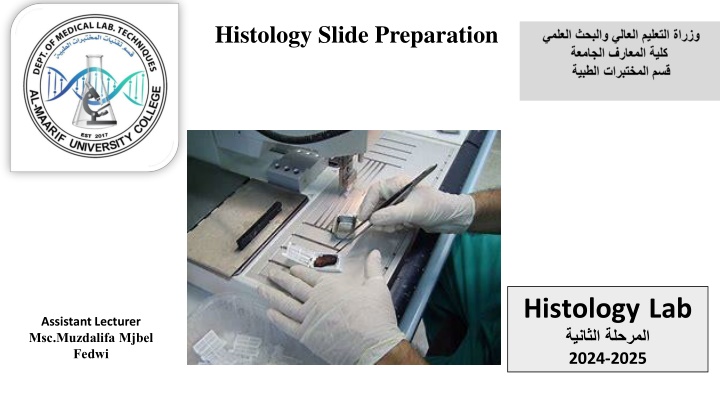
4. Sectioning Your tissue specimen is now ready to be cut into sections that can be placed on a slide. Wax is removed from the surface of the block to expose the tissue. Blocks are chilled on a refrigerated plate or ice tray for 10 minutes before sectioning. A microtome is used to slice extremely thin tissue sections off the block in the form of a ribbon. The microtome can be pre-set to cut at different thicknesses, but most tissues are cut at around 5 m. You can discover more ways to slice tissue sections here. Once cut, the tissue ribbons are carefully transferred to a warm water bath. Here they are allowed to float on the surface, and can then be scooped up onto a slide placed under the water level. Charged slides work best for this process they improve tissue adhesion to the glass, and help to reduce the chance of sections washing off the slide during staining. Slides should be clearly labeled, and then allowed to dry upright at 37oC for a few hours to gently melt the excess paraffin wax, leaving the tissue section intact.
5. Staining Most cells are transparent and appear almost colorless when unstained. Histochemical stains (typically hematoxylin and eosin) are therefore used to provide contrast to tissue sections, making tissue structures more visible and easier to evaluate. Following staining, a coverslip is mounted over the tissue specimen on the slide, using optical grade glue, to help protect the specimen.