Tissue Fixation: Methods, Types, and Importance
Learn about tissue fixation, a crucial process in preserving tissue structure and morphology, preventing degeneration, and enabling clear staining for further analysis. Explore fixation properties, types, sample collection tips, commonly used fixatives, and more.

Download Presentation

Please find below an Image/Link to download the presentation.
The content on the website is provided AS IS for your information and personal use only. It may not be sold, licensed, or shared on other websites without obtaining consent from the author. If you encounter any issues during the download, it is possible that the publisher has removed the file from their server.
You are allowed to download the files provided on this website for personal or commercial use, subject to the condition that they are used lawfully. All files are the property of their respective owners.
The content on the website is provided AS IS for your information and personal use only. It may not be sold, licensed, or shared on other websites without obtaining consent from the author.
E N D
Presentation Transcript
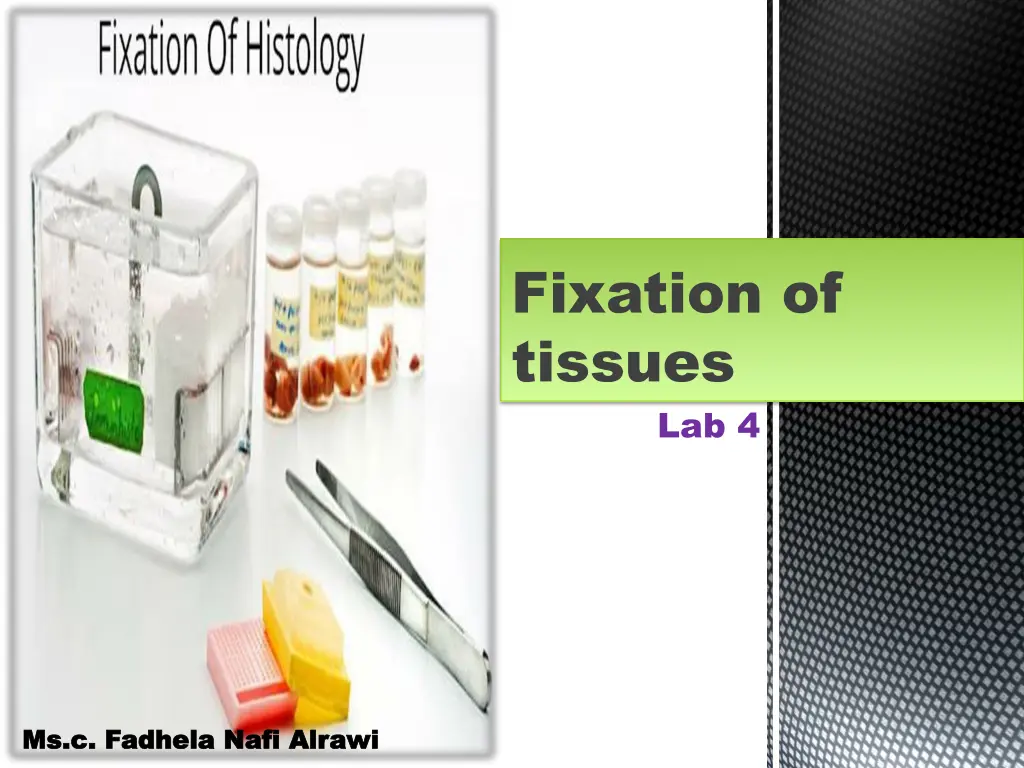
Fixation of tissues Lab 4 Ms.c Ms.c. Fadhela Nafi Alrawi . Fadhela Nafi Alrawi
What is Fixation of Tissue? Fixation is a complex series of chemical events which brings about changes in the various chemical constituents of cell like hardening, however the cell morphology and structural detail is preserved. Unless a tissue is fixed soon after the removal from the body it will undergo degenerative changes due to autolysis and putrefaction morphology of the individual cell will be lost. so that the
Properties of Fixation To preserve the tissues as close to their living state as possible To prevent autolysis and putrefaction. To prevent tissues from changing their shape and size during processing To harden the tissues To allow clear staining of sections subsequently To improve the optical differentiation of cells & tissues.
Types of Fixation Freeze drying Coating/Spray fixation Microwave fixation/Stabilization Immersion fixation (human animal) Perfusion fixation (only for animal) Vapor (osmiumte troxide solution) fixation and Choice of fixative - The choice of fixative depends on the treatment a tissue is going to receive after fixation e.g., what is the chemical structure that needs to be stained? If fat is to be demonstrated the formalin fixed tissue is better. For demonstration of glycogen formalin should never be used instead alcohol should be the choice of fixative.
: Sample collection and preservation 1. 2. Pieceisremovedwithsharpknifeinaparticularorientation. 3. Sizeof1cmtoachievebetterpenetrationoffixative 4. Washingthespecimenwithnormalsalinetoachievemaximumpenetrationoffixative. 5. Atthetimeoftissuecollection,itshouldbekeptinmindthattherepresentativetissue pieceshouldincludethepartoflesionandapartofnormaltissue. 6. Tissue pieces for histopathological exanination should be collected from all the organs. .7Tissuesshouldbecollecteddirectlyinthefixativeandnotinanyotherpotorwater. .8The tissue pieces from hollow organs like intestines, oviduct etc should be cut transverselyandplacedonahardpaper. .9Therepresentativetissueshouldnotbecollectedfromsuchdamagedportions. Takeofsmallpieceoftissue The sample information sent to the laboratory must be recorded: number, name, date, and sample type.
Commonly used Fixatives 1. Formalin solution 10 % 2. Buffered Formalin Neutral solution 3. Formalin Alcohol. (glyogen, good cytoplasmic fixation) 4. Bouin's Fluid. (embryological specimens, Purkinje cells) 5. Aceton 6. Ethyl Alcohol. (glycogen, pigments, amyloid, hylaine, elastic fibers and bacteria) 7. Glacial acetic acid. (rapid fixation, swelling of cells) 8. Potassium Dichromate.
Fixation Steps 1. solution for 20-24 h: 10% Formalin Solution 37/40 C Formaldehyde 100 ml Distilled water 900 ml 2. Trimming of tissue: The tissue is cut and placed in special capsules and each capsule is numbered according to the record number attached to the register. 3. Washing of the Tissue: Washing of tissue under running tape water. 4. Dehydration: The purpose of dehydration to remove fixative and water from the tissue and replace them with dehydrating fluid. Types of dehydrating agents: Ethanol Methanol Acetone 5. Clearing : It involves removal of dehydrating agent and replacement by some fluid which is miscible with dehydrating agent.
Fixation Steps 6. Wax Impregnation/ infiltration: The capsules are placed in the impregnation device after washing them with running water and the device takes approximately 20 hours and has several stages of alcohol (different concentrations from low to high to extract water molecules and replace them with alcohol to facilitate the penetration of wax into it later) - ethanol - and finally wax. 7. Blocking/Emebbing : At the time of transfer of tissuE blocks from Il, the paraffin wax must be kept (60-62'C) in liquid brm at a temp. 2 or 3 the melting point . 8. Hotplate device :The capsules are placed on the hotplate device (table heater) and the wax is melted and its surfaces are made as flat as possible and placed in other molds and then the wax is poured over them. 9. It is placed in the freezer for about 1 hour until it freezes 10. MICROTOMY:It is placed on the microtome device for trimming (slipping) at a temperature of 20 micro
Fixation Steps 11. FLOATING &PICKING UP S CTIO: The ribbon is floated on the water surface heated at 45 C. The albumin material is placed to fix on the slide and then the strips are carried on the slides 12. Drying section: The slides are placed in a special basket and in another container the xylene is placed and they are placed in the incubator separately at 70 degrees for 20 minutes. 13. The basket is placed in the xylene container for another 20 minutes 14. Pre staining preparation: A. The basket is removed from the xylene package and is placed in a gradation of alcohols from 100 to 60 in each gradation for 2 minutes. The purpose of this is to extract alcohol molecules from inside the tissue and replace them with water molecules to facilitate the penetration of the dye into the tissue. B. The basket is removed from the xylene package and is placed in a gradation of alcohols from 100 to 60 in each gradation for 2 minutes. The purpose of this is to extract alcohol molecules from inside the tissue and replace them with water molecules to facilitate the penetration of the dye into the tissue.
Fixation Steps C. It is placed in eosin stain (an acidic stain that stains the acidic parts of tissue cells) for 2 minutes. D. - It is washed with running water. E. - It is washed with distilled water. F. - It is repeated in alcohol in sequence from lowest to highest 60 to 100 in each concentration for 15 seconds. G. This completes the staining process. H. - The DBX material is placed on the slides, which gives them a shiny and glossy appearance under the microscope, and then the cover slide is placed. I. - It is left to dry and then it is ready for examination and storage.
NOTE To minimize tissue distortion from diffusion currents, delicate specimens are dehydrated in a graded ethanol series from water through 10%-20%-50%-95%- 100% ethanol. Factors affecting fixation 1. Temperature 2. Volume of tissue. 3. Exposure time and duration Automatic tissue processor
Helpful hints Tissue may be subjected t excessive pressure, tensi01t or shrinkage during processing resulting in separations of tissue Knife marks Caused by defects in the microtome knife or by accumulation of debris on the knife edg Occasionally , solution accumulate precipitate that may stick to the surface tissue section during staining procedure
Thank you Thank you