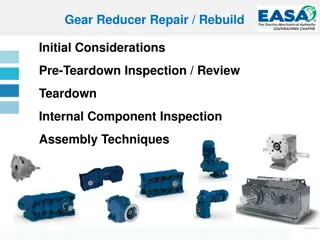
Turbo Rebuild Step-by-Step Guide
Detailed step-by-step instructions for rebuilding a turbo, including installing components like the heat shield, thrust washer, compressor seal, thrust plate, compressor wheel, and more. Proper handling techniques and precautions are highlighted to ensure a successful rebuild process.
Download Presentation

Please find below an Image/Link to download the presentation.
The content on the website is provided AS IS for your information and personal use only. It may not be sold, licensed, or shared on other websites without obtaining consent from the author.If you encounter any issues during the download, it is possible that the publisher has removed the file from their server.
You are allowed to download the files provided on this website for personal or commercial use, subject to the condition that they are used lawfully. All files are the property of their respective owners.
The content on the website is provided AS IS for your information and personal use only. It may not be sold, licensed, or shared on other websites without obtaining consent from the author.
E N D
Presentation Transcript
Step 1: - Using the small pick or screwdriver, walk the tiny snap ring back into the groove on both the compressor and turbine journal bearings to hold them in place
Step 2: - Install the heat shield first, then slide the turbine shaft into the center housing. Gently push downward until you feel a "click"...this means that the turbine seal has been seated into the center housing. DO NOT force the turbine shaft into the housing as you can risk bending the turbine seal and damaging the turbo!
Step 3: - Install the thrust washer on the shaft flat side up; use plenty of lube here as well.
Step 4: Install the thrust plate
Step 5: - Fit the new compressor seal on the compressor seal collar.
Step 6: Push the compressor collar downward onto the thrust plate
Step 7: Lower the compressor backplate onto the center housing. A small amount of lube can help assure that the seal does not catch and break on it's way in the backplate. ***Be sure the four backplate bolt holes are aligned with the holes in the center housing.*
Step 8: Reinstall the backplate bolts using a small amount of Red Loctite on each one.
Step 9: Install the compressor wheel onto the shaft, be sure to put a few drops of Red Loctite on the threads before installing the compressor nut.
Step 10: Lower the center housing into the compressor cover keeping the center housing as straight as possible to prevent the compressor wheel from hitting the housing. Reinstall a couple bolts in the compressor cover to hold it in place.
Step 11: Reinstall the center housing in the turbine housing. Keep the bolts loose so the housing can rotate to make sure all of the bolts can be tightened.
Step 12: Reinstall the wastegate actuator.


