Unique Character Creation and Animation with Xploris Software
Discover how to bring characters to life through digital art with Xploris software. Learn to design and animate your own character, customizing their look and personality. Dive into the world of character creation using tools like the Eyedropper, Pencil, and more for a truly personalized outcome.

Download Presentation

Please find below an Image/Link to download the presentation.
The content on the website is provided AS IS for your information and personal use only. It may not be sold, licensed, or shared on other websites without obtaining consent from the author. If you encounter any issues during the download, it is possible that the publisher has removed the file from their server.
You are allowed to download the files provided on this website for personal or commercial use, subject to the condition that they are used lawfully. All files are the property of their respective owners.
The content on the website is provided AS IS for your information and personal use only. It may not be sold, licensed, or shared on other websites without obtaining consent from the author.
E N D
Presentation Transcript
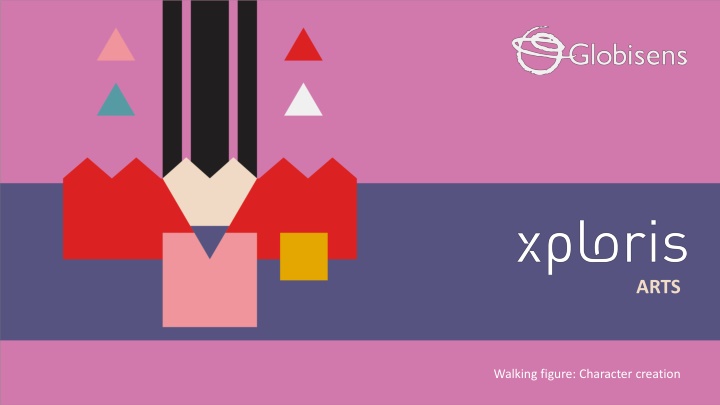
ARTS Walking figure: Character creation
CHARACTER CREATION Introduction 1 Introduction Design 2 Design Questions ARTS 3 Questions Activity summary 4 Activity summary
Introduction 1 There are many ways to create unique characters and bring them to life through 2D or 3D animation. Have you ever seen a character and already knew what their personality would be like, just by looking at their clothes and expressions? Thanks to the art of character design, drawings can be given complex personalities by simply modifying their gestures, clothes, hairstyles or accessories. In this lesson you will create and animate your own character with the Xploris software. The question you will answer will be: Can we create, customize and animate our own character?
Design 2 Turn on your Xploris and connect it to your computer or tablet. Open the XploriLab software on your computer or tablet. Once inside XploriLab, select the icon to connect the device via cable or bluetooth as applicable. Enter the art section (ART) and then to ANIMATOR.
Design 2 Inside the main window you will find several sections with the necessary tools to make a digital artwork. Color palette Tools Configuration Drawing area Layers Frames
Design 2 Use the different Xploris tools to animate a walking character. You can copy the reference character, but remember that the main goal is for you to create the look you like best. Tools Eyedropper: Copies the color of a pixel. Pencil: Adds color to a pixel. Bucket: Fills the inside of a closed shape with color. Move: Move the selected pixels. Rectangle: Creates a rectangle on the screen. More: Change the selected color in your palette. Eraser: Erases a single pixel. Undo: Deletes your last action. Selection: Select a section of the frame to copy, paste and move. Redo: Redo an action you have deleted. Line: Creates a straight line. Upload: Upload your drawing or animation to the Xploris device.
Design 2 1 2 Below the drawing area are the layers. The first one, black, is the background and the other two are the character. This time all the layers will be animated. In the first layer you will draw the background with clouds, in the second layer the head and body of the character and in the third layer the hands and feet of the character.
Design 2 2 3 4 On the second layer, draw the head and body of your character. Here you can change the color of the clothes, skin, eyes or modify the hair. Let your imagination run wild! In the first layer, with the help of the pencil and rectangle tools draw the sky, the clouds and the grass.
Design 2 5 6 A B C D E a) Right click on the first frame. b) Duplicate the frame 4 more times. c) Modify the frames according to the instructions below. On the third layer, with the help of the pencil draw the hands and feet of the character. You can change the color of the shoes or the skin.
Design 2 2 px 4 px A B C 7 6 px 8 px D E In each frame, use the move tool to move the first layer 2 pixels to the left. With this we are going to simulate the character walking.
Design 2 1 px A B C 8 1 px In frame B and D, work on the second layer. With the move tool move the character 1 pixel up. D E With this we will simulate that the character moves while walking.
Design 2 B A C 9 In each frame, modify the third layer with the help of a pencil and eraser as shown here. D E With this we will simulate the movement of hands and feet as when a person walks.
Design 2 10 Click the Play button to start your animation and see it in motion. The Fps are the frames per second. Modify the frame bar to give more or less speed to the animation. We recommend leaving it at 7 Fps for a smooth look.
Design 2 Once you have finished your drawing, save and upload it to your Xploris screen. Press the three-bar icon at the top of the screen. First, save your drawing by pressing Save and give it a name. Once saved, click on the Upload icon at the top of the screen, wait for it to load and watch your drawing appear in Xploris.
Questions 3 Arts 1 Do you think certain colors represent feelings like joy, sadness, or love? Also, do you believe that the colors we wear can indicate our personality types? 2 Technology Have you ever played video games where you have to create a character and edit its appearance, what colors do you usually use? 3 Let's keep experimenting! Do you think you can make another character with your Xploris? Try to create a character that is totally different from the one we already animated.
Activity summary 4 We used the Xploris software to create a walking person. We gave personality to the character by editing his clothes, hair and accessories. We uploaded a moving image to the Xploris device.
ARTS Walking figure: Character creation