Vacuum Forming Chocolate Egg Mould Project for KS3 Students
Explore a fun and educational project for KS3 students involving vacuum forming to create chocolate egg moulds. Follow step-by-step instructions, emphasizing safety measures and creative extensions such as making blister packages for the eggs.

Download Presentation

Please find below an Image/Link to download the presentation.
The content on the website is provided AS IS for your information and personal use only. It may not be sold, licensed, or shared on other websites without obtaining consent from the author. If you encounter any issues during the download, it is possible that the publisher has removed the file from their server.
You are allowed to download the files provided on this website for personal or commercial use, subject to the condition that they are used lawfully. All files are the property of their respective owners.
The content on the website is provided AS IS for your information and personal use only. It may not be sold, licensed, or shared on other websites without obtaining consent from the author.
E N D
Presentation Transcript
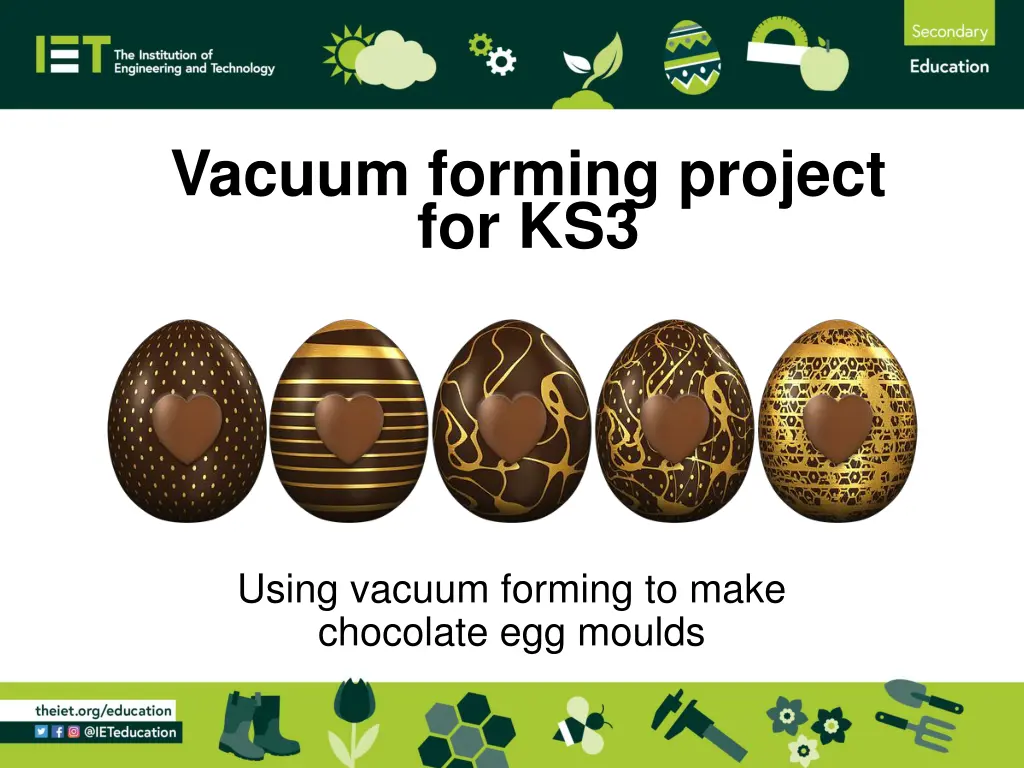
Vacuum forming project for KS3 Using vacuum forming to make chocolate egg moulds
Stay safe Whether you are a scientist researching a new medicine or an engineer solving climate change, safety always comes first. An adult must always be around and supervising when doing this activity. You are responsible for: ensuring that any equipment used for this activity is in good working condition behaving sensibly and following any safety instructions so as not to hurt or injure yourself or others Please note that in the absence of any negligence or other breach of duty by us, this activity is carried out at your own risk. It is important to take extra care at the stages marked with this symbol:
Step 1 Heater Place the former into the vacuum forming machine Former
Step 2 Heater Place the plastic sheet into the machine and secure in place Plastic sheet
Step 3 Heater Turn the heater on and wait for the plastic to become soft Turn the heater off once this happens
Step 4 Heater Pull the handle to move the former upwards so that it presses into the soft plastic sheet Move former upwards Handle
Step 5 Heater Turn the pump on to remove the air from underneath the plastic This forms the shape around the former Pump removes air
Step 6 Remove the mould from the vacuum forming machine Cut away the waste edges Cut away the edges
Slowly pour chocolate into the mould. Tilt the mould to coat it with a uniform thickness and allow the chocolate to set Step 7 Melt the chocolate using a bain marie Pour the melted chocolate into the mould and remove once set to create a half egg shape Repeat and join the two half eggs to create a full chocolate egg!
Extension Use what you have learnt about vacuum forming to create a blister package for your chocolate Easter egg!