Vendor Enrollment Quick-Start Guide for Account Administrators
This document provides a quick start guide for vendor account administrators who wish to submit an enrollment package in PASSPort. It outlines the steps involved in the Vendor Enrollment process, including creating a vendor account, providing business information, adding contacts, completing questionnaires, uploading documentation, and submitting an e-Signature. For detailed instructions, refer to the Vendor Enrollment User Manual. Contact MOCS for assistance.

Download Presentation

Please find below an Image/Link to download the presentation.
The content on the website is provided AS IS for your information and personal use only. It may not be sold, licensed, or shared on other websites without obtaining consent from the author.If you encounter any issues during the download, it is possible that the publisher has removed the file from their server.
You are allowed to download the files provided on this website for personal or commercial use, subject to the condition that they are used lawfully. All files are the property of their respective owners.
The content on the website is provided AS IS for your information and personal use only. It may not be sold, licensed, or shared on other websites without obtaining consent from the author.
E N D
Presentation Transcript
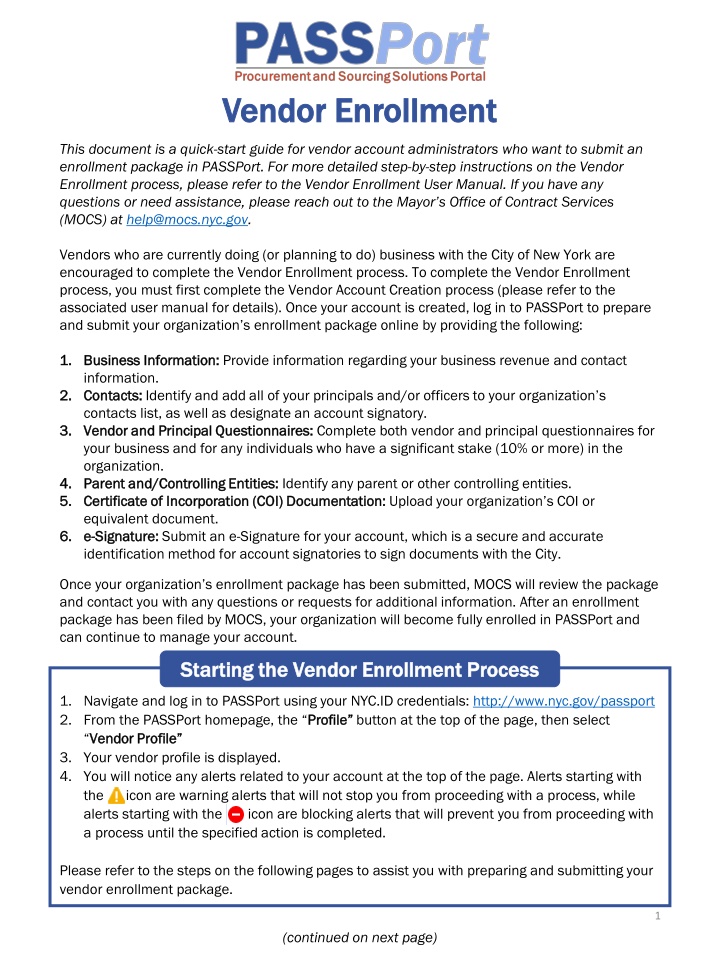
Vendor Enrollment Vendor Enrollment This document is a quick-start guide for vendor account administrators who want to submit an enrollment package in PASSPort. For more detailed step-by-step instructions on the Vendor Enrollment process, please refer to the Vendor Enrollment User Manual. If you have any questions or need assistance, please reach out to the Mayor s Office of Contract Services (MOCS) at help@mocs.nyc.gov. Vendors who are currently doing (or planning to do) business with the City of New York are encouraged to complete the Vendor Enrollment process. To complete the Vendor Enrollment process, you must first complete the Vendor Account Creation process (please refer to the associated user manual for details). Once your account is created, log in to PASSPort to prepare and submit your organization s enrollment package online by providing the following: 1. 1. Business Information: Business Information: Provide information regarding your business revenue and contact information. 2. 2. Contacts: Contacts: Identify and add all of your principals and/or officers to your organization s contacts list, as well as designate an account signatory. 3. 3. Vendor and Principal Questionnaires: Vendor and Principal Questionnaires: Complete both vendor and principal questionnaires for your business and for any individuals who have a significant stake (10% or more) in the organization. 4. 4. Parent and/Controlling Entities: Parent and/Controlling Entities: Identify any parent or other controlling entities. 5. 5. Certificate of Incorporation (COI) Documentation: Certificate of Incorporation (COI) Documentation: Upload your organization s COI or equivalent document. 6. 6. e e- -Signature: Signature: Submit an e-Signature for your account, which is a secure and accurate identification method for account signatories to sign documents with the City. Once your organization s enrollment package has been submitted, MOCS will review the package and contact you with any questions or requests for additional information. After an enrollment package has been filed by MOCS, your organization will become fully enrolled in PASSPort and can continue to manage your account. Starting the Vendor Enrollment Process Starting the Vendor Enrollment Process 1. Navigate and log in to PASSPort using your NYC.ID credentials: http://www.nyc.gov/passport 2. From the PASSPort homepage, the Profile Profile button at the top of the page, then select Vendor Profile Vendor Profile 3. Your vendor profile is displayed. 4. You will notice any alerts related to your account at the top of the page. Alerts starting with the icon are warning alerts that will not stop you from proceeding with a process, while alerts starting with the icon are blocking alerts that will prevent you from proceeding with a process until the specified action is completed. Please refer to the steps on the following pages to assist you with preparing and submitting your vendor enrollment package. 1 (continued on next page)
1. Basic Information 1. Basic Information On the Basic Information Basic Information tab of your vendor profile, select and enter the following information: 1. Select your company s Annual gross revenue 2. Select your company s Business Category. 3. Select the Date this business was formed. Date this business was formed. 4. Enter the State in which business was formed. State in which business was formed. 5. Enter the County in which business was formed. County in which business was formed. 6. Select the Property Type Property Type and enter the property s address. 7. Click the Save and Refresh Save and Refresh button. Annual gross revenue. Business Category. 2. Contacts 2. Contacts Prior to completing your vendor and principal questionnaires, you must add all of your organization s principals and/or officers to your account as well as designate an account signatory. Navigate to the Contacts Contacts tab and follow the steps below: 1. Click the Add a Contact Add a Contact button. 2. Enter the First Name First Name of the contact. 3. Enter the Last Name Last Name of the contact. 4. Enter the Email Email of the contact. 5. Click the Save and Close Save and Close button. 6. Select a Role Role for the contact that was added. Multiple roles can be selected for a contact. 7. Continue adding contacts until you have added all of your principals and/or officers as well as designated an account signatory who will submit an e-Signature for your package. Once you are done adding contacts, click the Save and Refresh Save and Refresh button. After a principal or officer has been added as a contact on the Contacts able to create a NYC.ID using the email address that is associated with their contact on the Contacts Contacts tab. Principals or officers can create a NYC.ID by navigating to http://www.nyc.gov/passport, clicking the Login Account Account link. Please refer to the Vendor Account Creation User Manual for detailed step-by-step instructions. Contacts tab, they are Login button, and clicking the Create Create Once that principal or officer creates a NYC.ID, they will be able to log in to PASSPort and access both the Vendor Questionnaire and their Principal Questionnaire for the vendor account. If the principal or officer previously had a NYC.ID, they would be able to be immediately log in to PASSPort as soon as they were added as a contact for the account. 2 (continued on next page)
3. Vendor and Principal Questionnaires 3. Vendor and Principal Questionnaires Now that you entered additional company information, added all of your principals and/or officers, and designated an account signatory, you are ready to start the vendor and principal questionnaires. Navigate to the Disclosures Disclosures tab and follow the steps below: 1. Click the Edit 2. Complete the eight sections of the Vendor Questionnaire question. Please note that if you select any form of Yes as an answer to a particular question, you will need provide additional details to answer the question and then click the Save Save button. Please note that in some scenarios you will need to add multiple rows of information to provide all of the necessary details. 3. After you have answered the questions for a particular section, click the Save and Next button. If you would like to exit the Vendor Questionnaire Vendor Questionnaire at any point, you can click the Save and Close Save and Close button. 4. After you have answered the questions for all sections, click the Save and Close 5. If any attachments need to be added to your Vendor Questionnaire Attachment Attachment button on the Discourses Discourses tab. Enter all the required information for the attachment and upload the necessary attachment. Click the Save Close Close button. 6. Next you will need to identify all of your principals and/or officers. Click the icon. 7. The vendor contacts that were added on the Contacts select a vendor contact and add it to the principal and/or officer grid. 8. Click the icon to search for and select principal and/or officer. Continue to add contacts until you have added all of your principals and/or officers. 9. Click the Save and Refresh Save and Refresh button. 10. Click the Edit Edit button to start the Principal Questionnaire Principal Questionnaire for the associated principal or officer. 11. Complete the six sections of the Principal Questionnaire Principal Questionnaire by selecting answers to each question. Please note that if you select any form of Yes as an answer to a particular question, you will need provide additional details to answer the question and then click the Save Save button. 12. After you have answered the questions for a particular section, click the Save and Next button. 13. After you have answered the questions for all sections of the Principal Questionnaire the Save and Close Save and Close button. Edit button to open the first section of the Vendor Questionnaire Vendor Questionnaire by selecting answers to each Vendor Questionnaire. Save and Next Save and Close button. Vendor Questionnaire, click the Add an Add an Save button and then click the Contacts tab are displayed. Click the icon to Save and Next Principal Questionnaire, click 3 (continued on next page)
4. Parent and/or Controlling Entities 4. Parent and/or Controlling Entities As part of the Vendor Enrollment process, any related (parent and/or controlling entities) entities must also submit vendor enrollment questionnaires in order for your vendor enrollment package to be reviewed and filed. Parent entities are defined as an individual, partnership, joint venture, or corporation that owns more than 50% of the voting stock of a vendor. Controlling entities are any entities that manage the day-to-day or hold 10% or more ownership of the business or has the right to direct daily operations. Related entities are identified on the Discourses to identify your related entities: Discourses tab. Please follow the steps below 1. At the bottom of the Discourses or controlling entities? or controlling entities? If you answer Yes to this question you must then click the icon to search for and select your parent and/or controlling entities. You are able to search for related entities by EIN and/or FMS Vendor Code. 2. Click the Save and Refresh Save and Refresh button. 3. The status of your identified related entities vendor questionnaires will be displayed in the grid. Please note that although you are able to submit your vendor enrollment package with pending related entities questionnaires, your package will be put on hold from being reviewed until all of the pending questionnaires are submitted. Discourses tab, answer the following question: Do you have any parent Do you have any parent 5. e 5. e- -Signature Signature Once you have completed your organization s Basic Information, Contacts, Vendor Questionnaire, Principal Questionnaire(s), Questionnaire, Principal Questionnaire(s), and identified any related parent/controlling entities, you are ready to submit your vendor enrollment package. Please note, the person providing the e-Signature should be a principal or designee who is officially authorized to conduct business with the City on behalf of your organization. Please follow the steps below to provide your e- Signature: Basic Information, Contacts, Vendor 1. From the Disclosures OK OK button to confirm that you want to submit your vendor enrollment package. 2. Click the New Vendor Signature New Vendor Signature button. 3. Click the Ready to Sign Ready to Sign button to create a new e-Signature. 4. Click the Signature Enrollment Package Signature Enrollment Package checkbox. 5. Enter your NYC.ID Password. NYC.ID Password. 6. Click the Sign Sign button to add your e-Signature. 7. Click the Submit Package Submit Package button to submit your package to MOCS. Disclosures tab, click the Ready to Sign and Submit Ready to Sign and Submit button and then click the Once your organization s enrollment package as been submitted, MOCS will review the package and contact you with any questions or requests for additional information. When MOCS files your enrollment package, your vendor account becomes fully enrolled. You will receive email notifications whenever MOCS takes action on your enrollment package. 4