Echo360 Training Overview
Explore comprehensive Echo360 training for LSI staff, covering access verification, core terms definition, course organization, content dissemination, permissions setup, and more. Get ready to navigate through the Echo360 platform efficiently with step-by-step guidance provided in this training module.

Download Presentation

Please find below an Image/Link to download the presentation.
The content on the website is provided AS IS for your information and personal use only. It may not be sold, licensed, or shared on other websites without obtaining consent from the author. If you encounter any issues during the download, it is possible that the publisher has removed the file from their server.
You are allowed to download the files provided on this website for personal or commercial use, subject to the condition that they are used lawfully. All files are the property of their respective owners.
The content on the website is provided AS IS for your information and personal use only. It may not be sold, licensed, or shared on other websites without obtaining consent from the author.
E N D
Presentation Transcript
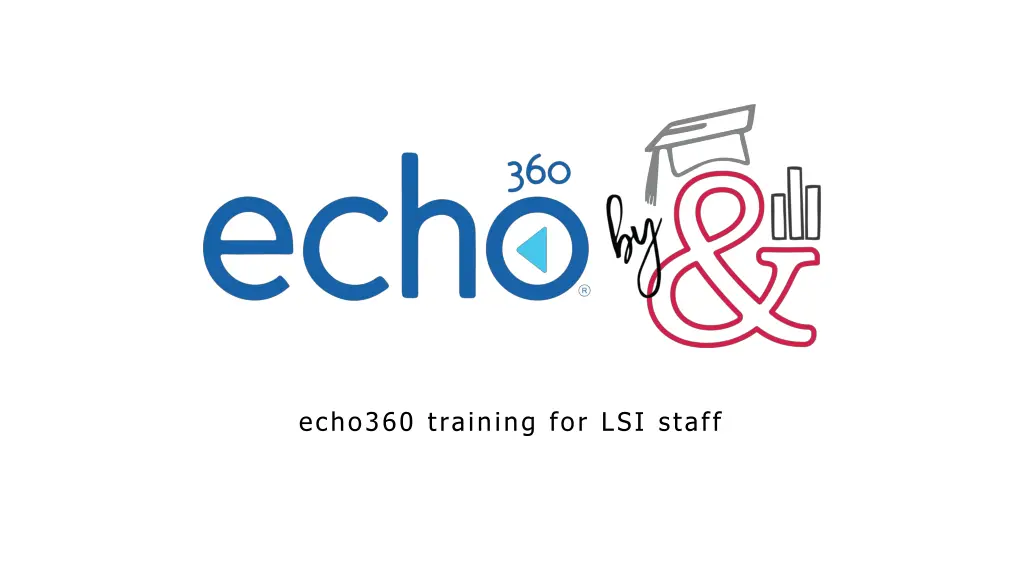
training for LSI staff echo360 training for LSI staff
before we start verify access to echo360 verify access to OneDrive folder with training documents
echo360 access website: echo360.org email: lastname.#@osu.edu password: site-specific
echo360 permissions COM: Admins LSI: Instructors OCS Mobile Services (Vitals) Program Leadership Program Managers Program Coordinators Program Instructors
training objectives 1. Define core terms in Echo360 2. Organize Course content in Echo360 3. Disseminate an Echo360 Course to instructors and students This training is based on the Echo360 Course Checklist for LSI (found on the OCS u.osu site). Visit this site when you need a reference!
core terms shared library collection CU course TLM class video capture
echo360 navigation overview
echo360 navigation help
echo360 navigation library media that you have uploaded media uploaded by someone else who has designated you as an owner
echo360 navigation courses curated content for students classes linked to videos
echo360 navigation courses continued open MEDCOLL0000 (training course)
preparing Course for go live 3 submit request to OCS for Course to be created or copied OCS adds one Instructor (faculty and/or support staff) to Course support team prepares and organizes Course content 1 2 4 support team creates Course link and shares support team adds students to Course faculty reviews Course content 7 6 5
add instructor In the Course, click Settings, then Instructors on the left- hand side. Add someone from this training as an instructor!
add Instructors to the Course 2 3 support team prepares Course content 1. Add, remove, and reorder Classes 2. Add new videos for Classes that will be delivered asynchronously 3. Remove videos for Classes that will be delivered synchronously 4. Update the details for each Class
add class(es) Leave the Course s Settings by clicking Classes. Compare schedule of classes (in OneDrive folder) to the ones that have been loaded for you. (Don t forget to click the carrot to see all of them.) Which ones are missing? You may want to create new classes EVEN for ones that are in-person, as most lectures are recorded and you ll want to have a place to put those captures. Click New Class in top right to add the class.
remove class(es) Again, compare this to the schedule of classes and see which one(s) need(s) to be deleted or moved. Click the trash can in the far left of the class s name.
add video to collection Click Collections at top, next to Courses tab. Click + Collection button on right-hand side. Give the collection a title (should probably be the same as your Course), then click to enter it. Once you re in the collection, click Add Media button. You can either Import from Your Library or Upload New Media from your computer.* Media will populate here once selected and uploaded. *If you do not already have the media in your library, always click on the Select Files to Upload button/screen. From there, select the appropriate folder OR your OneDrive folder.
add video to collection continued Try it with the Histology of the Stomach video! (Find it in the OneDrive folder.)
add video to class In your Collections tab, select the appropriate Collection and click on the media you d like to add to the Class. Click Share (first option under the title of the media) and select Class tab at top. Select the Course, Term, and Class. Decide on the video s availability, then click Share.
remove video from class To quickly see the title of the associated video, click the green video button on the far right of the appropriate class. Scroll down and click the word Remove at the bottom. Course instructors are only able to remove videos that they own. If you do not own the video, delete and recreate the Class.
update class details Again, compare this to the schedule of classes and see which one(s) need(s) to be corrected. To edit class details, select the pencil on the far-right of the class s name. Verify the Class title matches the TLM title on the Vitals schedule. If appropriate, add or modify the date, time, and length of the TLM.
add Instructors to the Course 2 3 support team prepares Course content 4 support team organizes Course content 1. Organize the Classes into Class Groups 2. Order the Classes by date
group content by topic, week, etc. In the appropriate course, click New Class Group. To group the content correctly, click Reorder at top left.
add Instructors to the Course 2 3 support team prepares Course content 4 support team organizes Course content 5 review Course with faculty
faculty revisions Do the lecture titles align with the Vitals schedule? Does your Echo course represent your Vitals schedule accurately and completely: No miscellaneous content, No duplicates, and The correct video for each TLM? Does the video have extraneous content that needs to be trimmed (e.g., silence or unrelated discussion at the beginning or end of the video)?
add Instructors to the Course 2 3 support team prepares Course content 4 support team organizes Course content 5 review Course with faculty 6 support team adds students to Course
upload student roster Download student roster. In Course, select Settings once again, then click Students on left-hand side. Following the same steps as you did when you uploaded new media, upload the roster to the Course. We recommend adding new students at start of each new session (part 2) or block (part 3), as students can access everything unless it s locked down.
add Instructors to the Course 2 3 support team prepares Course content 4 support team organizes Course content 5 review Course with faculty 6 support team adds students to Course 7 create a Course link
generate access link In Course, select Settings once again, then click Access Links on left-hand side. Access links Active? Role = Student Permissions = Registered users only Then, copy link & post to Vitals
core terms, applied course class group class


")
")