Lower Respiratory Infections in Pregnancy: Pneumonia Overview
Community-acquired pneumonia is a significant concern in pregnant patients, with pneumonia being the leading cause of fatal non-obstetric infection. Understanding the risk factors, pathogenesis, and impact of pregnancy on pneumonia risk is crucial for maternal and fetal health.

Download Presentation

Please find below an Image/Link to download the presentation.
The content on the website is provided AS IS for your information and personal use only. It may not be sold, licensed, or shared on other websites without obtaining consent from the author.If you encounter any issues during the download, it is possible that the publisher has removed the file from their server.
You are allowed to download the files provided on this website for personal or commercial use, subject to the condition that they are used lawfully. All files are the property of their respective owners.
The content on the website is provided AS IS for your information and personal use only. It may not be sold, licensed, or shared on other websites without obtaining consent from the author.
E N D
Presentation Transcript
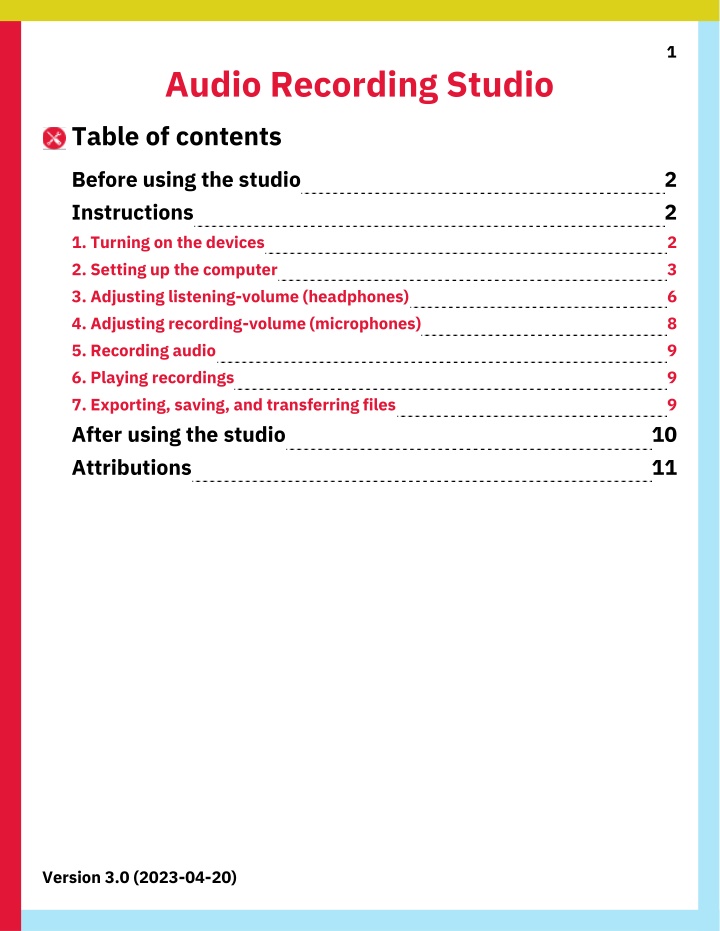
1 Audio Recording Studio Table of contents Before using the studio Instructions 1. Turning on the devices 2. Setting up the computer 3. Adjusting listening-volume (headphones) 4. Adjusting recording-volume (microphones) 5. Recording audio 6. Playing recordings 7. Exporting, saving, and transferring files After using the studio Attributions 2 2 2 3 6 8 9 9 9 10 11 Version 3.0 (2023-04-20)
2 Before using the studio 1. Turn all Gain knobs counterclockwise to their lowest setting (+10) (Fig. A). 2. Move all monitor (output) sliders down to their lowest setting (-infinity) (Fig. B). 3. Ensure that all micprohones are connected to the audio board: Fig. A. Gain knobs at their lowest setting 3.1. The two booth-mics are labelled Mic 1 and Mic 2. They should be plugged into the channels (lanes) labelled 1 and 2, respectively. 3.2. The desk-mic should be plugged into port 4. Fig. B. Monitor sliders at their lowest setting Instructions 1. Turning on the devices 1. Turn on the PC using the power button on the front of the case. 2. Turn on the audio board by sliding its power switch (on the back) to your right side (Fig. 1a). The board s display and various lights will turn on. Fig. 1a. Power switch on the audio board
3 3. Sign into the PC using your Passport York credentials. 4. Decide how you want to hear audio while at the desk: Fig. 1b. Switches and knobs to adjust master- and headphone-volume 4.a. Headphones: Adjust the master volume by turning the knob in the Master Out section of the top-right area (Fig. 1b, Item 1). Adjust the volume of specific headphones by turning the knobs in the Monitor Out section of the top-right area (Fig. 1b, Item 2) 4.b. Speakers: Turn on the speakers using the power switch on the left-side speaker; adjust the volume using the knob on that same speaker. 5. Enable the Mix A, Mix B, Mix C switches in the top-right area: 5.1. Locate the Mix A, Mix B, and Mix C switches (Fig. 1b, Item 3). 5.2. Push all three switches upward. 2. Setting up the computer 1. Fig. 2a. Hindenburg
4 2. Select Tools -> Options in the Hindenburg menubar (Fig. 2b). A pop-up window will appear with three tabs (Audio, Interface, Advanced). Fig. 2b. Selecting Options from Tools in the Hindenburg menubar 3. Set the following settings in the Audio tab of the Options window (Fig. 2c): 3.1. Select/enable the ASIO checkbox. 3.2. Set the Playback and Record dropdowns to ZOOM L-8 ASIO Driver, and set their accompanying dropdowns to 1-2. Note: You might need to enlarge the Options window. 3.3. In the Record Mode section, select the Auto radio button. 3.4. Click OK to apply these settings. Fig. 2c. Settings to apply in the Options window
5 4. Set the input (microphone) for each Hindenburg track by using the dropdown in each track s panel (Fig. 2d): i. Board channel 1 (Mic 1, in booth): Select Zoom L8 Master L/R -> Zoom L-8 ASIO Driver -> Mono -> 3 (In 1). ii. Board channel 2 (Mic 2, in booth): Select Zoom L8 Master L/R -> Zoom L-8 ASIO Driver -> Mono -> 4 (In 2). iii. Board channel 4 (Mic 4, at desk) Select Zoom L8 Master L/R -> Zoom L-8 ASIO Driver -> Mono -> 6 (In 4). Fig. 2d. Available input sources (mic) for a given track 5. (Optional) Double-click a track name to change its title. Consider using desriptive titles (e.g. Natasha, Interviewer, or Mic 1 ). 6. Arm (enable) each desired track (horizontal lane) by clicking the circle button in its toolbar (Fig. 2e). This icon will turn from a dim, pink colour to a solid, red colour. The latter shows that the given track will be included/audible in the recording. Fig. 2e. Button that enables track-recording
6 3. Adjusting listening-volume (headphones) 1. Press the Mixer button in the lower-right area of the board (Fig. 3a). The button will light up. 2. Press the Audio I/F button in the lower-right area of the board (Fig. 3a). The button will light up. 3. Use the board s screen and selection knob to set the output destination (PC) and the mix (Master): 3.1. Locate the screen display and the selection knob (middle-right area, Fig. 3b). 3.2. Twist the knob to highlight PC/Mac. 3.3. Press the knob down/inward to select PC/Mac. 3.4. Press the knob again to select Yes. 3.5. Highlight Master as the mix setting. Fig. 3a. Mixer and Audio I/F buttons Fig. 3b. Screen and knob 4. Use the Input Sel button of channel 7 to select how the board communicates with the computer: 4.1. Locate the Input Sel (input selection) button in channel 7 (middle-top area, Fig. 3c). 4.2. Press the Input Sel button until you select USB 1-2 (if Line or Sound Pad for channel 7 is selected). The USB 1-2 indicator light will turn on. Fig. 3c. The Input Sel button toggles among three options; USB 1-2 is the middle and preferred option
7 Note: The following adjustments won t affect the recording volumes. They only affect the monitoring (live-listening) volumes. 5. Set all necessary monitor sliders to their 0 setting, which is not their lowest setting (Fig. 3d): 5.1. Note that the 0 mark for each slider is in the upper-third of its scale. The labels mark the output gain of the microphone; gain represents change to volume, not volume itself. Thus, a gain value of 0 indicates that the volume is unchanged from its default level. 5.2. Move the Master slider (red-coloured and right-most slider) to 0. 5.3. Move the channel 7 slider to 0. 5.4. Move the sliders of the channels (lane) used for recording to 0. Fig. 3d. The red arrows show where to move sliders for output gain (i.e., change to output volume audible in headphones) for specific channels and the Master level
8 4. Adjusting recording-volume (microphones) 1. Start with the Gain knobs (recording-volume change) at their lowest setting. These knobs should all be turned counterclockwise to +10. 2. Find a suitable gain (volume change) for each channel s connect mic: 2.1. Slowly turn a channel s Gain knob clockwise (Fig. 4a) while sound goes into its connected mic as if recording. Consider reciting the alphabet in the mic to produce a continuous source for testing. 2.2. In Hindenburg, observe the volume meter for the current track. The height and colour of the volume level represent the suitability of the volume. The ideal (peak) level is at or just below the white notch. Note: Consider the possibility of natural spikes in volume, like laughter. 2.3. Adjust the Gain knob as needed until the Hindenburg volume level peaks at or just below the white notch on the meter. Avoid Gain settings that cause the (peak) volume level to rise well above the white notch or even fill the meter. 2.4. Repeat steps 2.1 - 2.3 for each channel (connected mic) that you want to use. The ideal gain level can vary between people and/or sources. Fig. 4a. To increase a channel s input Gain (increase to recording volume), turn its knob clockwise
9 5. Recording audio 1. Start recording by clicking the record button (red- circle icon) in the Hindenburg controls toolbar (lower-left area of window, Fig. 5a). Note: This button also lets you pause or resume a current recording. 2. Stop recording by clicking the stop button (white- square icon) in the controls toolbar (Fig. 5a). Note: After you stop recording, Hindenburg will automatically adjust the audio levels for you. Fig. 5a. Stop button and record button 3. (Optional) Edit the recording by selecting tracks on the Hindenburg timeline and dragging, trimming, and/or deleting as needed. 6.Playing recordings 1. Play the recording by clicking the play button (triangle icon) in the Hindenburg controls toolbar (lower-left area of window). 2. If nothing is audible, repeat the directions in Section 1, Step 4 (page 3) and/or the directions in Section 3 (page 6). 7. Exporting, saving, and transferring files 1. Select File -> Export from the Hindenburg menubar or top toolbar. Note: To export a single track or part of a track, click and drag the cursor to highlight the track/part and select File -> Export Selection. 2. (Optional) Choose a file format. The default format is .wav, but you can export in .mp3 format. 3. (Optional) Select File -> Save from the menubar to save the Hindenburg project file. You can re-open it on any computer that has this software. 4. Transfer your exported/saved file(s) to another storage medium because the studio computer deletes all local files when it locks and restarts. Consider: i. Emailing to yourself ii. Using online-storage services like Dropbox, Google Drive, or OneDrive iii. Using removable storage devices like SD cards or USB drives
10 After using the studio 1. Turn all knobs and sliders to their lowest setting. 2. Put all microphones and stands back in their original positions. 3. Close the Hindenburg software, sign out of your account, and restart the computer. 4. Turn off the audio board.
11 Attributions 1. Contributors Media Creation Lab / York University Digital Scholarship Infrastructure Maykel Faragalla, photographer & contributing writer Tim Huynh, editor & contributing writer Kris Joseph, lead writer Rafia Naz, lead writer & photographer Ananth Putcha, contributing writer BonaFide Communications, York University Writing Department Nicole Bednarski, consultant Charlotte MacDowell, consultant Sophie Morgan, consultant Amanda Naoum, consultant Lorena Urican, consultant Patrons of the Media Creation Lab 2. Assets Fig. 1a is adapted from Zoom support This work is licensed under a Creative Commons Attribution-NonCommercial 4.0 International License.