Professional Event Setup Best Practices
Learn about the importance of maintaining a private, professional, fast, and friendly environment during events. Get tips on managing appointments efficiently, dressing professionally, setting up spaces for privacy, and more to ensure a smooth experience for participants.

Download Presentation

Please find below an Image/Link to download the presentation.
The content on the website is provided AS IS for your information and personal use only. It may not be sold, licensed, or shared on other websites without obtaining consent from the author. If you encounter any issues during the download, it is possible that the publisher has removed the file from their server.
You are allowed to download the files provided on this website for personal or commercial use, subject to the condition that they are used lawfully. All files are the property of their respective owners.
The content on the website is provided AS IS for your information and personal use only. It may not be sold, licensed, or shared on other websites without obtaining consent from the author.
E N D
Presentation Transcript
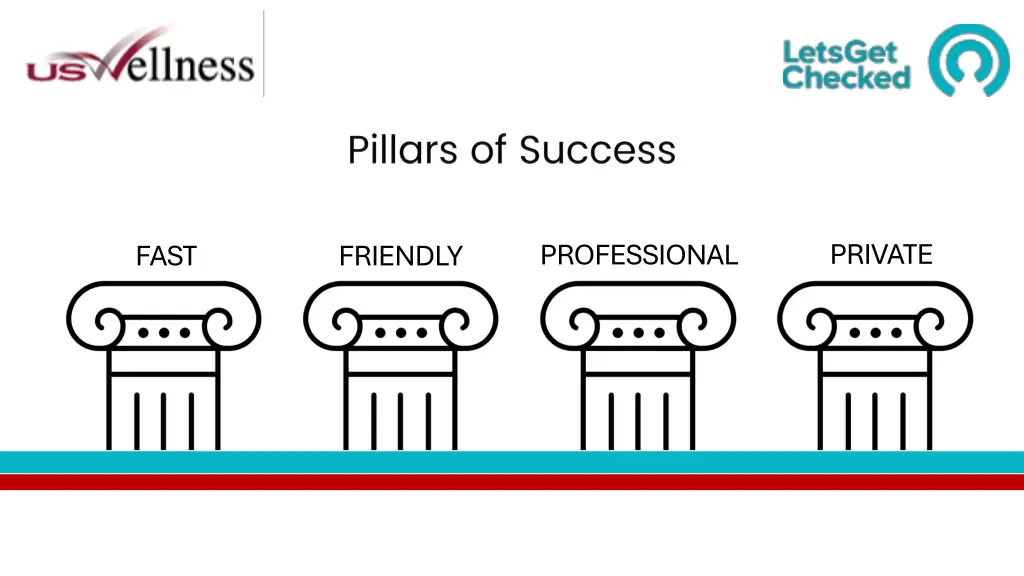
PRIVATE PROFESSIONAL FAST FRIENDLY
FRIENDY AND PROFESSIONAL DEMEANOR GO A LONG WAY Identify as LetsGetChecked team Site contact arrival (TXT) Team huddle (TXT) Make participants feel comfortable Be calm and organized Let US Wellness help with anything unexpected CALL: 866-881-7607 TEXT: 301-926-6099
PROPER SPACE SETUP ENSURES PRIVACY AND PROFESSIONALISM No view of participants during screening - use ALL privacy screens Set up a waiting area Display registration instructions and privacy policy provided in shipment Hide personal belongings Only water in screening area (no food, gum, coffee ) Cell phone on silent (US Wellness may reach out by phone or text)
SAMPLE EVENT SETUP Waiting to be screened US Wellness Staff Participant Check-in table Privacy Screen Screening Table Waiting to check-in Chairs
DRESS CODE SUPPORTS PROFESSIONAL PRESENCE Identify as "LetsGetChecked" No personal discussions among staff Name badge (first name) Dress Code Black matching scrubs (required) NO Crocs Sneakers/running shoes ok Socks required
APPOINTMENT MANAGEMENT ENSURES FAST QUEUING Participants must be registered and have an appointment Appointments made in advance show with a scheduled time Same day slot requests do not have an assigned appt time (bottom of list view) - accommodate into open slots as available Prioritize on-time appts first early, late or no appt time are slotted into available slots If a participant shows proof of apt but is not showing on your schedule: o Confirm date and location listed on their confirmation email. If it is in fact YOUR event, send their name & picture of their confirmation email to USW for verification. o If participants registered for a different event date/location, search their name in the search box provided on your tablet. If you find their profile, they can be screened. A Walk-in slot is not a guarantee the Participant will be screened Walk-ins are taken as time and supplies allow Staff will assist letting participants know if/when they can be screened
APPOINTMENT MANAGEMENT ENSURES FAST QUEUING USER EXPERIENCE (REGISTRATION TO RESULTS) . Shows on tablet appointment list Share results with physician Fill in ALL results fields (even calculated results like BMI and LDL) Participant takes home yellow copy. Keep white copy and return to USW If no appt. participant must first register with LGC and make an appt. which will then show up on tablet. Day of event appts are available on the user's registration app even when appts are full! Participant arrives at screening event X NOT on tablet appointment list Results into tablet Participants MUST register on UHC Rewards, Rally or LetsGetChecked app and show that they have an appointment to be screened! *See instructions provided in your shipment on how participant can register based on their plan coverage (UHC Rewards, Rally, LetsGetChecked apps) or text your USW Manager for details.
FAST AND PRIVATE RESULT REVIEW A brief review of biometric results should be conducted with each participant before they leave the screening area. Shown the backside of the results form, where each metric and optimal ranges are explained. Speak to In-Range Metrics referencing the backside of the onsite event form Let the participant know which metrics are within normal/optimal ranges and recommend they speak with their healthcare provider to discuss ways they may be able to maintain or improve those results based on their specific medical history. Speak to Out-of-Range Metrics referencing the backside of the onsite event form Let the participant know which metrics are considered out-of-range and recommend they speak with their healthcare provider to discuss ways they may be able to impact those results based on their specific medical history. Provide the bottom (yellow) copy of the Onsite Event Form to the participant and encouraged them to share the results with their healthcare provider.
PROFESSIONAL MANAGEMENT OF VENOUS TUBES - PROPER LABELING AND PACKAGING Scan Alpha Code and Numerical Code into patient record on tablet Scanning is required and ensure accurate data input because codes are case sensitive and require dashes Numerical Code: LGC-1234-5678-9012 Alpha Code: ABCDEF Complete the biowaste bag Label with date of birth, sex (as show in appointment record), sample collection date and time Match codes on the tubes to the codes on biowaste bag label Place two tubes into the biowaste bag and seal the bag Place biowaste bag in cooler using bubble wrap as barrier between sample and ice
PROFESSIONAL MANAGEMENT OF VENOUS TUBES - PROPER LABELING AND PACKAGING Adhere the UPS label provided to the outside of the white shipping box. Confirm: shipping label is UPS NEXT DAY AIR to MONROVIA, CA 1. 2. 3. 4. Ice packs bags on bottom of cooler Bubble wrap on top of specimen bags Specimens placed on top of bubble wrap Packing filler on top Next, place the packed cooler inside the white shipping box and tape the box closed Packing filler Specimens Bubble wrap Icepacks