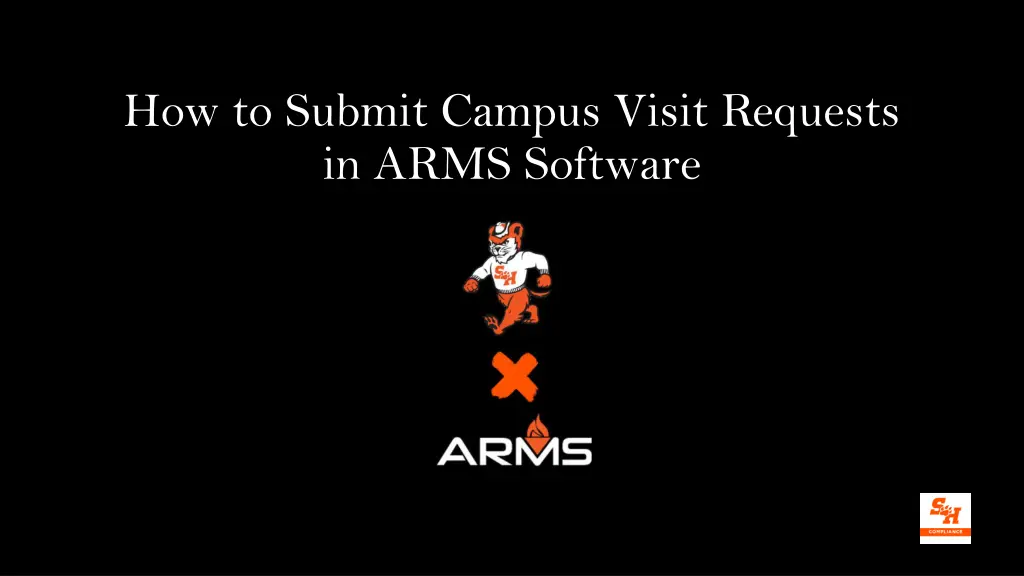
Submit Campus Visit Requests in ARMS Software
Learn how to efficiently submit campus visit requests using ARMS software. Follow step-by-step instructions, including finding a recruit's profile, selecting the type of visit, and providing necessary information for both unofficial and official visits.

Download Presentation

Please find below an Image/Link to download the presentation.
The content on the website is provided AS IS for your information and personal use only. It may not be sold, licensed, or shared on other websites without obtaining consent from the author. If you encounter any issues during the download, it is possible that the publisher has removed the file from their server.
You are allowed to download the files provided on this website for personal or commercial use, subject to the condition that they are used lawfully. All files are the property of their respective owners.
The content on the website is provided AS IS for your information and personal use only. It may not be sold, licensed, or shared on other websites without obtaining consent from the author.
E N D
Presentation Transcript
How to Submit Campus Visit Requests in ARMS Software
Step 1: Find Recruits Profile After logging in to your profile, click on the search bar with the magnifying glass. Type in the name of the PSA and click on PSA s name with the target icon by it; clicking on the PSA s name will take you to their recruiting profile.
Step 2: Click on Proper Visits Tab on PSA s Profile On the PSA s profile, hover your mouse over the Visits tab on the right. Click on the proper type of visit (i.e., official vs. unofficial).
Step 1: Launch Workflow for Unofficial Visit After clicking on Unofficial Visit, click on the orange box that says, Launch Workflow.
Step 2: Input Info About PSA If not already in the PSA s profile, you will be required to input the PSA s high school graduation date, home city/state, NCAA ID# (or NA if unknown) and name of current high school or college.
Step 3: Input Logistical Info About Visit Input info about time/date of arrival/departure and PSA s guests.
Step 4: Input Info About On-Campus Activities Input info about complimentary admissions (will be required to complete separate process if requested); on-campus transportation; meals and lodging. Reminder: SHSU cannot pay for meals, parking, travel expenses or lodging for an unofficial visit.
Step 5: Sign and Date and Submit to Compliance Sign and date the request after your final review for accuracy. Click on the orange box that says Submit.
Step 1: Launch Workflow for Official Visit After clicking on Official Visit, click on the orange box that says, Launch Workflow.
Step 2: Info About PSA Input all requested information about the PSA. For official visits, the PSA needs to be enrolled with the NCAA EC and added to our IRL.
Step 3: Time and Date of Visit Input info about time and date of arrival and departure of PSA. Reminder: official visits cannot last longer than 48 hours.
Step 4: Transportation, Guests & Lodging Input info about transportation and lodging arrangements for PSA and guests. Reminder: there are sport specific rules about transportation.
Step 5: Student Host, OV Policies and Transcripts If a current student-athlete will serve as a student host, input information about the host. Click on the link for a copy of the OV policies to forward to PSA. Upload the PSA s most recent transcript (required for OV). Test scores are not currently required by the NCAA.
Step 6: Sign & Date and Submit Sign and date the workflow. Click on the orange box that says Submit.
Step 7: Post-Visit Verification of Visit Occurring AFTER the visit is over, re-open the form and attest to whether the visit occurred. If the visit did not occur, click No and sign and date. If the visit occurred, attest whether time/date and other salient details changed (and input changes if necessary).
Step 8: Sign & Date Sign and date the workflow and click on Approve !